Seat mounts..

Lots on the go.. although not much to see quite yet. Car now sits at the perfect ride height and is on the center of the adjusters. The ride height can easily be tuned up or down an inch or so. We have the floors/seating on the go and also starting to work on the fuel system.

Here’s the concept for reinforcing the floors. This will allow stock buckets to be bolted into the car – and the brackets shown will allow the Sparcos to be bolted in at the correct height. Have most of the parts made – now working on getting them in the car. Figured this would work much better than the after thought that was used to accomadate buckets on a stock vehicle.

Rear Suspension Near Complete

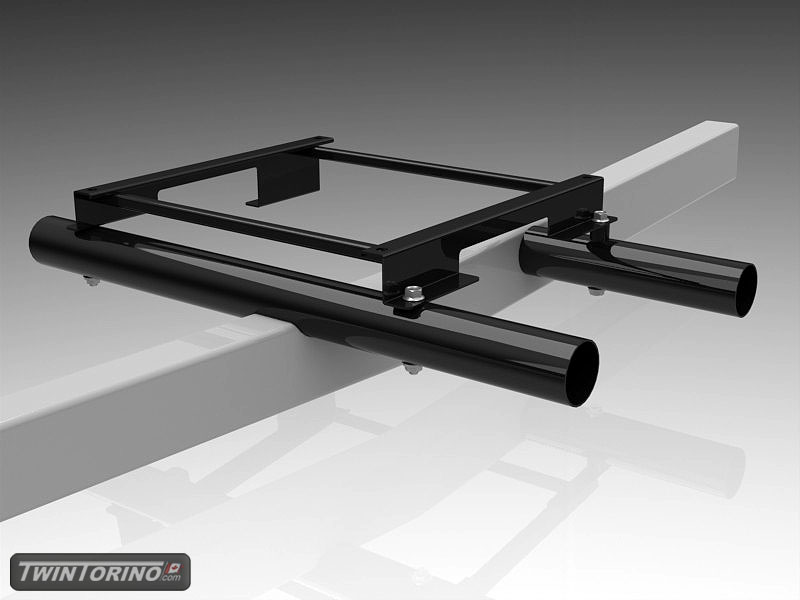
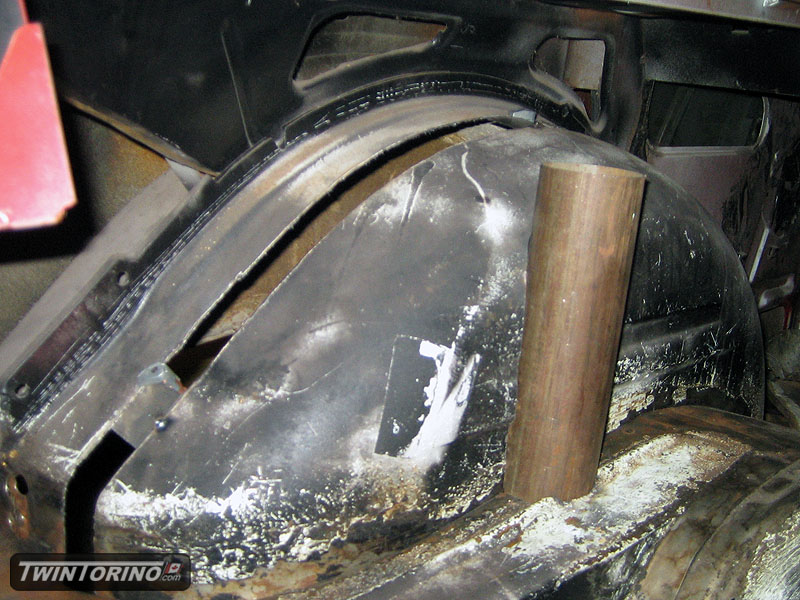
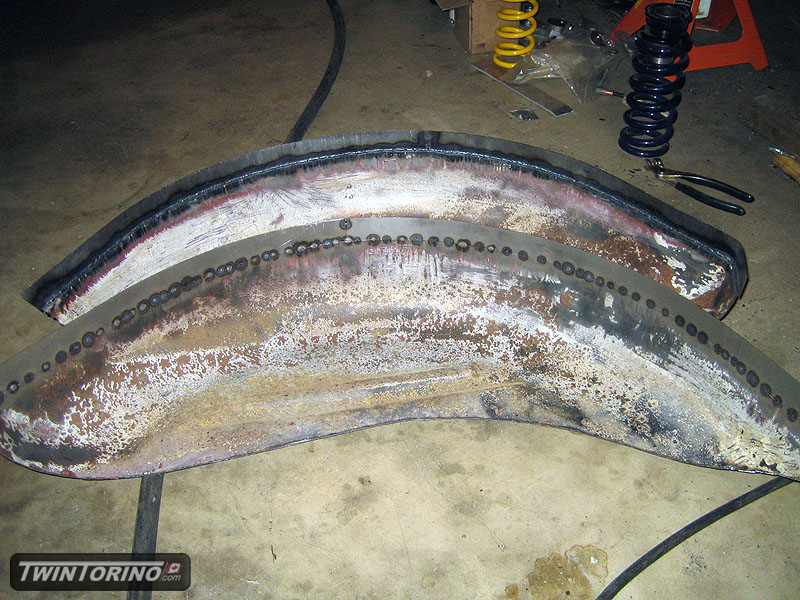
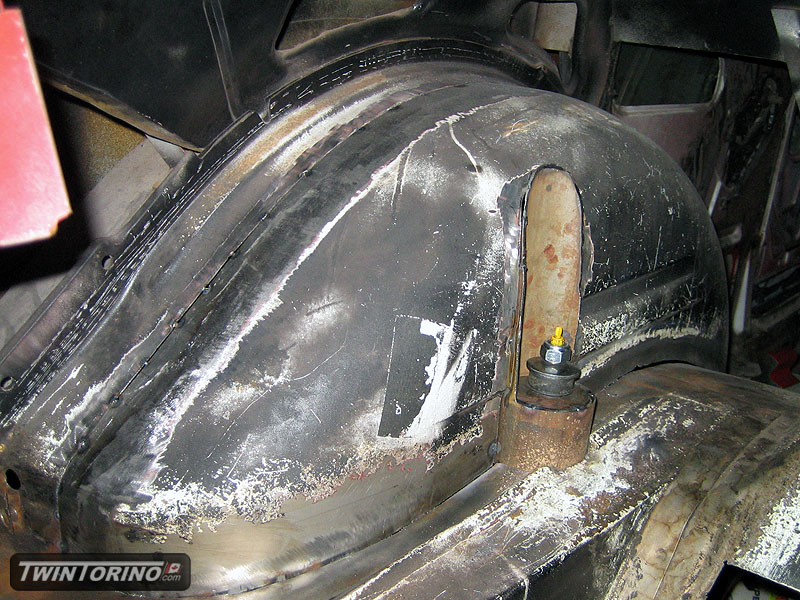
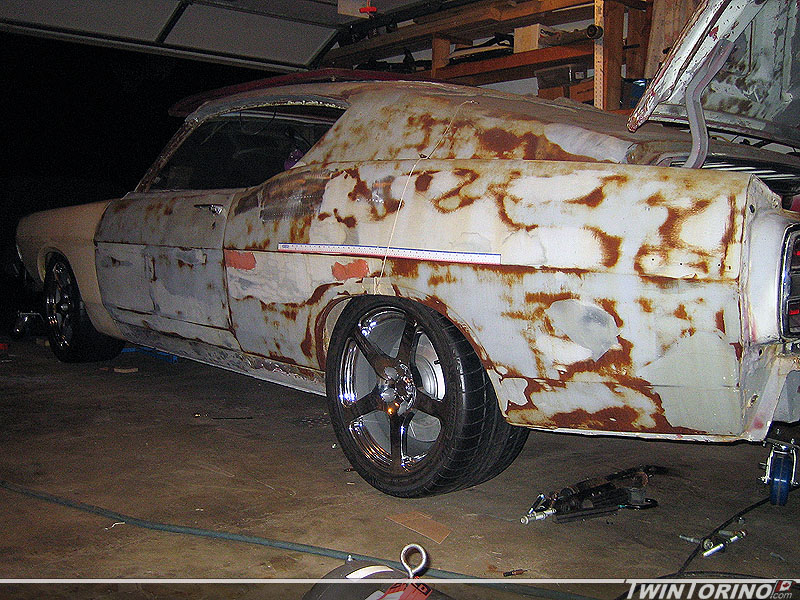
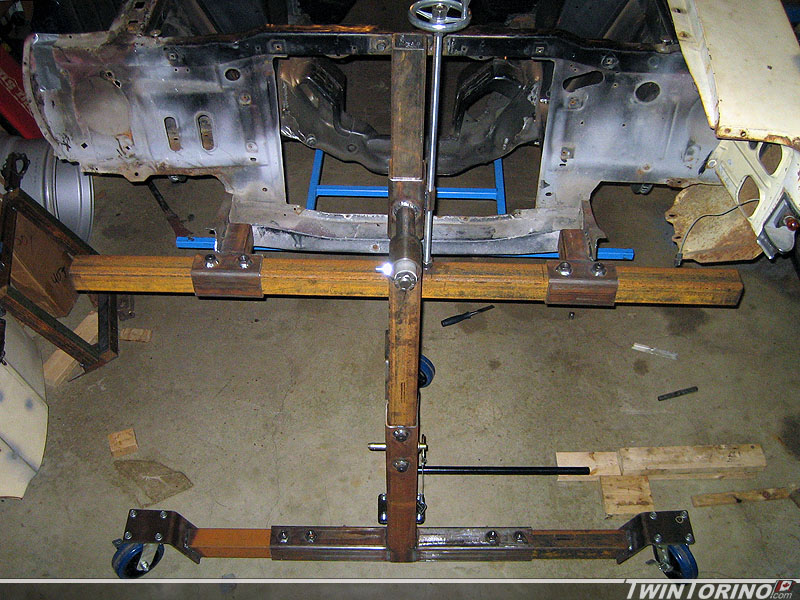
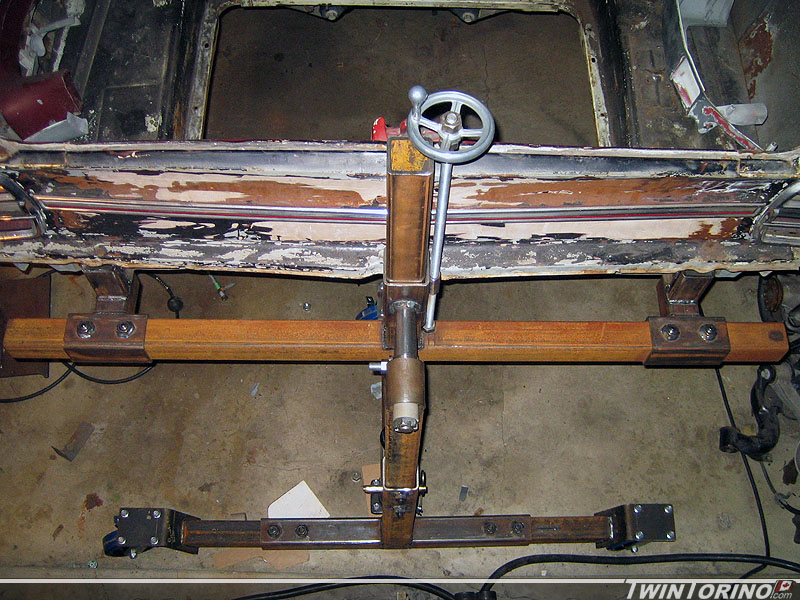
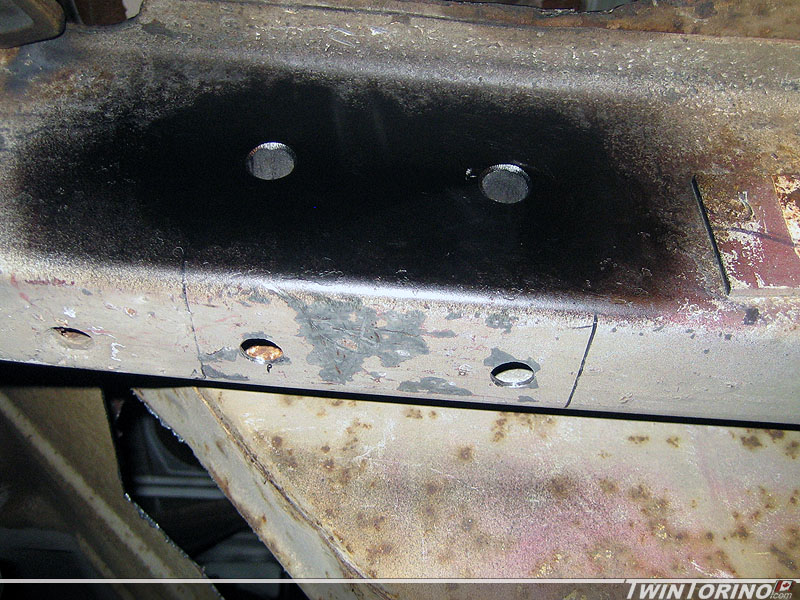
Finished tacking in the pass side wheel well and made up the shock mount for that side too. Everything is ready for final weld. Time to move back to something we have been putting off for a while now – spring mounts, spring sizing and locking in the ride height with all these parts which turned out to be easier said than done. As you can see – we ended up making a new upper spring mount to clean things up and transition it into the existing frame.

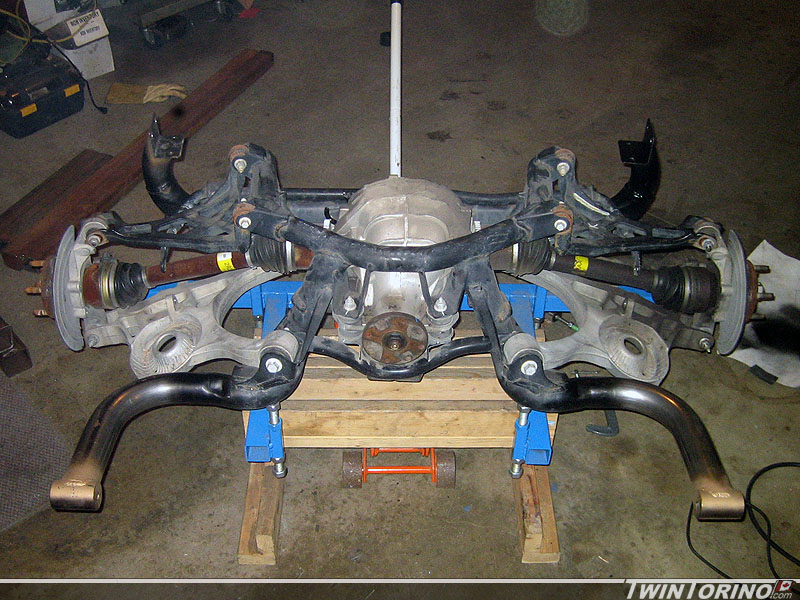
Three main parts to the rear suspension travel – and each stage has it’s own issues:

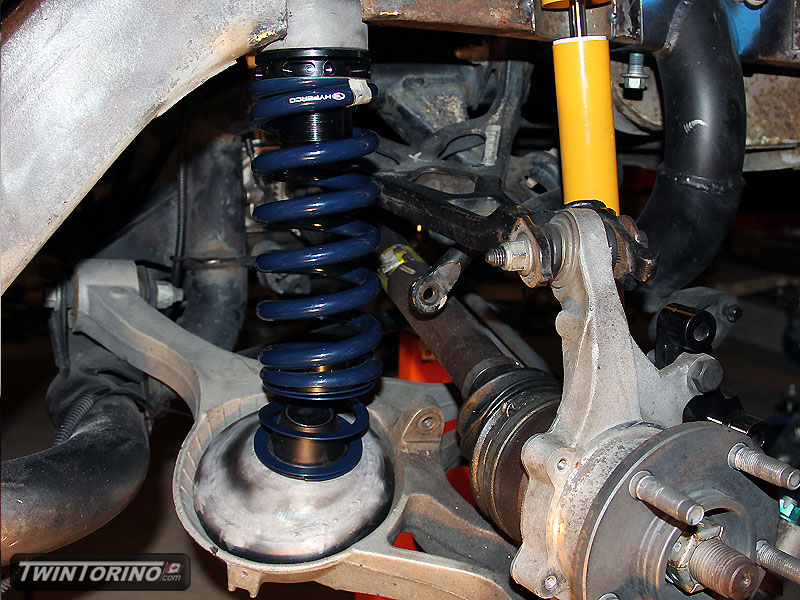
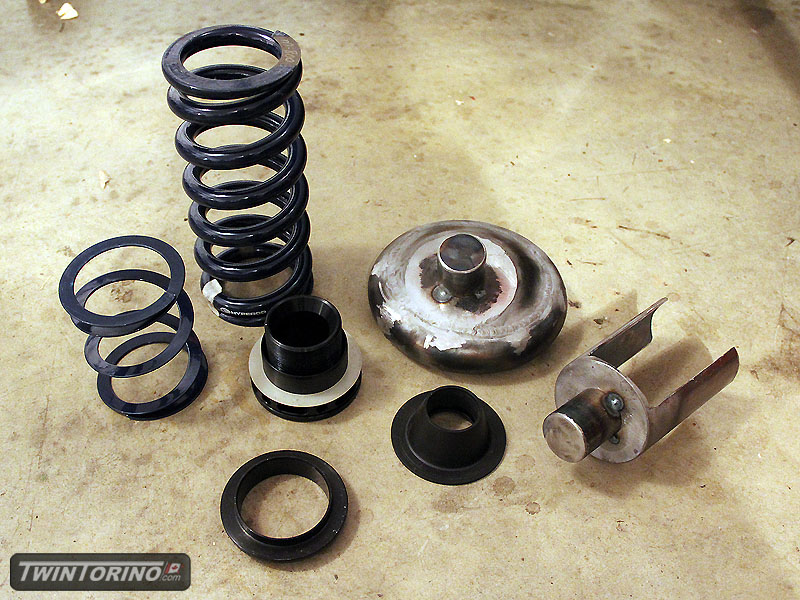
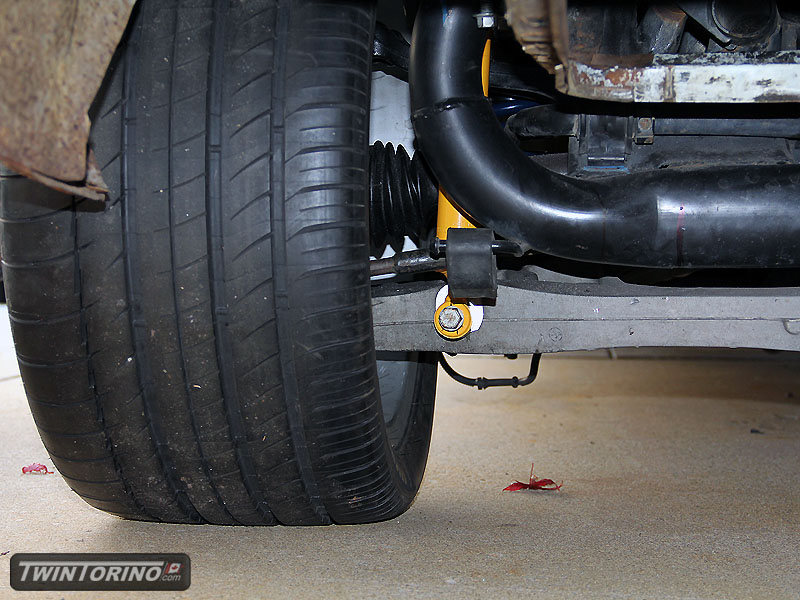
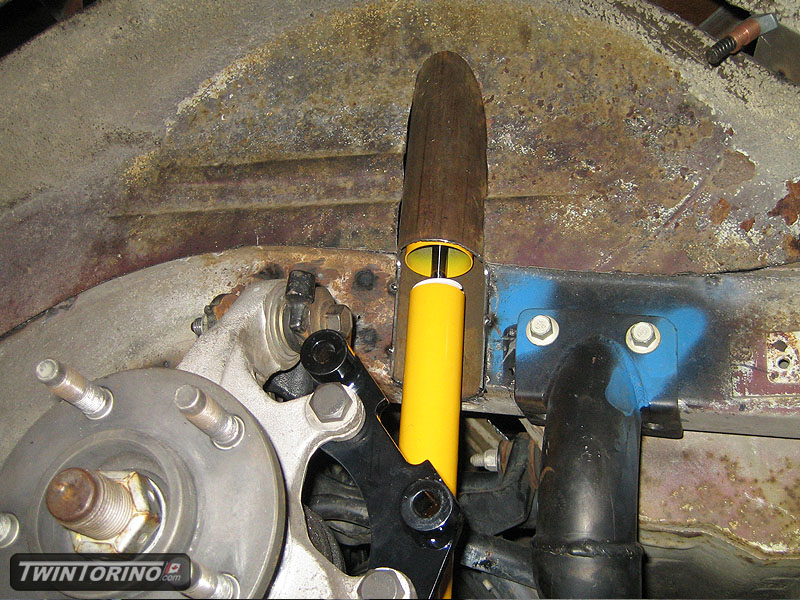
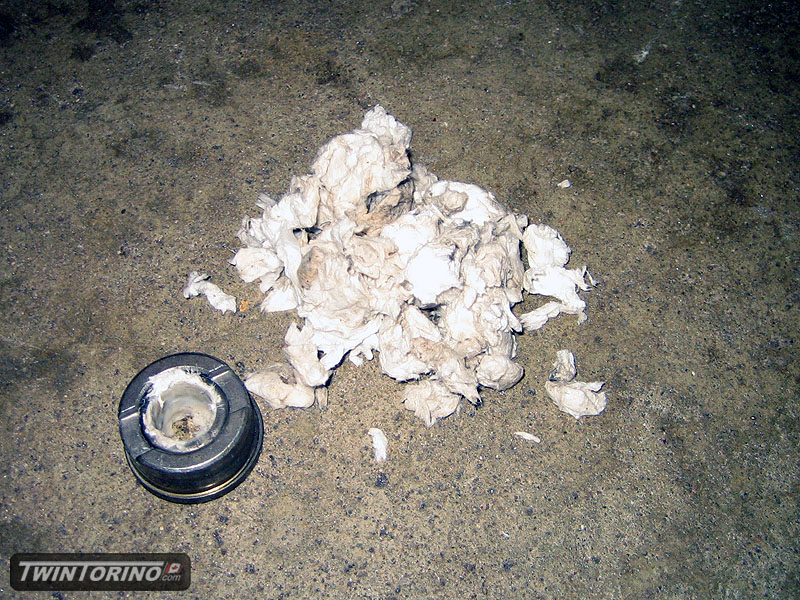
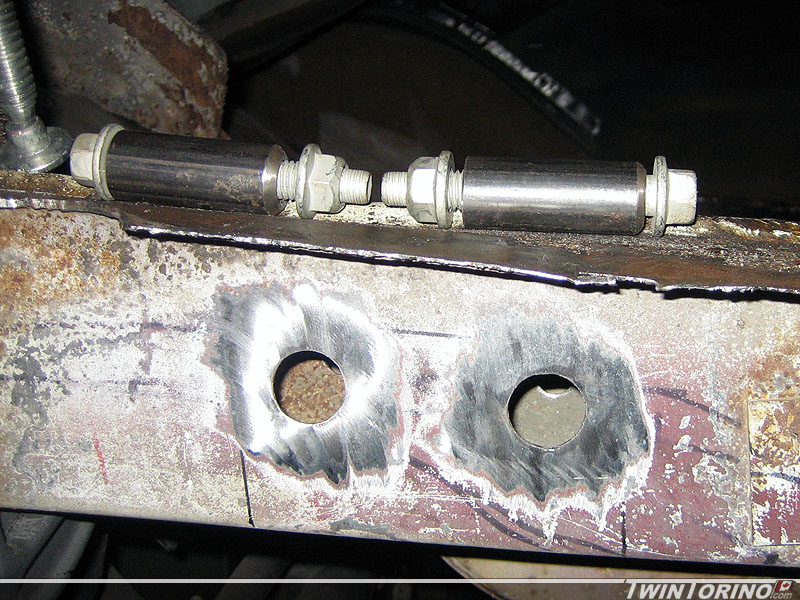
Rebound/full droop position – this is with the wheel pushed all the way down. The car will rarely see this position, but is is possible and will always occur when lifting thcar in the air using a hoist. The first issue we ran into is that our springs are too stiff and the spring will just fall out of the car as is as they are all their free length at this position. Simple solution – just buy longer springs right? Unfortunately not that easy – if you get longer springs, the car will just sit that much higher. Since the motion ratio is approx 0.5, if you make the spring .5″ longer, the car rides 1″ higher. Solution here is to run Hypercoil helper springs. You can completely compress these springs by hand, but there is enough spring force to keep the main sping in place. They compress to a mere 0.3″. The keep the lower spring in place on the lower mount – we opted to use a nylon part made by Vorshlag which some may recognise as a BMW parts supplier. To keep these in place, we just made up 1 3/8″ posts as you can see in one of the final pics. We also used a similar sized spacer to keep the ride height adjuster in place. The other key point about this position is still being able to get the spring adjuster in position on the top post.

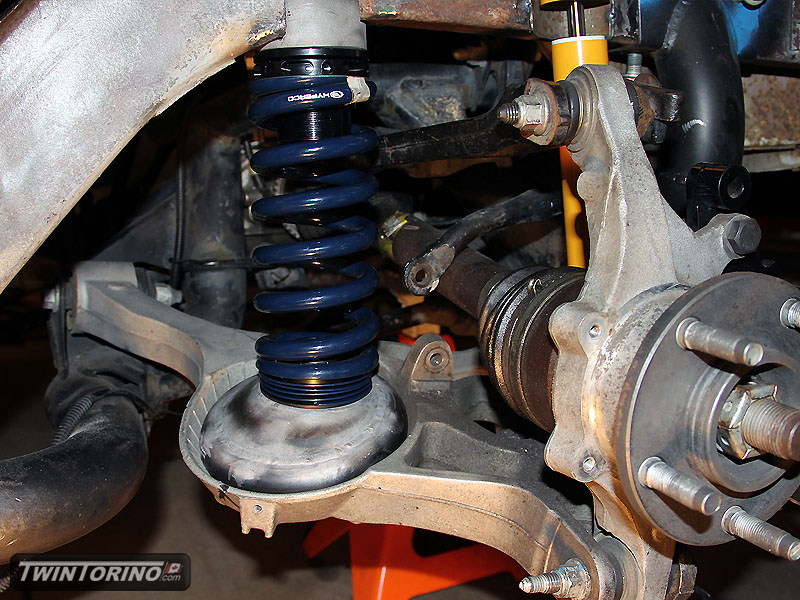
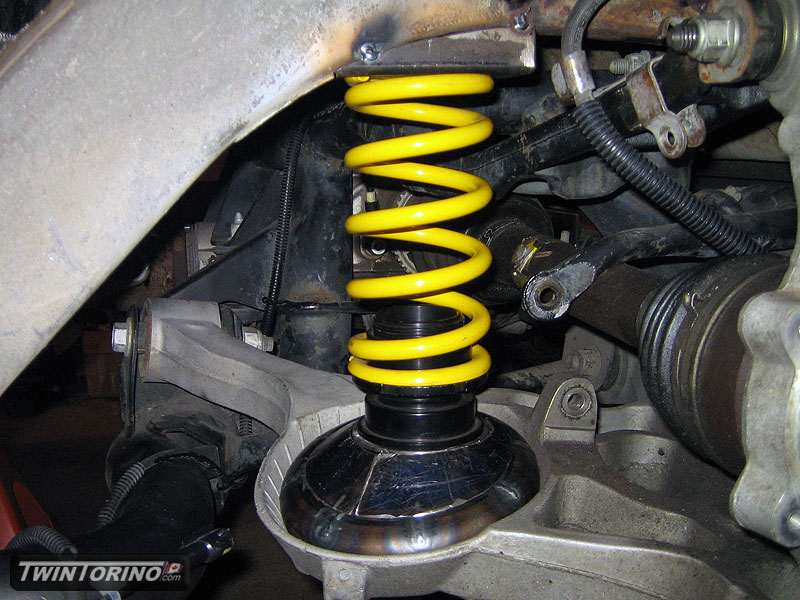
Design position – this is the position the car naturally sits at full of fluids on the ground. To fine tune the ride height, we opted to use 60mm ride height adjusters made by AST – yet other BMW part. Based on the second picture – you can see that the helper springs are full compressed and the entire weight of the car is now in the springs. To get the car at the correct height was a combination of spring length selection (since the rate was fixed to achieve a certain ride frequency), helper spring height, coil spacer height, and ride height adjuster overall height. The goal was to have the height adjusters at their midpoint at design position (which they actually sit at although not shown in the picture).

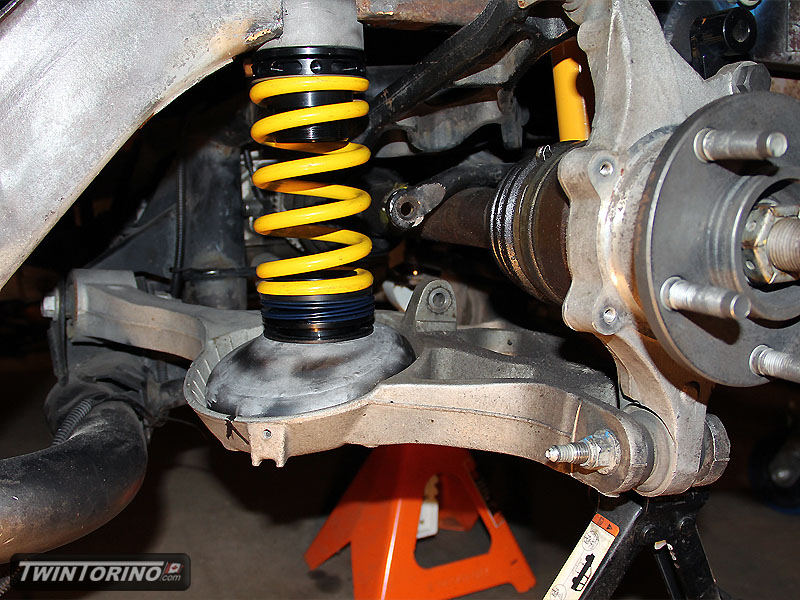
Jounce position – this is with the wheel pushed all the way up and riding on the jounce bumpers, which in this case are built into the shocks. Couple of issues you have to watch out for here – coil bind on the springs, control arm contact to the frame, and upper and lower spring seat misalignment. For the purpose of illustration, I stuck another spring on the car as compressing the other springs would require anchoring the car to the ground.

With all this in place and all the issues worked out (for now), the rear suspension design is complete and just needs to be final welded in place. This will make the process much easier on car #2.

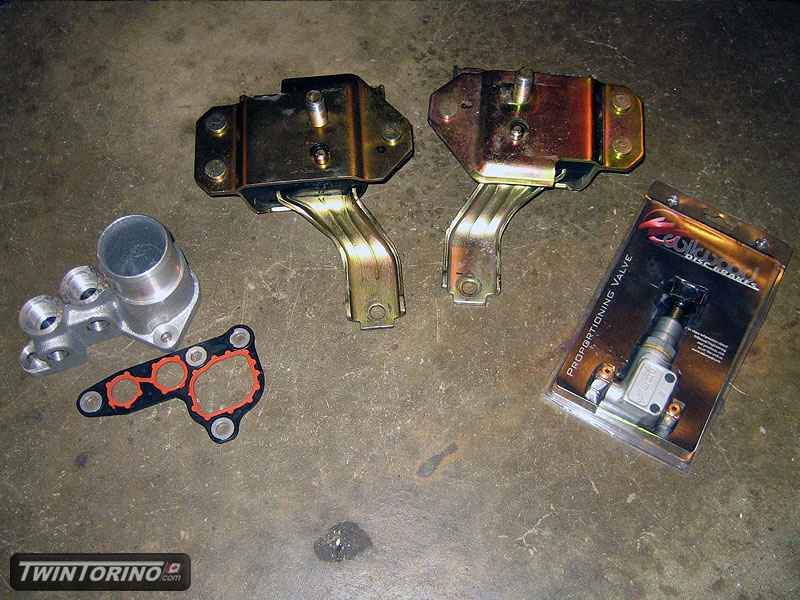
Only thing left in the rear suspension area now are the brake line routing and getting all the ABS parts in place.


Minitubs..

Managed to get some things done over the past month or so. Floors are in the car and basically done and now ready to weld in. Decided to move back to the rear suspension and things back together for good. First step was to add 1.5″ to the rear wheel wells to make them clear the tires, and then notch the frame out for the 2.75″ shock mount tubes. Once the shocks were in, we were able to confirm the shock jounce and rebound travel and everything looks OK clearance wise. Wheel wells are now tacked into place and ready for final welding. Sure would be nice if someone out there made Torino sheet metal parts :). Still lots of welding to do here, but getting much closer by the day.


Firewall, cooling module and more..

Suppose it is about time to post some updates. Making some decent progress lately.

Keeping in the theme of used parts.. picked up some more of them. Found a set of nearly new Energy Suspension 4.6L motor mounts and also a Wilwood proportioning valve. Had to buy the oil filter adater new though – the one from Ford Racing is a nice piece (M-6881-C). Planning on running a remote oil filter w/t-stat and also an oil cooler in front of the cooling module. This part also increase the block inlet hose to 2″ to further reduce the possibility of water pump cavitation.

We made up custom radiator and condensor mounts which allow us to get them both between the frame rails to keep them as low as possible. This way the degas bottle can be mounted where it was intended to go and remain the highest point in the cooling system, but at the same time being low enough to clear the hood which is does nicely. All these parts are from a 2004 Cobra which uses a 36mm all aluminum radiator. All other Mustangs except the Mach 1 have plastic end tanks. A/C compressor is now in and the new Mustang heater box also fits on the firewall. Just need to run the lines and the A/C system will be complete.

The firewall has been completed and is ready to install along with the floor pans. Rear suspension is nearing completion and just needs to be final welded. The only thing missing in the pic is the upper coil spring retainer. ABS wiring is now in place. Last thing to do is run the hard lines which will come next.

As an aside – I had never used the wet toilet paper trick to remove a pilot bearing so I figured I would give it a try. I am used to the messy grease trick. Surprisiningly this worked like a charm and clean-up is a breeze. You sure can fit a lot of paper in there! Installed a resurfaced 2004 Cobra aluminum flywheel, clutch, pressure plate, throwout bearing and clutch cable. Trans side of things is ready to go. Just need to get the mounts in.

We put the car on the scales and put every part and piece we planned on putting on the car. Looks like the car will come in at around 3450lb curb weight (56%ft/44%rr). With driver and gear we are looking at around 3650lb track weight. We put the car in the air and measured all of the corner weights and using the motion ratios front and rear figured out what spring rates to use. We are using 2.5″ ID front springs and 60mm rear springs from Hypercoil. The target is to run a front ride frequency of ~1.55Hz and 1.7Hz in the rear for the street. For the track the ride frequencies will be similar front to rear.


Wheels and Exterior Shots

Finally time for some inspirationsal shots. Got the wheels back yesterday from Weldcraft – they did an excellent job. I measured run-out on the machine and they were near perfect. They also took very little weight to balance.


We mounted up the wheels yesterday and dropped the car on the ground and rolled it outside for the first time in years. Got the ride height pretty close to where it will be – looks pretty mean. Front suspension is riding on the coil-overs, and the rear is just blocked up using wood for now (waiting on springs).


Figued we may as well try throwing one of the engines in to see how everything fits while we are at it. Everything fits surprisingly well. Just need to establish where to drill holes in the relocated motor mounts to get the engine as far back as possible. Big thing is the supercharger clears the hood with lots of room to spare. May not end up running the hood scoop in the to keep the stealth theme going :).

IRS Bearings..

Front wheels went out a week or so ago to Weldcraft Wheels to get narrowed 1″ to 18×9 and we expect one set back this week. After that the car can actually sit on the ground on actual suspension and not have the tires rub on something. Replaced the rear wheel bearings on the IRS as they are a weak point in the design and one was on its way out. They are done and back in the car again now after cleaning them up and pressing in new bearings. Also mocked up the front sway bar and fabricated most of the parts needed for the rear spring perches. Need to grab some more pictures and post them.

Car back on the ground..

Since the other car is quickly approaching build time, we are finishing up finding all the odds and ends we need for it. Finally found a used set (although not really used) on Ebay from someone that bought the set and did not use. They are Maximum Motorsports Fox body Mustang forward offset control arms with Delrin bushings.

Finally after all this time, the car has been put back on the ground. It is still floating on the rotisserie for the time being. Just need to get springs on the car and it will roll around after that. The front wheels go in this week for narrowing to 18×9. To bad 315’s don’t work on the front – they sure make the car look mean. Will have roll the car outside soon and get some good pictures for a change.

Rotisserie in use..

Finally making some progress here. Almost done – just need to add the winch to the mix, slap on some paint and call it a day. Was able to lift it in the air and everything looks OK. For now it just uses 3 legs and does not tie the two sides together so it is easy to get on and off the chassis fixture. Once that gets out of the way we will put the tie bars in. We ended up just using an old set of bumper brackets for the front setup which made things much easier. Just need to clean the car out so it can be flipped over. Now I just need somewhere to put all of this stuff.

Should be on the ground this week finally.


Rotisserie Continues

Been on vacation in LA for the past 2 weekends – so not much work done on the cars lately.

Did manage to get the phase convertor running and fired the ‘ol Bridgeport up. Sold a restored Torino console to get the Bridgeport (and still have money left over believe it or not). Sure is handy to have around. Got most of the machining done, so all that is really left now is welding an painting. Hope to have near functional this weekend. Torino is ready to drop on the ground now. Before I know it, there will be a real engine in it for a change.

Got the 315’s mounted on the rear rims and on the car. They actually fit quite nicely and won’t need any wheel spacers. Need to get the front wheels narrowed 1″ and those will be all set too.

[img]http://www.twintorino.com/images/rotisserie_008.jpg[/img]
[img]http://www.twintorino.com/images/rotisserie_009.jpg[/img]

Rear IRS and new wheels..

Moving right along.. been a busy week. Our goal was to have the car ready to go on the ground by the end of March. We were working right up until 12:00 and baraly finished most everthing. Just need to finish up the rotisserie and it can go back on the ground for the first time.

Drilled out the frame for crush tubes and welded those into the frame so the brackets can be safely bolted to the frame structure. Once those were done, it was time to weld the tubes at all 4 corners of the assembly. We pulled the entire IRS out and finished all of the welds up. It kinda looks like the tubes came that way from the factory :).


Also may be changing the wheels up a bit. We got a couple of set of Roush forged 18×10 wheels (scratch and ding models) and decided we may like these better. As luck may have it, the offsets were very close front and rear. Only problem is that an 18×10 won’t like the front clearances, so we are going to have to get the fronts narrowed since there is no such thing as an 18×9 in this model. Not the hugest fan of chrome, but it is growing on me.

Page 5 of 12« First...«34567»10...Last »

Categories

Archives