Category: Front Suspension
Sway bars done, cooling done..
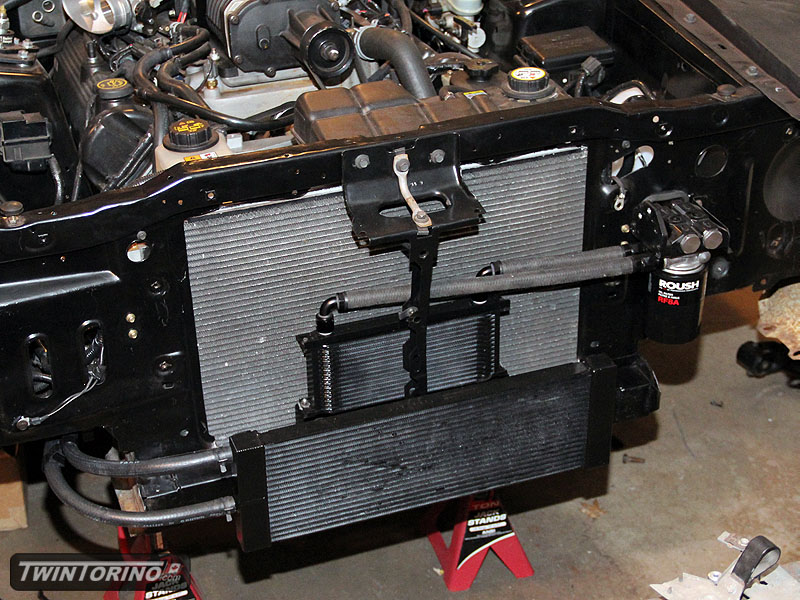
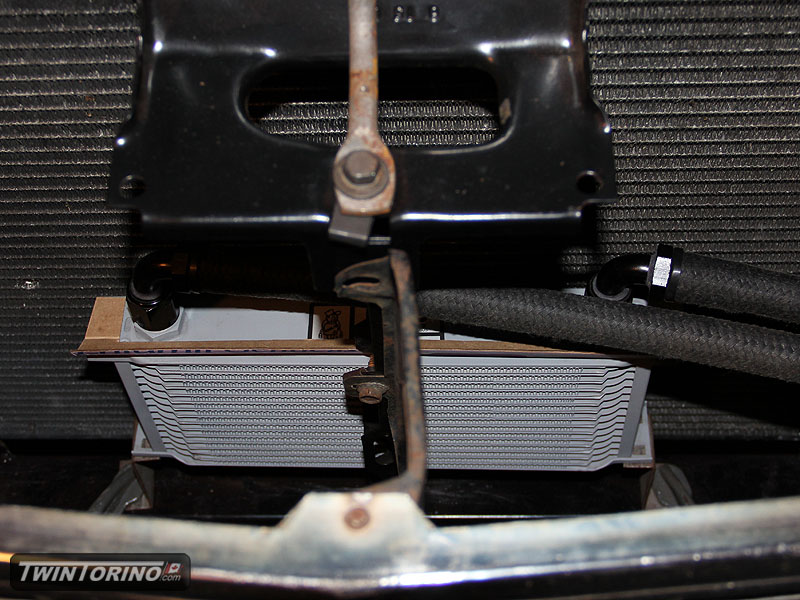
Been a while since I have had time to put together a post. We have been quite busy working on the car.. although most of the things like electrical etc don’t really provide for exciting progress pictures. Cooling system is basically wrapped up. Intercooler heat exchanger is in and ready to run, as is the oil cooler system.
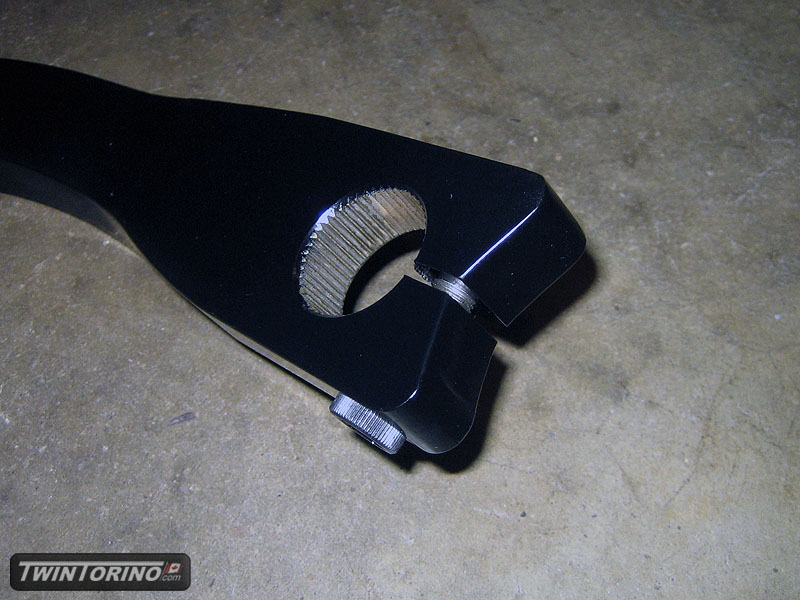
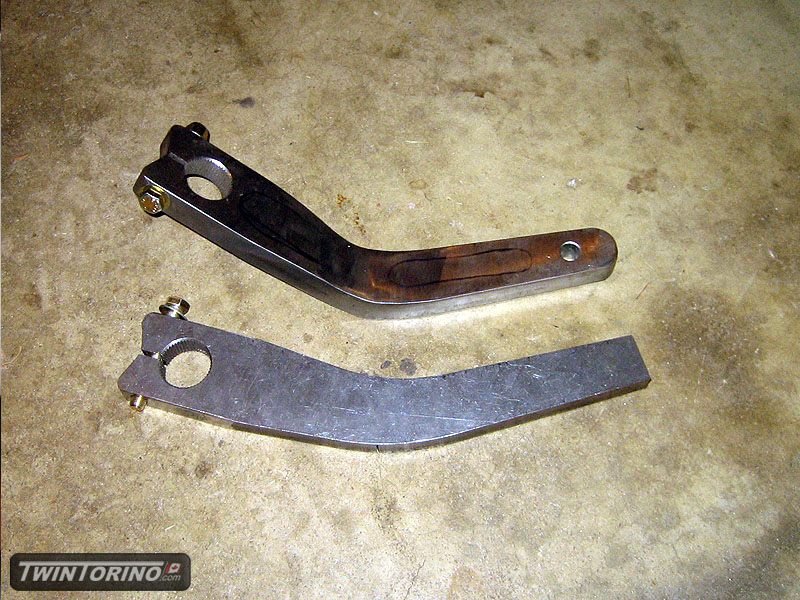
Sway bar is now in and complete. Did some machining on the arms to make them easier to assemble and to clean them up a bit. After that, powdercoated everything and installed. Can’t wait to actually try this thing out on a corner.

Sway Bars Continued..
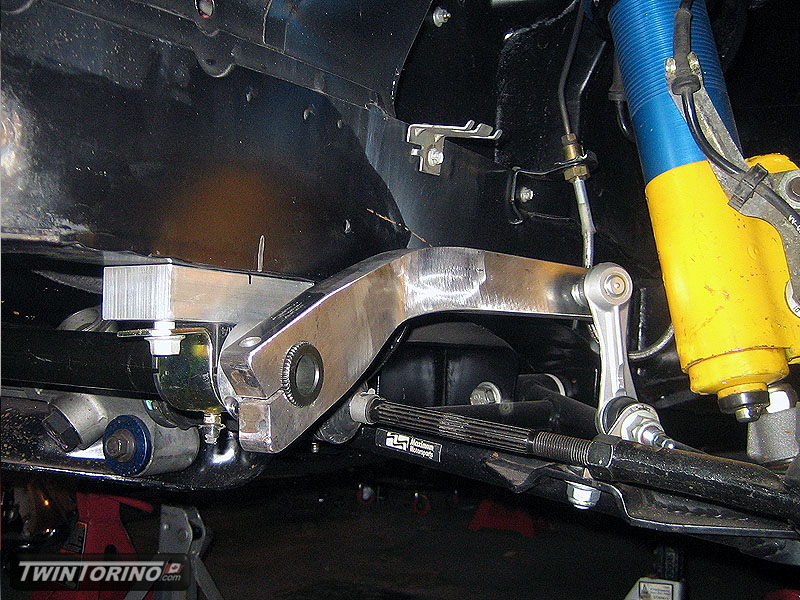
Drivers side sway bar bend up and completed. Sway bar mounts attached, collars installed and ready to go.
With this.. front and rear suspension design and fabrication = DONE! Finally.
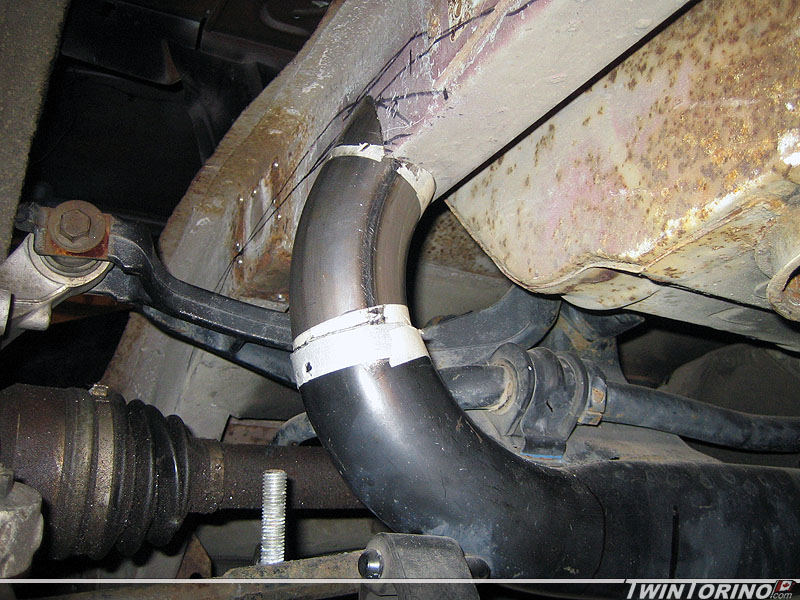
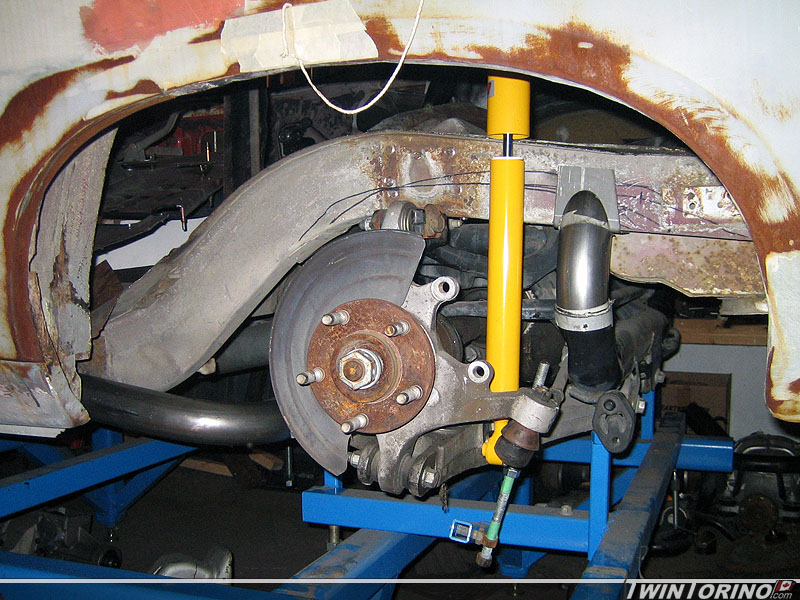
Front Sway Bars
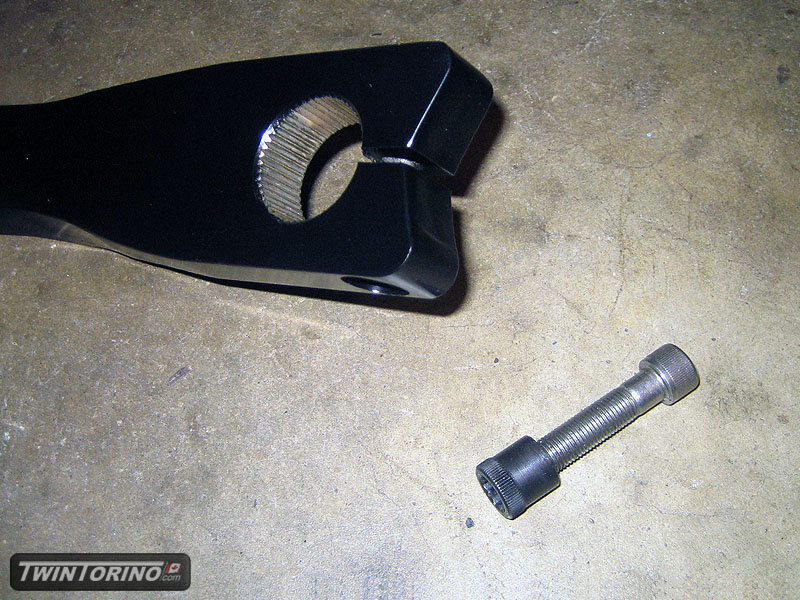
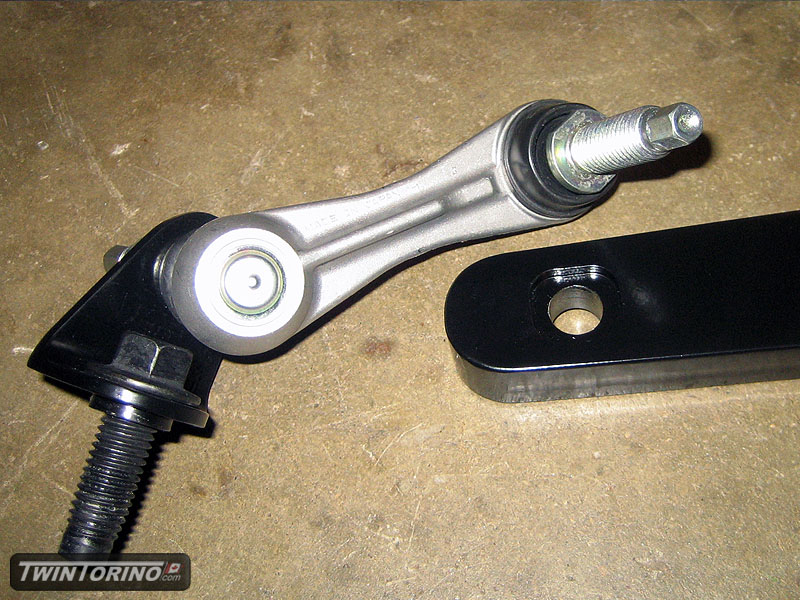
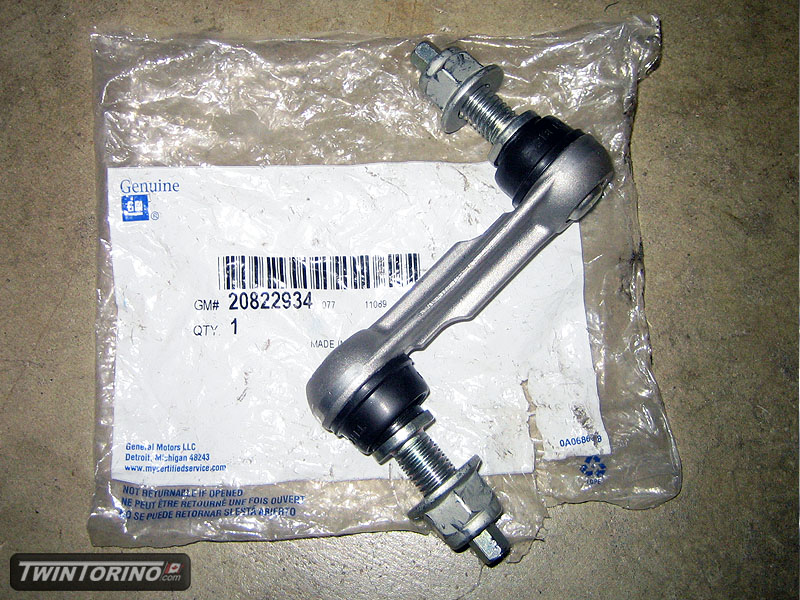
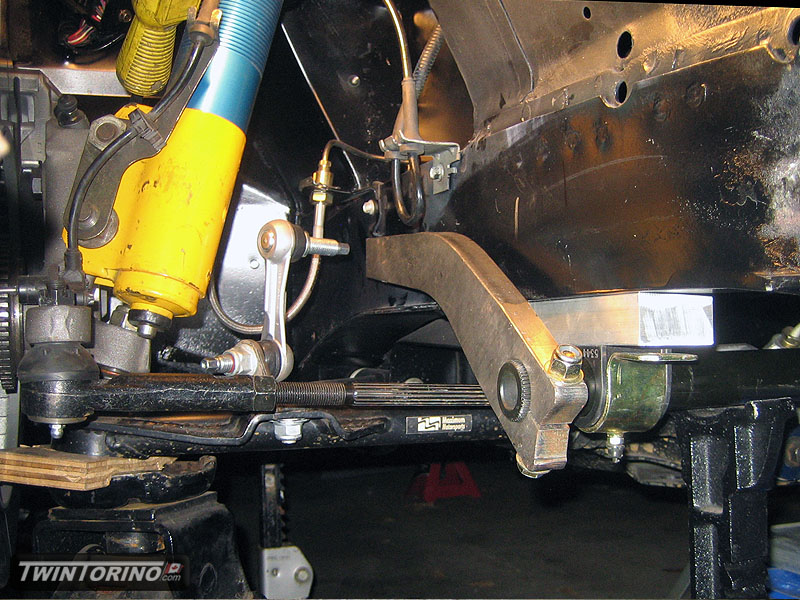
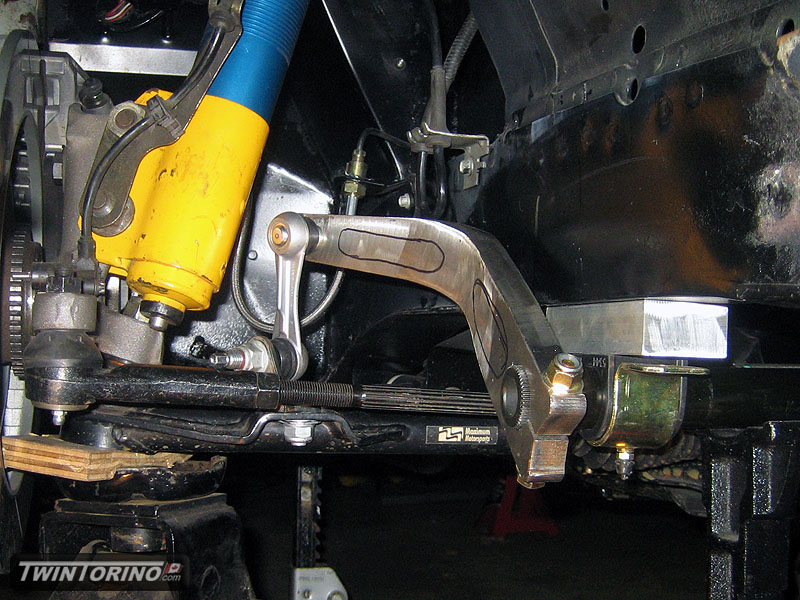
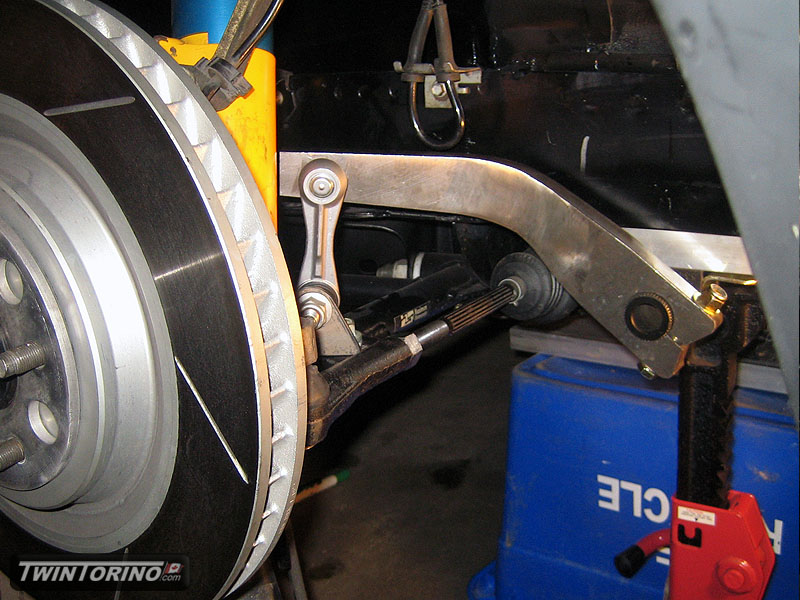
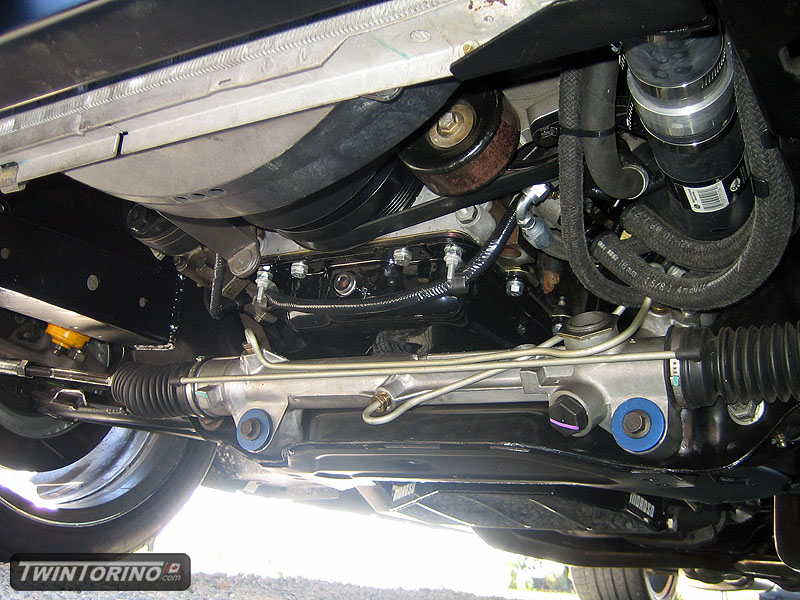
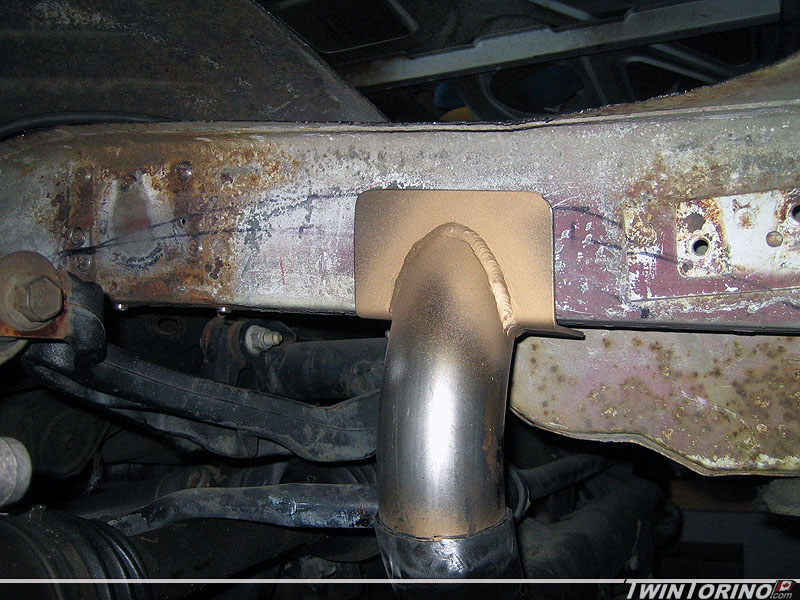
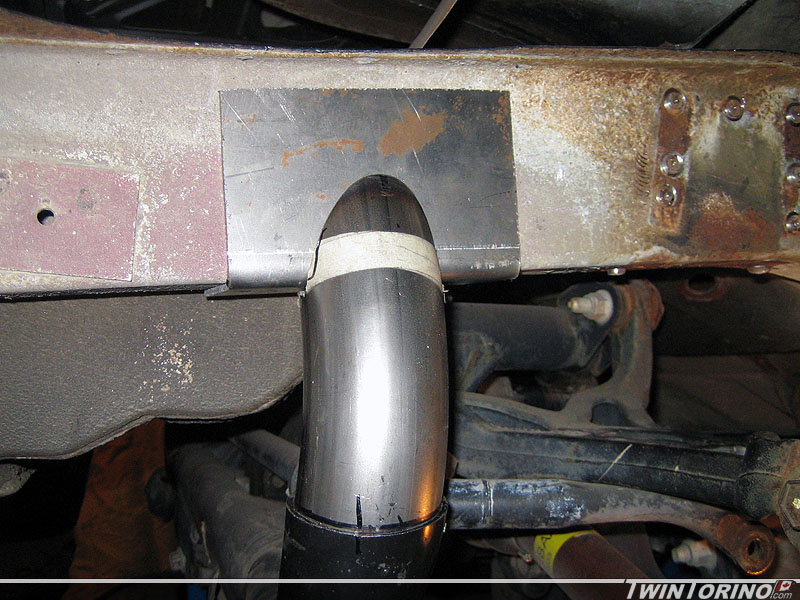
Back to the front suspension once again.. one last item to take care of – the sway bar. Since there is clearly nothing out there that would bolt right up.. we had to modify one to make it work. We are using a Speedway swaybar setup with 30deg steel arms. We have upgraded to using one of our first GM parts on this build. In this case, and aluminum C5/C6 Corvette end link. Since they do not bolt up directly to the control arms (of course not), we had to make up some interface brackets. The arms fit quite well, the only mod we really had to make is bending them 30deg to mate up with the end link. To clear the 275 tires up front, we had to notch the frame to be able to go full lock. After some cutting, v-notching, bending and welding, they kinda look like they came like that.
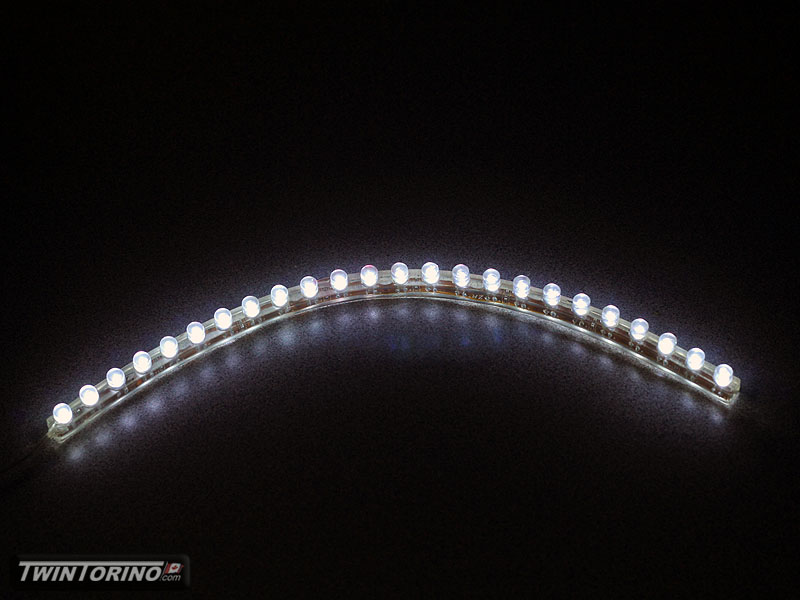
Also got in some LED’s for cluster backlighting. Will be interesting to see how they illunimate things.
Life After Burning Out..
Been a while since I have updated things here. We took a break for a while on the cars after burning ourselves out in August.
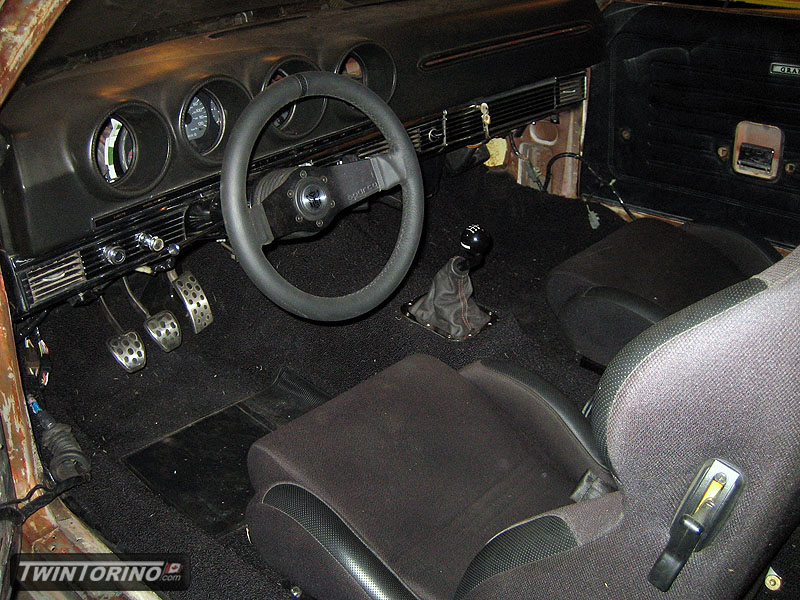
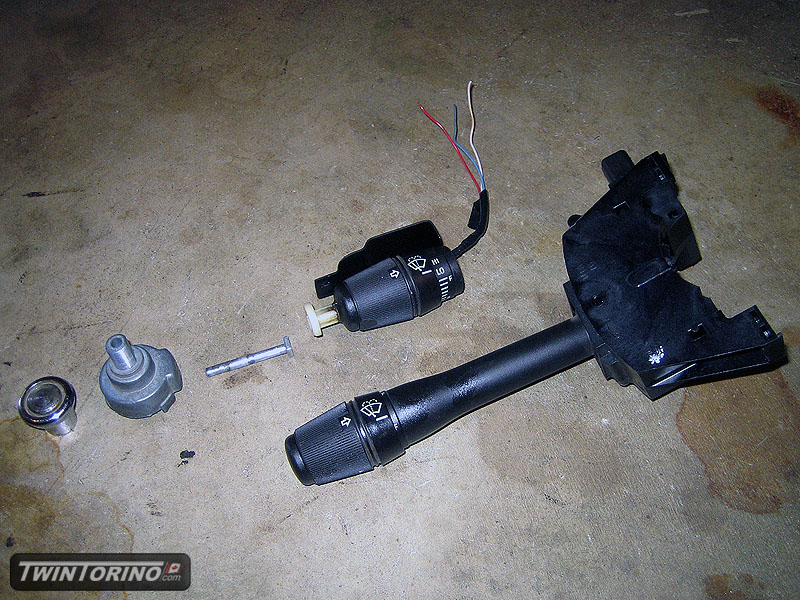
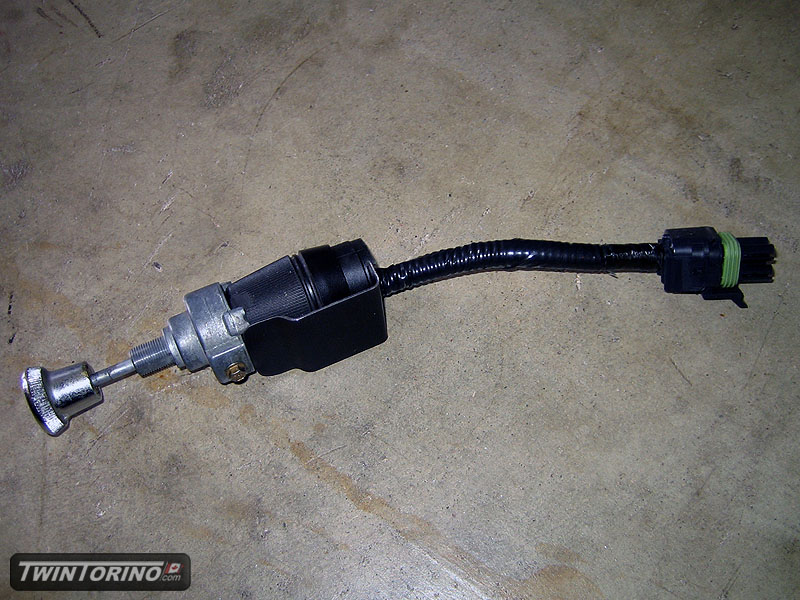
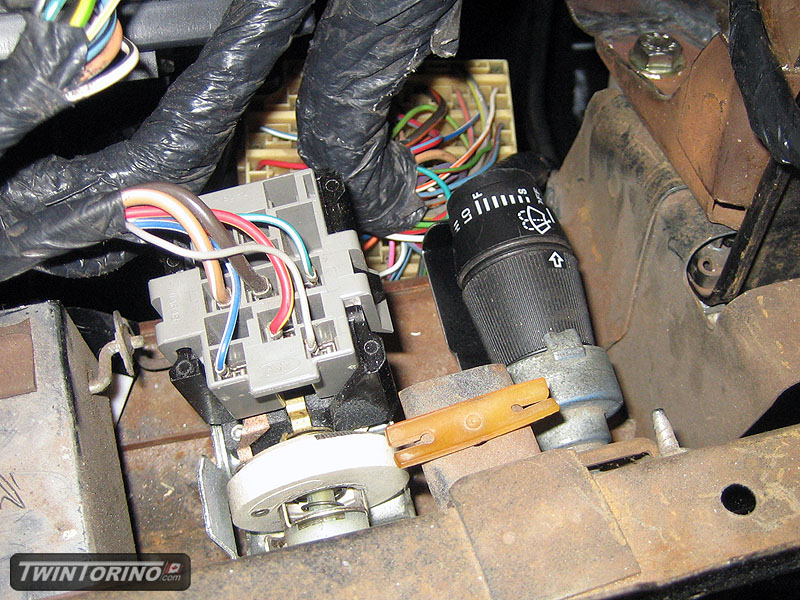
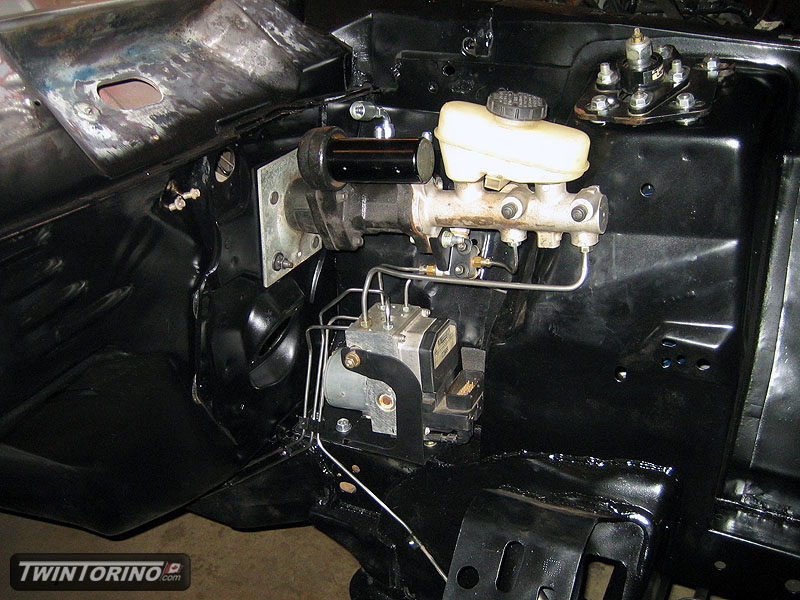
Now started to move on to take cars of the smaller things like interior, wiring, cooling system etc. Got in intemittent wipers to work using the original Mustang multifunction switch on the column. It was unfortunately not as simple as just getting an 80’s intermittent switch like some do because of the way the computer controls them.
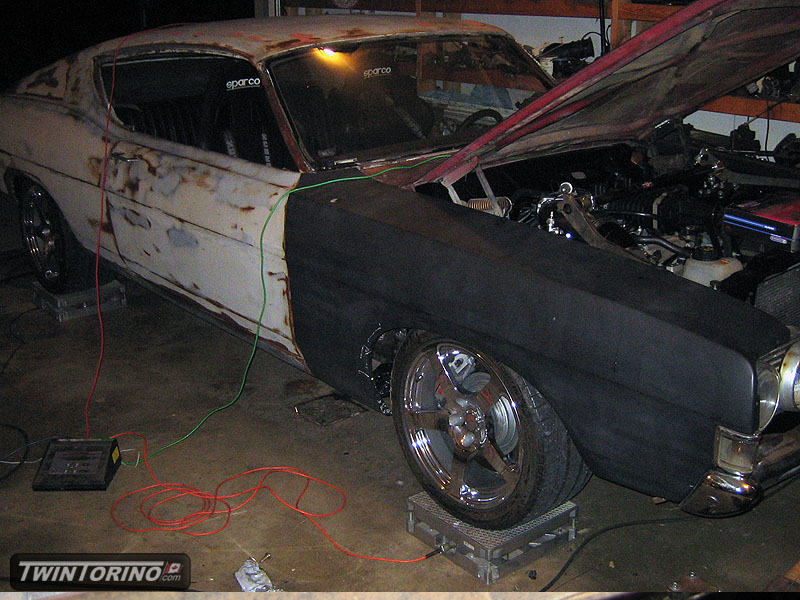
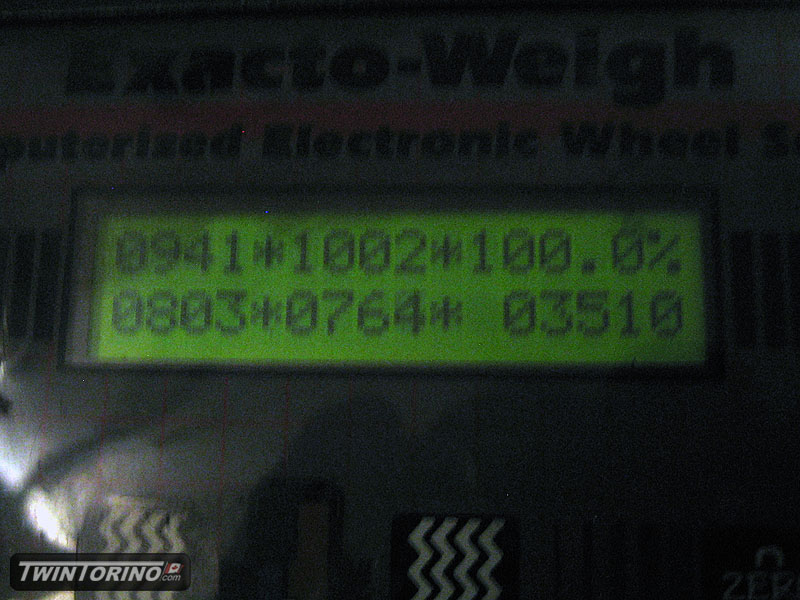
Put the car on the scales now that it is basically complete. 3500lb and ~55%/45% weight distribution. Definitely not as heavy as most would have expected. This was the original goal, we were just not sure if we could get there when adding heavy thing like IRS etc. Still more parts to go on the car – so we approximated them with weight on the car. Once we get into things like carbon fiber bumpers etc, hopefully this will go down.
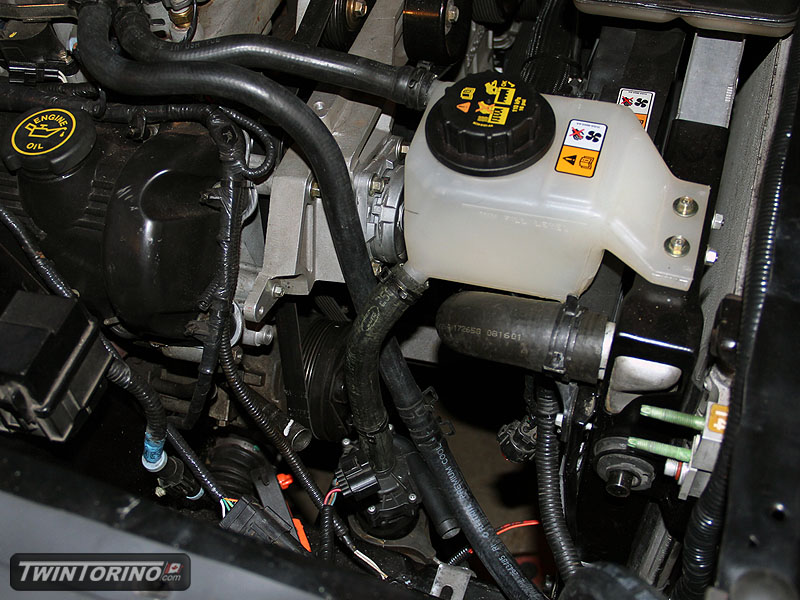
We have been running the past month or two without a low temp radiator loop on the intercooler circuit, so we have not really been pushing the car until we get this in place. We ended up using a 2007 Shelby intercooler pump bracket and sticking it in the sheetmatal brake to make it conform to the Torino frame. Then it was a matter of playing connect the dots with hoses. Still working on the radiator itself which will go behind the bumper. Also have the oil cooler going in.
Still need to get some videos up. I’ll hopefully get those in the next day or so (low res ones at least.. 1080p ones are huge!).
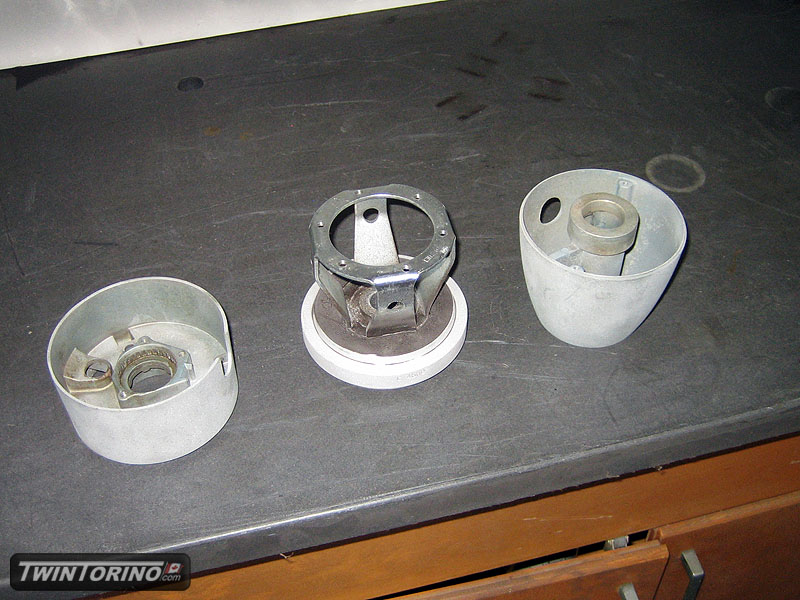
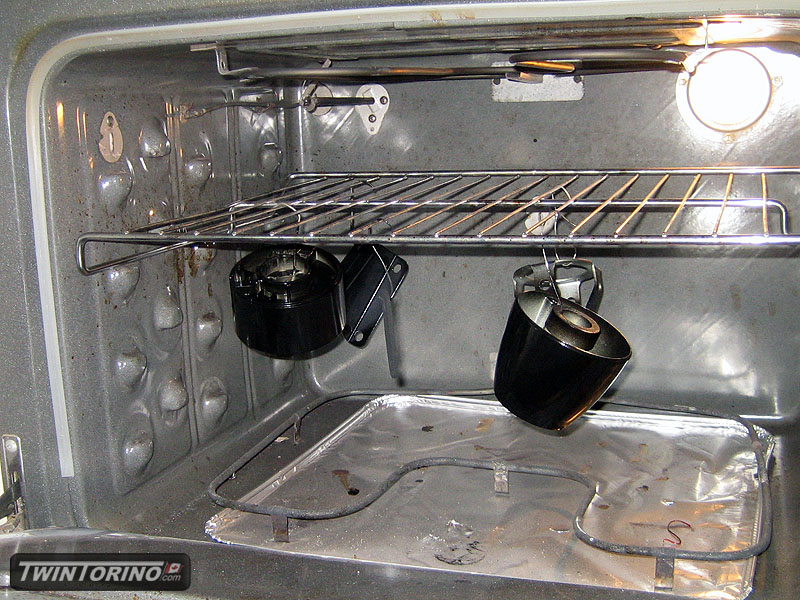
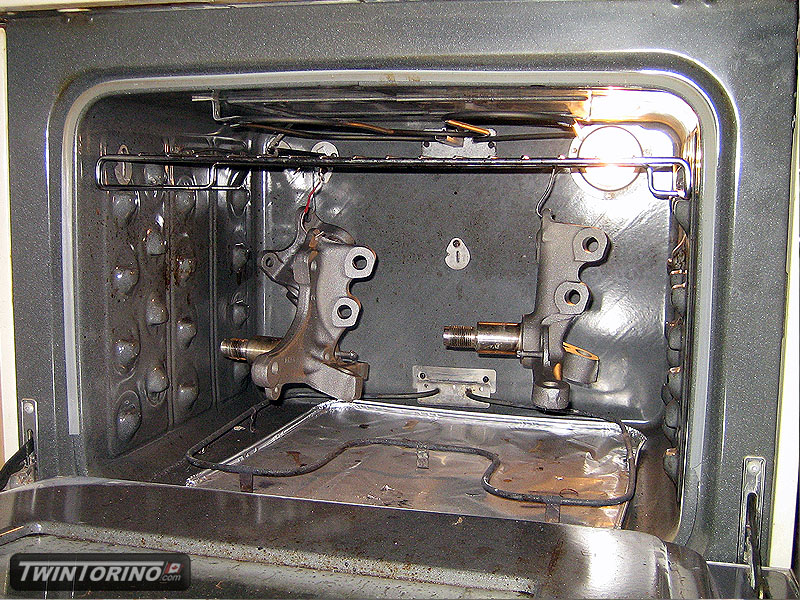
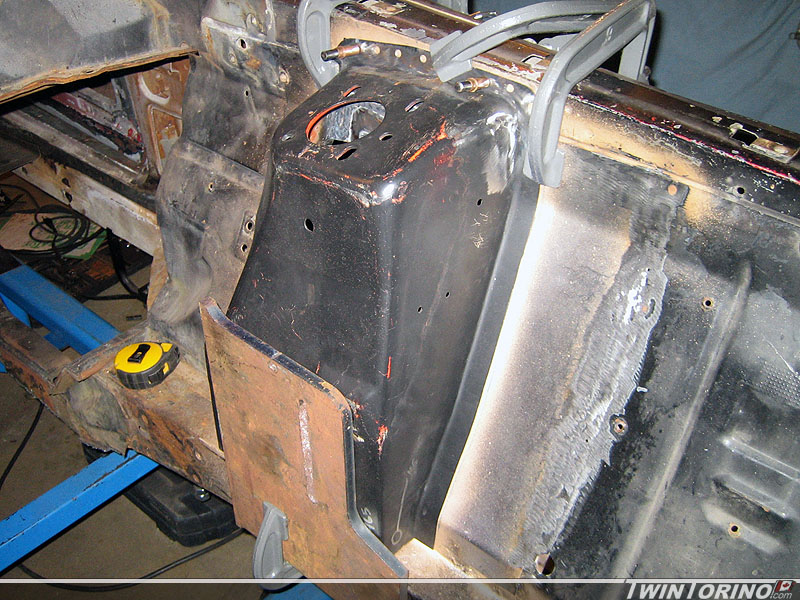
Underbody Cleanup and Part Detailing
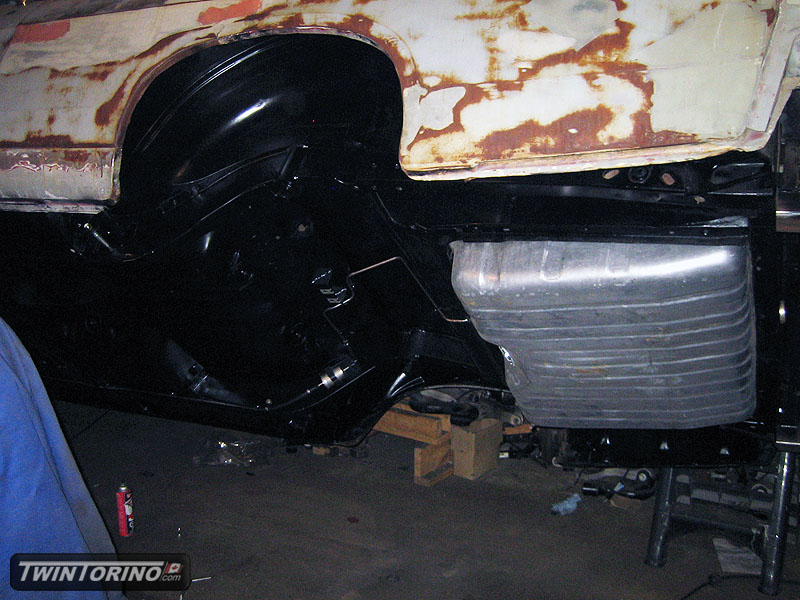
In the midst of all of this, it was time to seal things up for the time being, and start to make everything look presentable. This included painting the underbody and engine compartment and powedercoating all kinds of parts and pieces on the car. Everything will be sealed up for good later when the car gets snadblasted. Nothing high budget, just some rattle cans and an Eastwood powdercoating kit.

Car back on the ground..
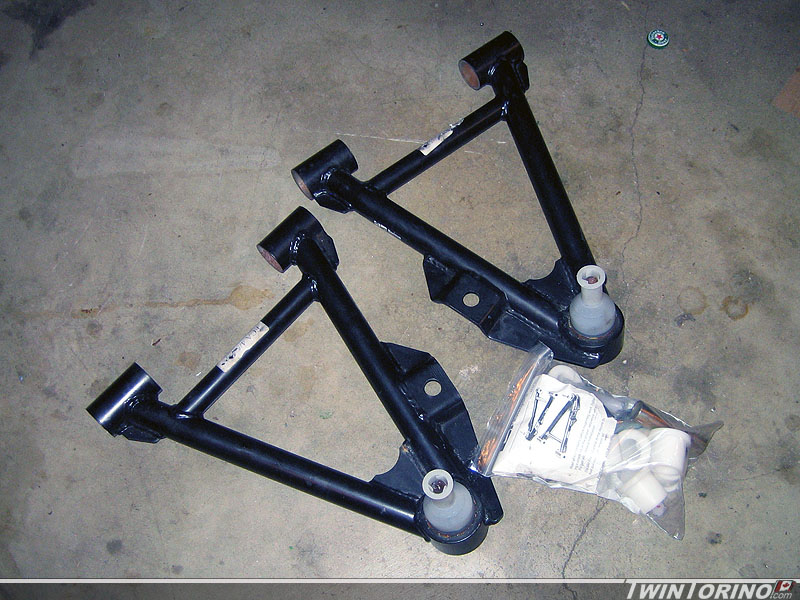
Since the other car is quickly approaching build time, we are finishing up finding all the odds and ends we need for it. Finally found a used set (although not really used) on Ebay from someone that bought the set and did not use. They are Maximum Motorsports Fox body Mustang forward offset control arms with Delrin bushings.
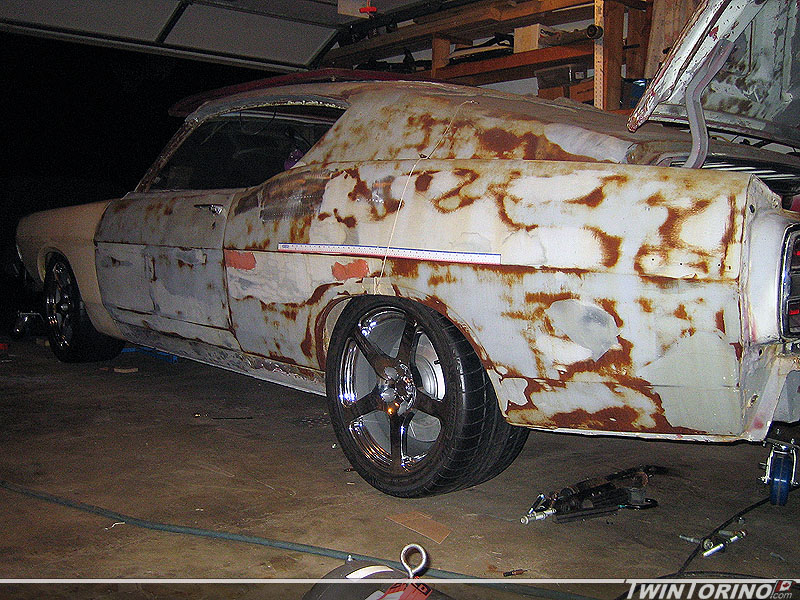
Finally after all this time, the car has been put back on the ground. It is still floating on the rotisserie for the time being. Just need to get springs on the car and it will roll around after that. The front wheels go in this week for narrowing to 18×9. To bad 315’s don’t work on the front – they sure make the car look mean. Will have roll the car outside soon and get some good pictures for a change.
Rotisserie Begins..
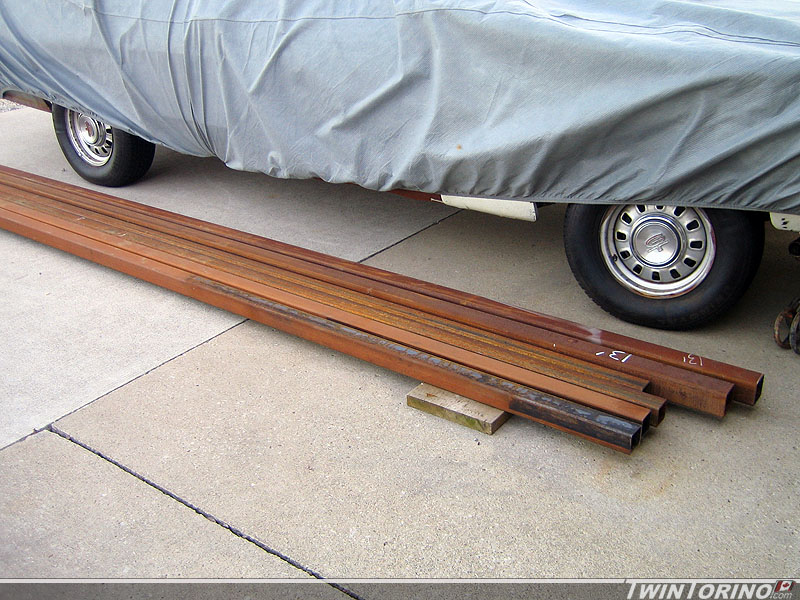
Hoping to build a majority of the rotisserie this weekend. Picked up the steel last Friday, and the rest of the parts and pieces should be here by this Friday. Managed to find an auto supplier that had excess steel from jobs that had been cancelled so got it for a good price. Got some 3″x3″x3/16″, 2.5″x2.5″x3/16″, and some 2.5″x2.5″x1/8″. I already had the 2″x2″x1/8″, and that covers everything besides the plate.
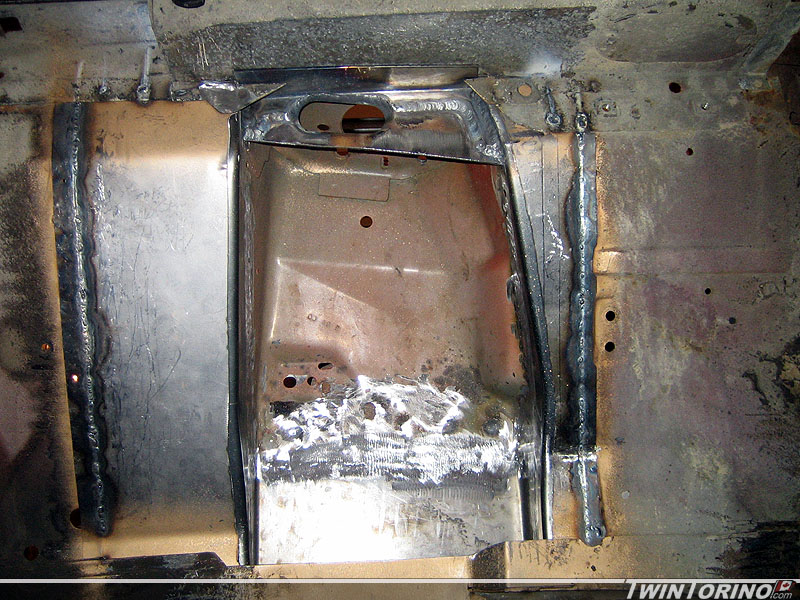
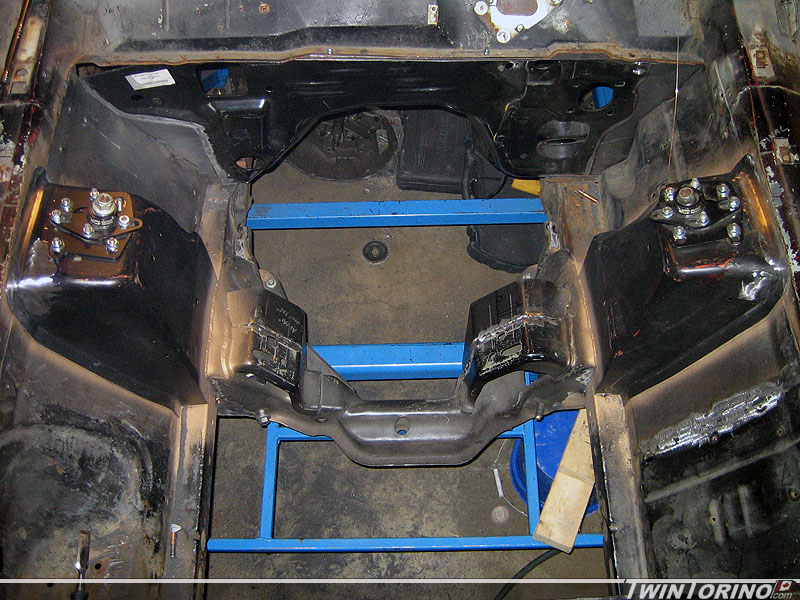
Hit a major milestone over the weeked – front k-member is now welded in and the strut towers have both been finished off. We verified the caster and camber settings, and once we established they were correct, it was welded in for good. Front suspension is now ready to go on the ground! Just have to weld up some of the seams once on the rotisserie and it will be a done deal on the front.
Sway bar is the only thing left. Will be using a straight splined bar from Speedway Engineering with offset sway bar arms. Will use a PVC pipe to package one in for now until the bar rates are selected. To select those, final springs rates need to be selected, which is waiting on the overall corner weights of the car. Won’t have those for a while.
The push is now on to get the rear on the ground. We cut the rear mount to size and welded the tube to it. Just need to drill holes through bracket and frame rails, weld in crush sleeves and weld the tube to the IRS cradle. The front mounts are also done and just need to be welded to the IRS cradle. After that it will bolts right up to the frame in the rear. That leaves the shock mounts and springs mounts which are also nearing completion. Looks like we will be on the ground soon. Just need the rotisserie done so we can pick it up of the chassis jig and put it back down on the ground.
Rotisserie ready to build
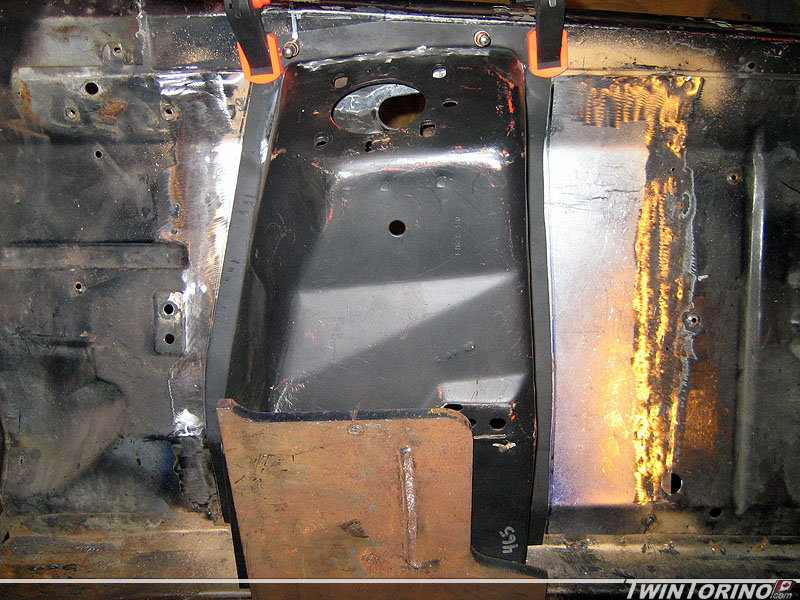
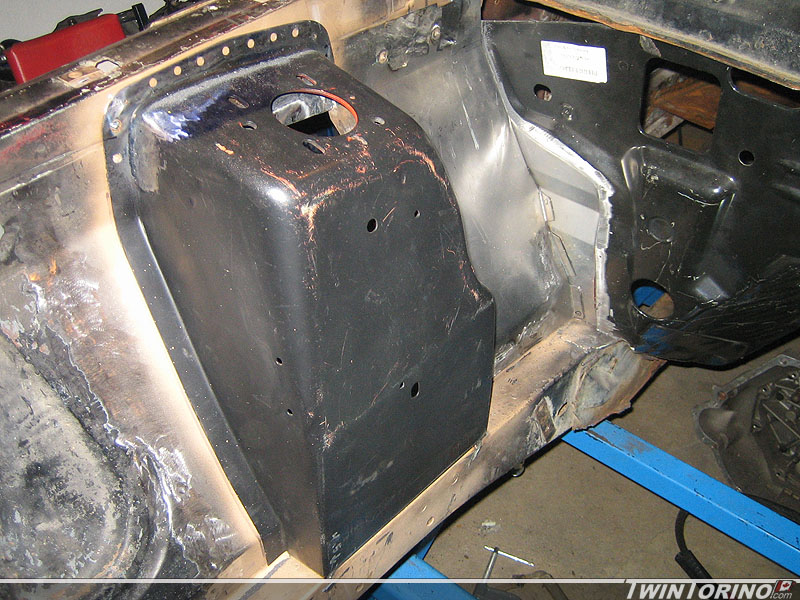
Made some more progress on the front suspension/firewall. Pass side firewall is now near completion and mates up nicely with the torque boxes (easier said that done). After that, the rear closeout was welded in for good, and then the strut tower was tacked in too. Will finish welding up the tower and then weld in the k-member this week. After that – front suspension is basically done except for the swaybar setup which should be fairly easy anyway. It will be based off a Mustang one.
Moving on the rear IRS once again, we bent up some 1/8″ brackets for the rear mounts. Have the pass side mount almost ready to go. Just need to get some crush sleeves made up for the frame and these will be ready to weld in for good. May be hoping in getting the car back onto the ground for the end of the month. This means car #2 can begin. This also leads to the next step which you can see below.
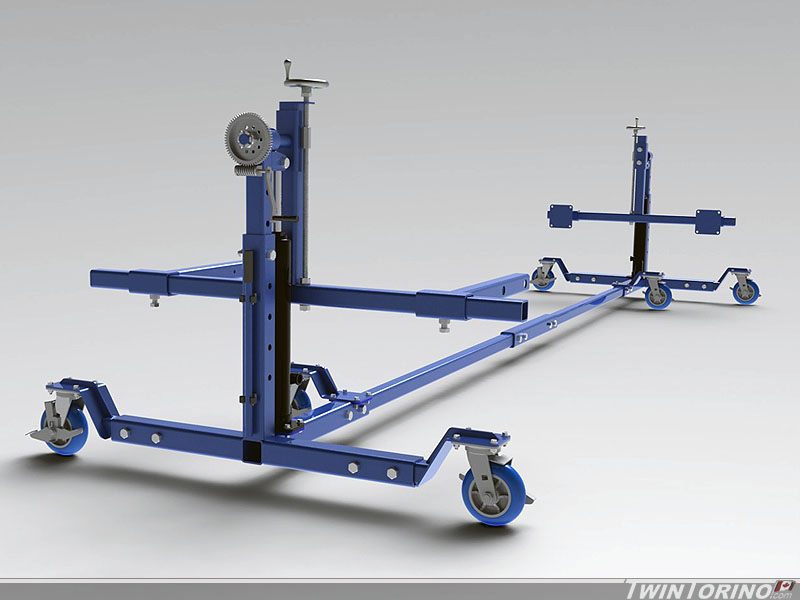
Almost ready to build the rotisserie. Finally have the design near complete. Casters are ordered, I have the hydraulic jacks from when they went on sale last week, and also have a bearing/housing setup that I found kicking around. Just need to grab the steel. Rotating part is based on a std. trailer spindle which make things cheap and easy to find parts for. Also makes it easy to seal things up for bringing near the sandblaster etc. We will just run dynamic trailer seals on both side of the bearing. Worm gear setup on the end is from a Harbor Freight winch. Made this up in Solidworks 2010 – CAD sure has come a long way. Have this designed so it will pick the car up off the chassis fixture (remove the center section and add the 3rd set of wheels).
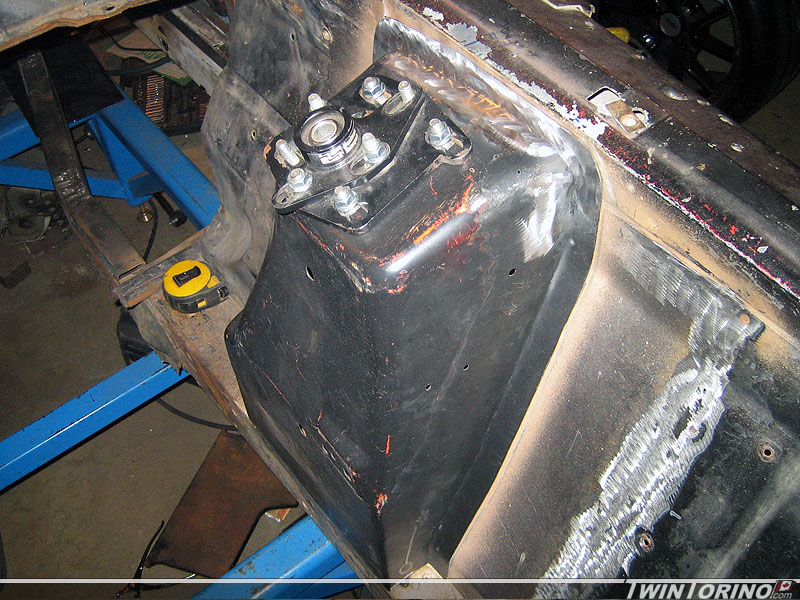
Shock towers in.. IRS continued
Couple more updates..
Finally stuff on the front suspension is going in for good. Final prepped everything on the drivers side strut tower, drilled all kinds of holes for plug welds and welded everything in. We will wait until we get the car on a rotisserie to well all the way from top to bottom. With the plug welds ground down, it looks like the pieces were supposed to be there. Just need to weld in the pass side and it will be time to put the k-member in for good. Almost done with the front – hard to believe.
On that note – time to catch up on the back suspension. Finally decided how to do the rear mounts on the IRS. We used one of the 2.5″x1/8″ tubes we have made up for the front mounts, cut one in half and will use the 2 pieces to make up both rear mounts. We lucked out and it looks as though the rear tubes use the same 5″ radius as our bends do. Big thing is the rear mount will still clear the 315’s with stock wheel lips. Just need to go grab some more steel to make up the actual brackets that bolt to the frame as we used a scrap piece for now that was a bit too small. Next we need to make up pockets in the frame for the shocks and clearance for the upper control arms. We’ll be on the ground in no time.

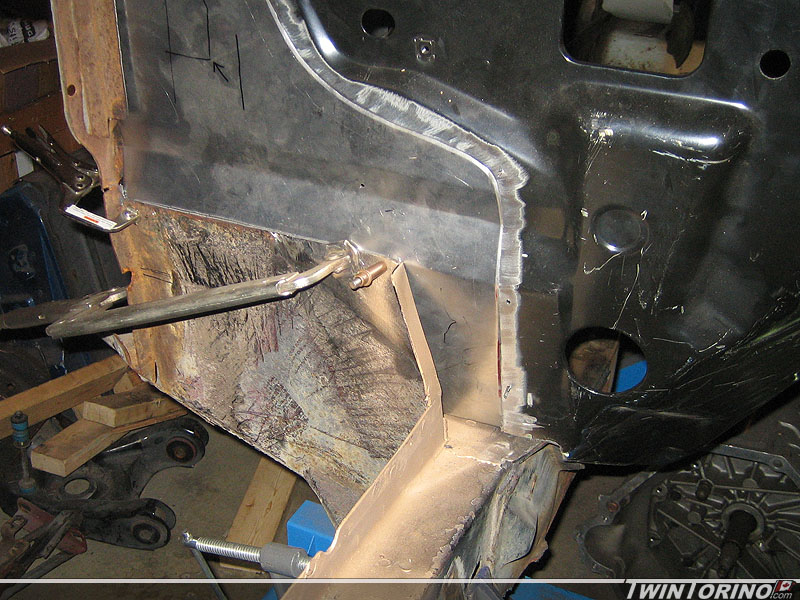
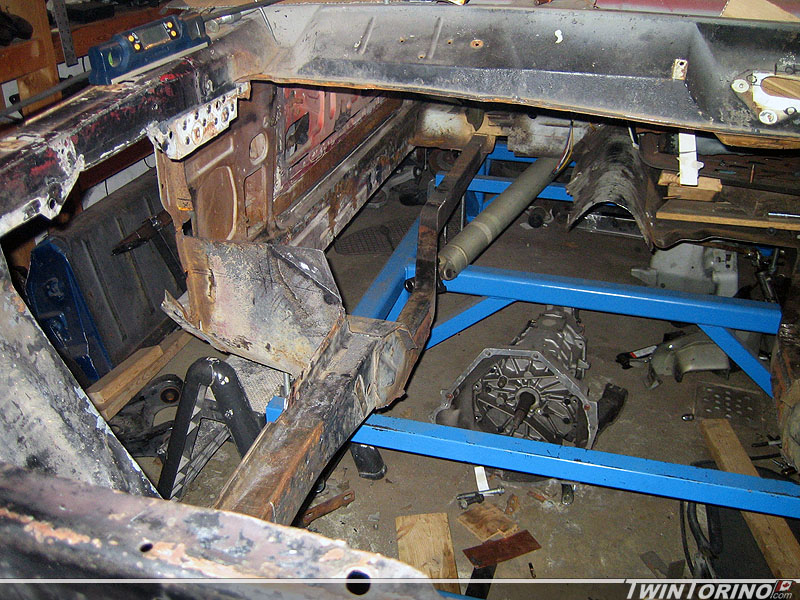
Hole through the car..
Started pulling everything apart before the re-welding begins. This one definitely screamed Kodak moment. This is a close to a skeleton as it will go. Will be a nice picture to look back on. The car sure looks bad like this :). Thankfully this will now fill in really quickly.
Finally have the drivers side strut tower completed and ready to weld in. Got the stiffener plate welded on and have all the close-out panels welded in and ready to go. Hope to finish the pass side one this week and get them welded in for good. Only a year behind schedule on these :).