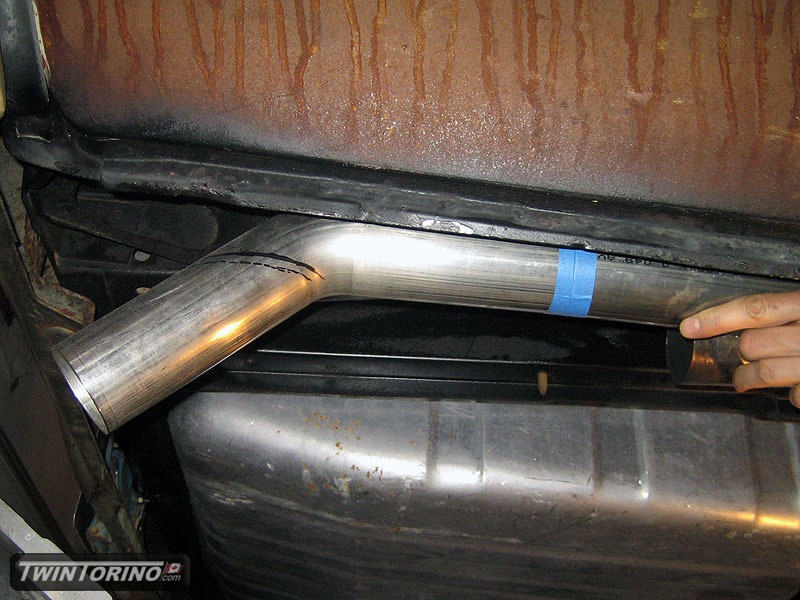
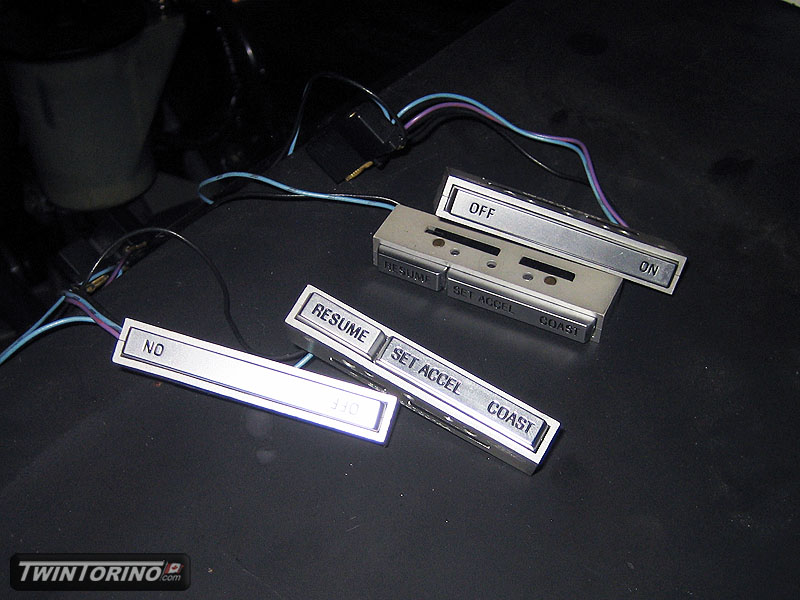
Moving right along.. time for the details now as we are slowly running out of things to do. Time to start making things look good. Have spent a lot of time sandblasting powdercoating brackets etc. Also decided to wrap up exhaust while we were at it. Going with the stealth tips for now and will be cut almost flush with the rear body line when done. Was not sure what to do about the cruise control as most steering wheel buttons don’t look right in an old car. Other issue is having the electronics on the buttons work with the modern electronics. Turns out a mid 80’s Crown Vic fits the bill here. They are metal looking buttons that do not look at all out of place on the Torino. They will likely make their way beneath the dash in custom housings.
Next was lightning. Lots of options here.. most of them are sub par. Seems most lights are looks over function. Several paths we can take here. Go out in left field and make a custom HID setup using the guts of a new Ford HID light (Mustang, Taurus, Explorer etc). That just screams $$ and time. We’ll revisit this later. Note that putting HID bulbs in a standard halogen based housing does not count. HID bulbs require their own custom projectors and provide horrible optics when placed in a non-HID designed housing, and will also blind oncoming traffic with even the low beams on. Not quite sure why this fad has taken off in the aftermarket. There is a reason why cheap HID kits are only $100, and high end ones with the correct housings are 10x as much.
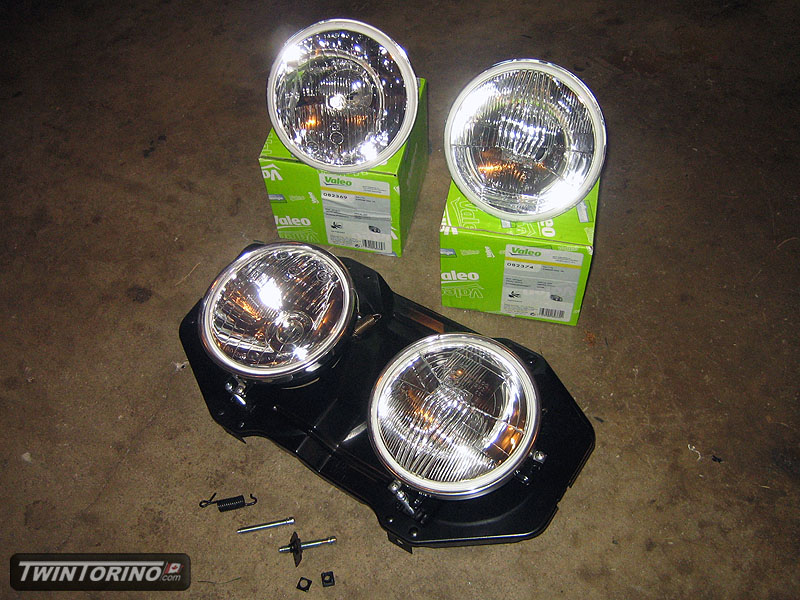
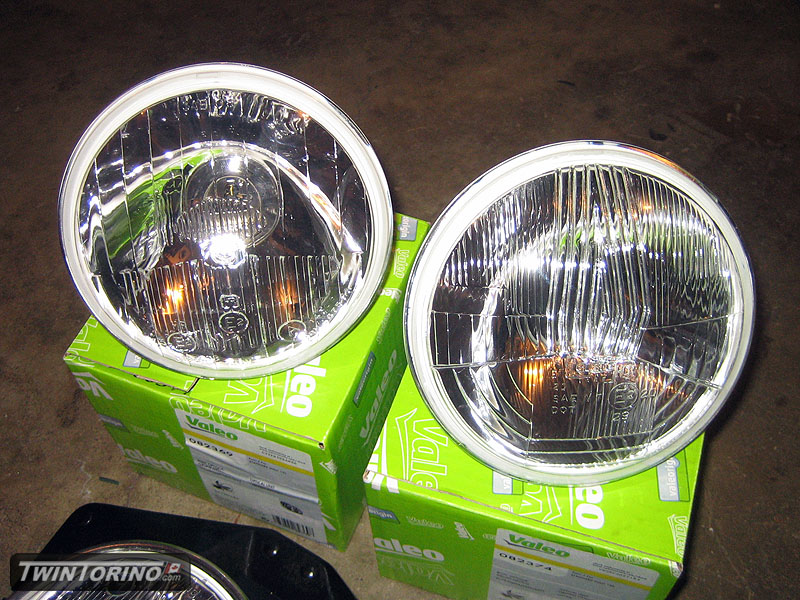
Ok.. back to the point here. Several options for Halogen based lighting. Goal was to run H4 for the outer bulbs and H1 for the inners. Main objective is to have a crisp lighting cut-off and glare free lightning. Basically be able run very bright lights without blinding oncoming traffic but still be able to see everything. Three obvious options in the order of increasing cost: Autopal, Bosch and Cibie. Pricing wise, one Cibie housing costs the same as a set of 4 Autopals. There are mixed reviews out there on the Autopals, plus they are not easily available with convex lenses – only flats here in North America. You can get the H4’s in convex (HL-103-H4), but no H1’s (HL-103-H1). I looked everywhere – only place you can get them is in Australia. Shipping cost rules out that option. Next is Bosch. Not a fan of the look of Bosch housings as they only come in flat lens, and they get mixed reviews. The last selection is Cibie lights. These rise above the rest and then some. They are pretty much the best you can buy as far as optics go. I was not really interested in paying the ridiculous prices they go for over here, so since we needed 8 total lights for both cars, I decided to order direct from the UK. Saved about $30/housing in the end with shipping included. I can’t wait to try these out. If they work as nice as they look, I will be all set. For now I will run the std 60/55W H4’s and 55W H1’s. Both with be Osram Silverstars which are on order from the UK. Note that since Torino parts are scarce, 1969 Mustang headlight kits were used and disassemled as used as donors. Since they rest of the car was built using the best of parts, the optics should be no exception.
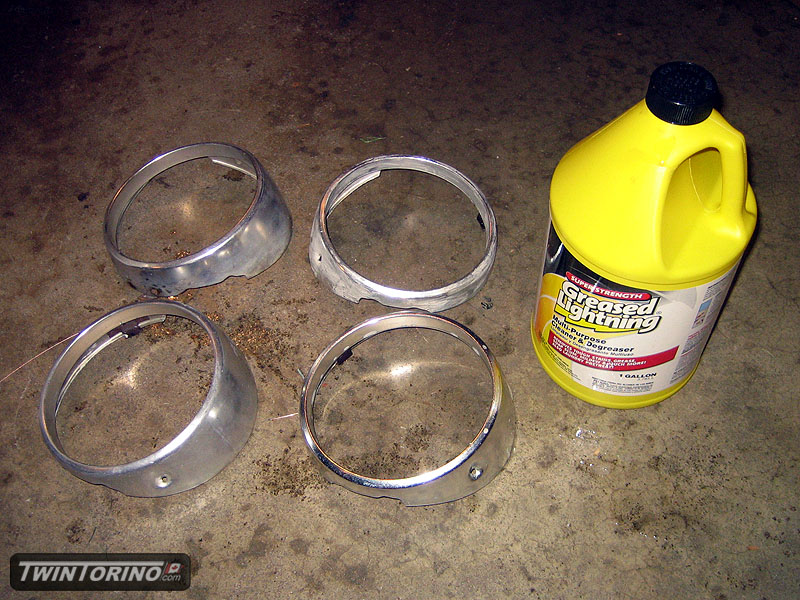
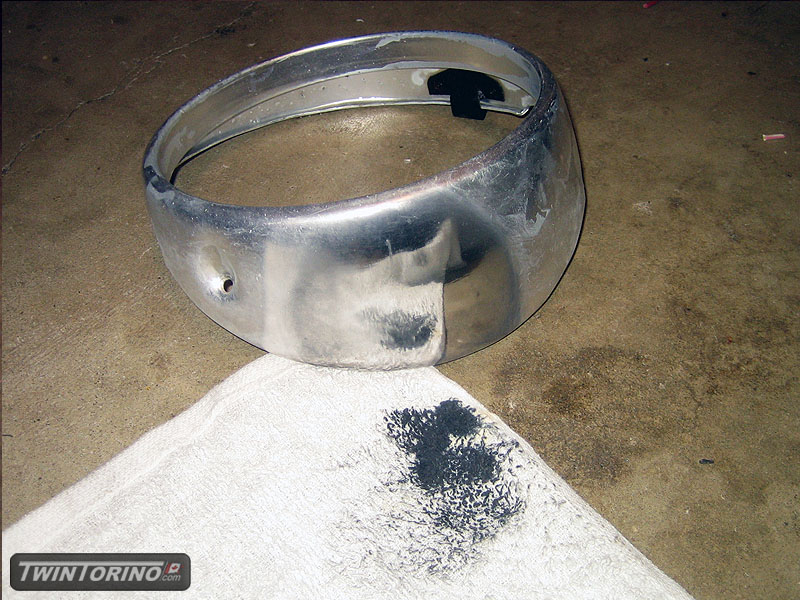
Next is the trim. Half the trim on this car is anodized aluminum. It may look nice new, but the years are not kind to this combo. Problem is the aluminum is anodized which means there is really nothing you can do to polish it up when it starts to dull. Solution here is to strip the anodize, re-polish and then re-seal, likely by powdercoating. After looking into this, I decided to give the cheap alternative a try first. This was Greased Lightning which I got from Home Depot for under $10. Did it work – sure did. The easy way to tell is to use std metal polish – if the rag turns black, you are in contact with bare aluminum. More to follow here, as well and getting started on stripping the grille.