Category: Front Suspension
Stashes and Front Suspension..
You never know what you will find on Craiglist.. that is for sure. Responded to an ad for a Mustang rear suspension and a couple of hours later.. ended up with another Cobra IRS in the driveway. This one is out of a ’99 Cobra (28 spline inner/outer axles). Not sure where it will go or what to do with it.. but it will find it’s way into another project – no worries there.
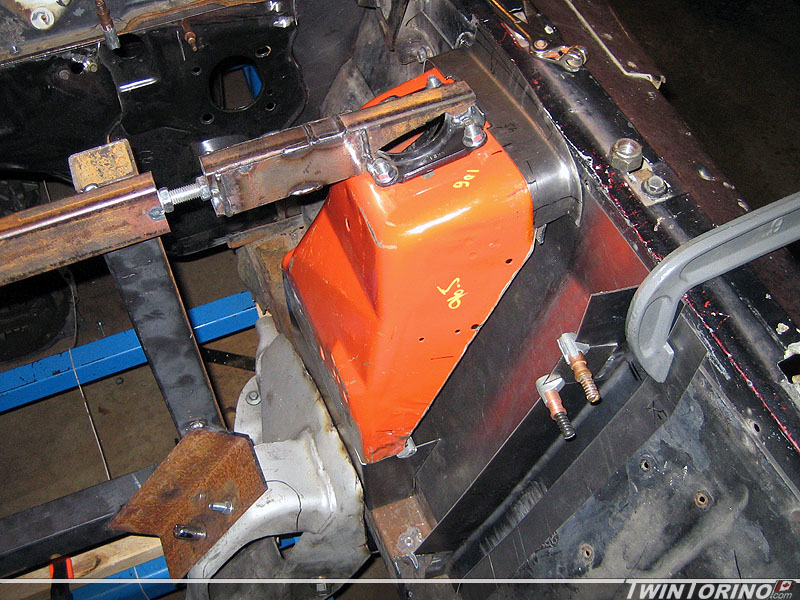
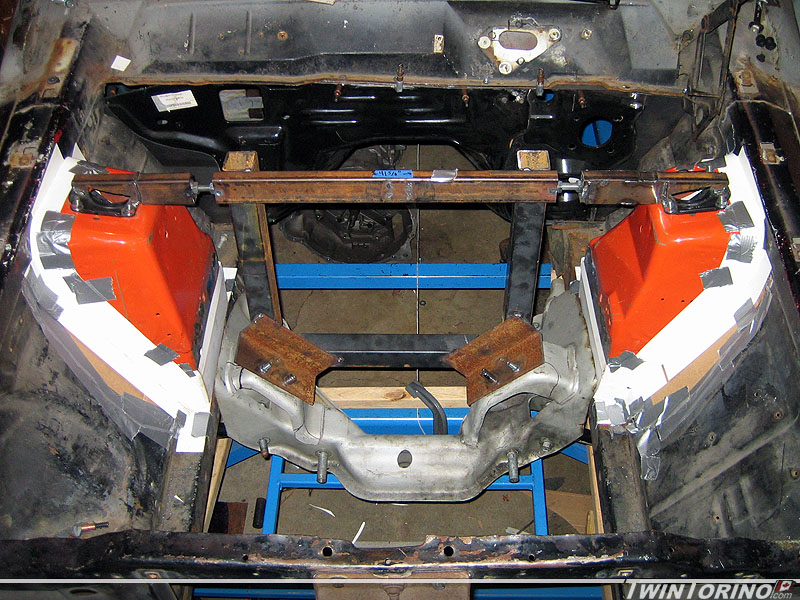
Got the motor mount extensions tacked in and ready to go. Likely won’t go much further with these or drill motor mount holes until the actual engine goes in and we can check clearances. That way it can go back as far as possible. To do that we will just cut the studs off an old set of motor mounts which will allow the motor to easily slide back. K member is now ready to weld in. Just need to finish up the strut towers are front suspension will be almost done.. finally!
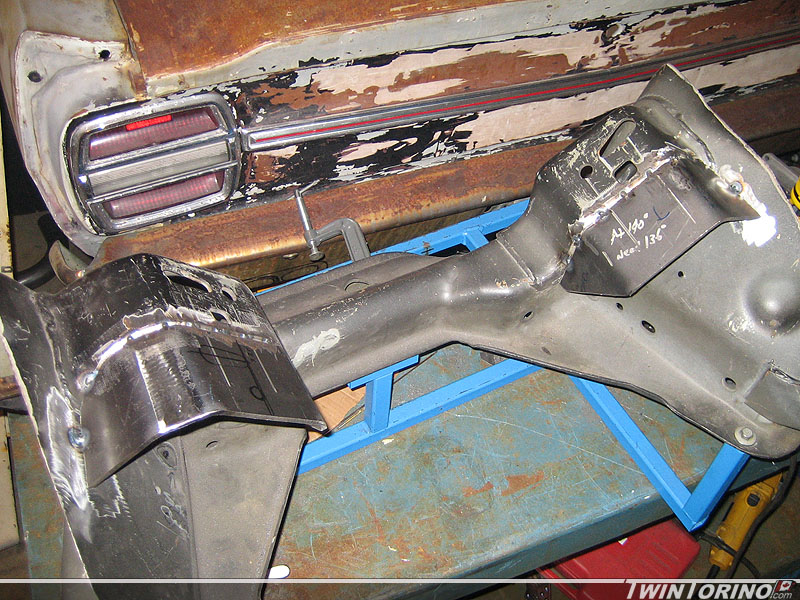
Started working on the strut tower stiffening braces. These will directly tie the strut towers to the upper “shotgun” pieces on the body. These tie into the reinforcements plates on the Mustang strut towers.
Engine Cradle Continued
Couple more updates from the past week.
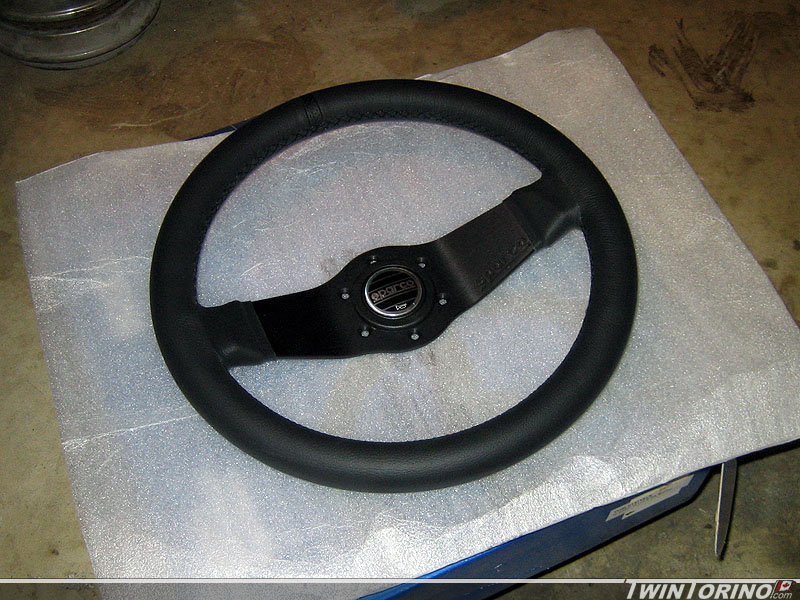
Finally found a steering wheel for the cars.. been looking for a while on this one. Two reasons for this choice: the style is “somewhat” similar to the original with the single horizonal bar, and secondly Sparco has been clearing out some wheels on Ebay cheap so this made them affordable too. We’ll see what it looks like in the car I guess. The model is called “Veloce” and is leather with the perforated leather strip at the top.
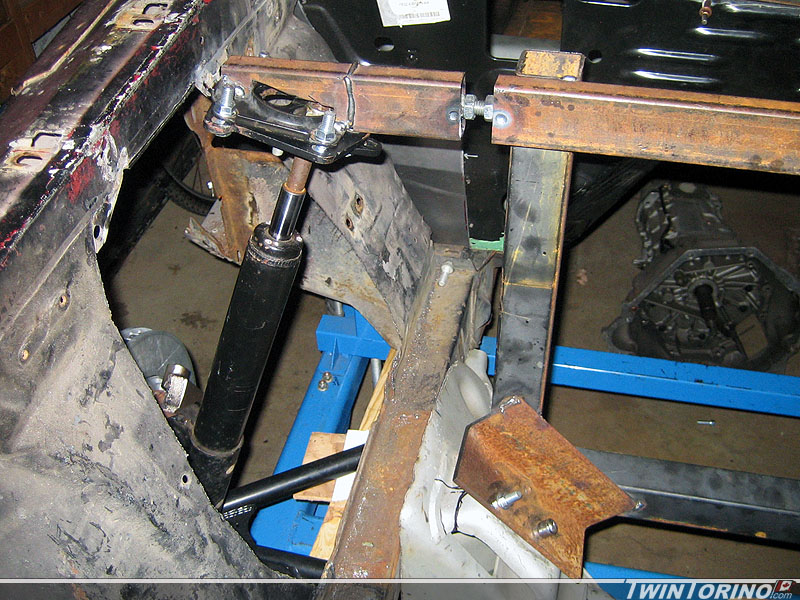
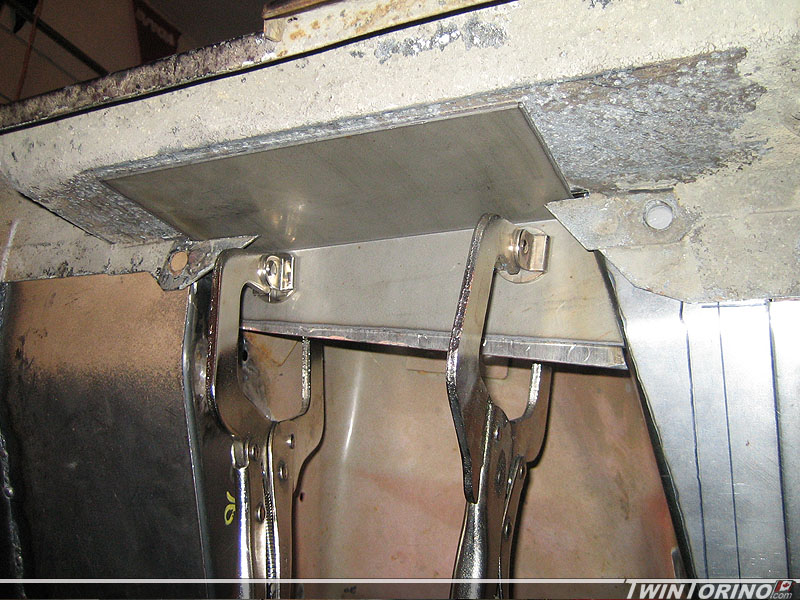
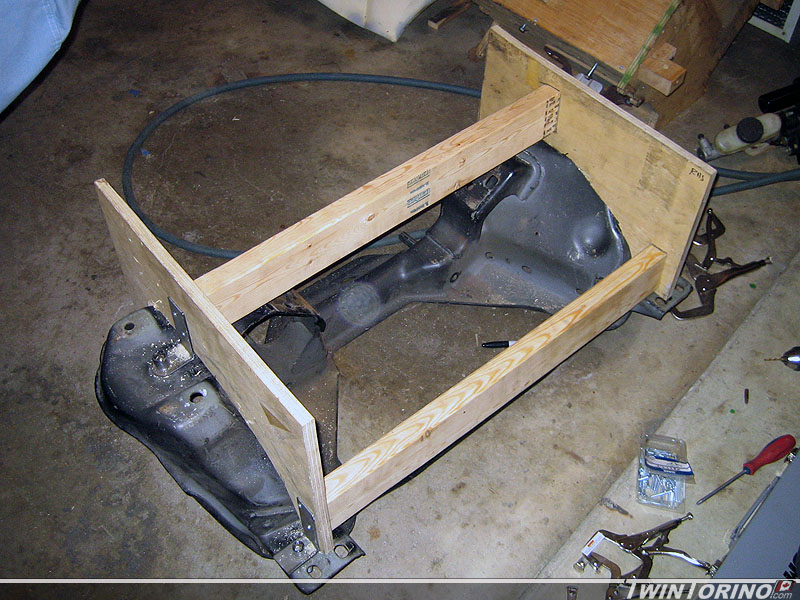
Moving right along on the front suspension. Pass side strut tower is done and ready to tack in. Next step was to make a perfectly centered and tight fitting k-member. The one we have been using to date is hacked up and really only for setting things up. Time to make another jig for this. As you can see, nothing too elaborate, but it serves it’s purpose. We used reference holes on the part used at the assembly plant to locate the jig. Then we made up 2×4’s that are the exact width between the frame rails. Finally two pieces of plywood are used to conform to the curves of the part. To use, the jig is placed on a Mustang K-member, sockets are placed in the 4 holes to located jig and then a utility knife blade is used to scribe lines on the parts. After that, we break out the plasma cutter and trim/grind to suit. Works like a charm! Making one for car #2 is now a breeze.
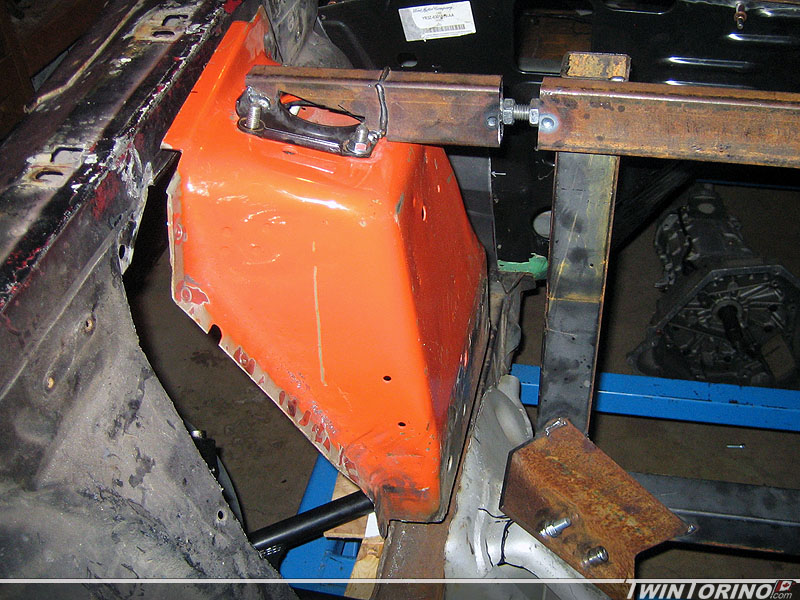
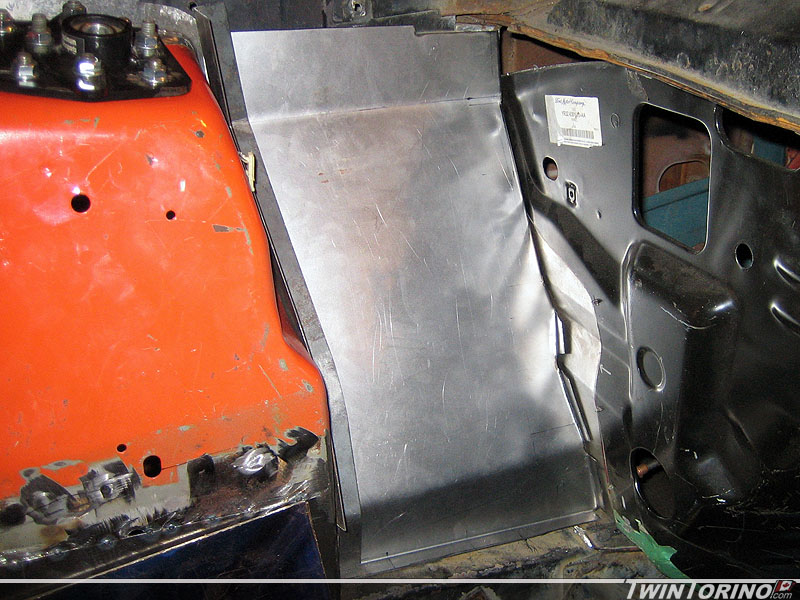
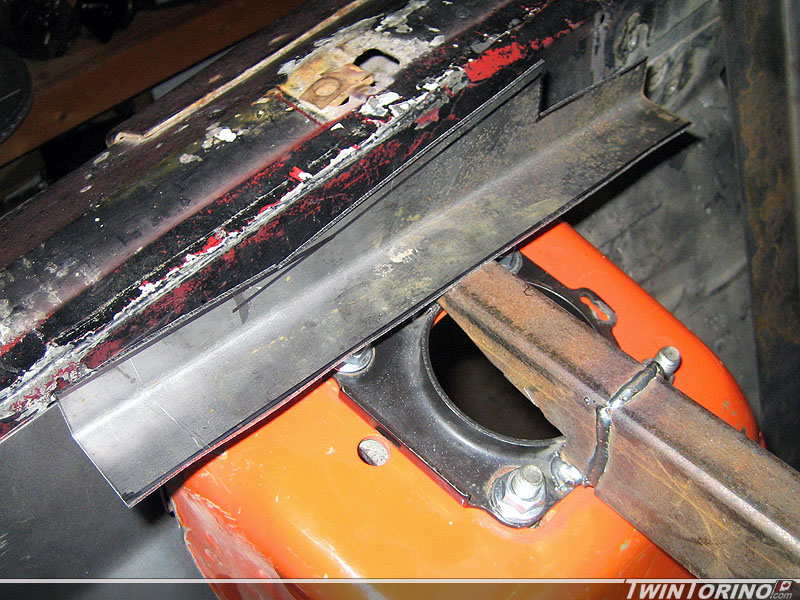
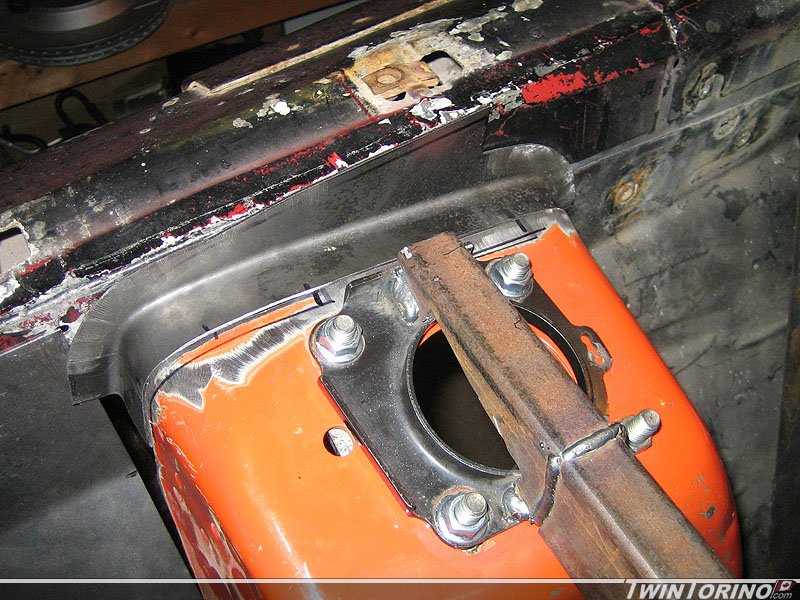
We used it to cut the k-member shown and it fits perfectly. That will make it very easy to weld in. Started on making up pieces to run under the frame rails to clean up the package and add a bit more stiffness. Kinda looks like the k-member was meant to be in there. Just need to make up the rear ones and the k-member will be ready to go in. Only thing left now is to weld in the filler panels and modify the motor mounts. After that, the front suspension is done!!
Front Strut Towers..
Finally have the drivers side tower completely welded and finished up and ready to weld in.. about time! Pass side is welded and should be finished up tomorrow night. Just need to blast everything and paint it to get rid of all the contrasting colors. I quickly splashed some black primer on one of them to keep me insired :). Also have all of the close-outs done and ready to weld in too. Just need to make a jig to be able to plasma cut a k-member to fit and make it very easy to do more than one.
Shock Towers Continued..
Making some more progress once again. Finished tacking in the rear side of the drivers side strut tower. Just need to make some small pieces to clean up the top of the strut tower and it will be time for final welding. Everything fit together much better than expected.
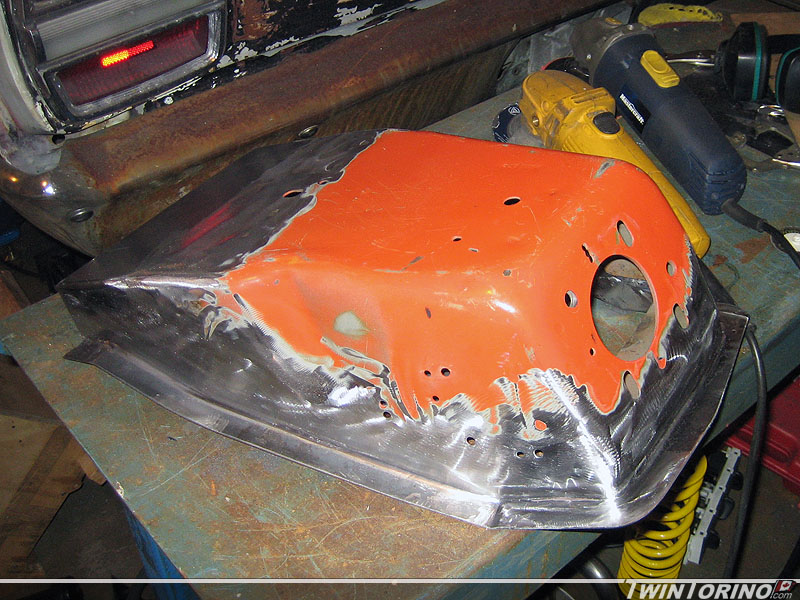
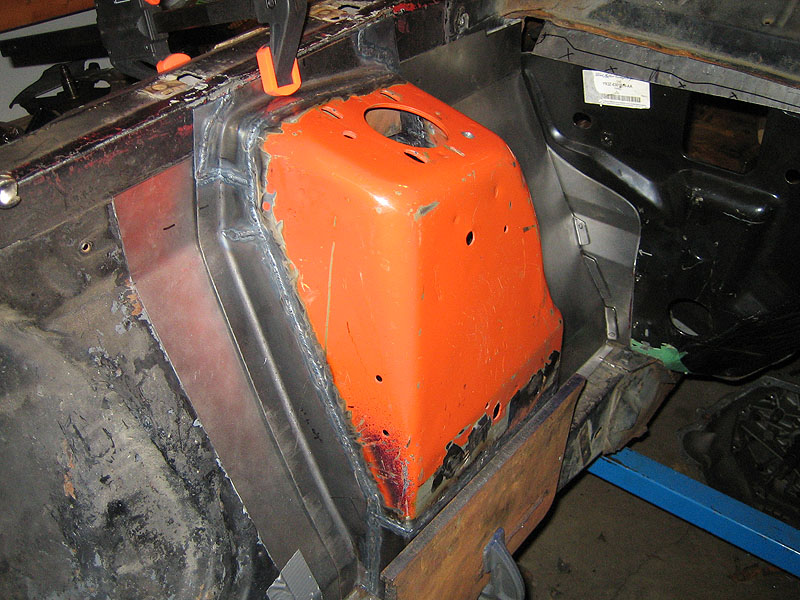
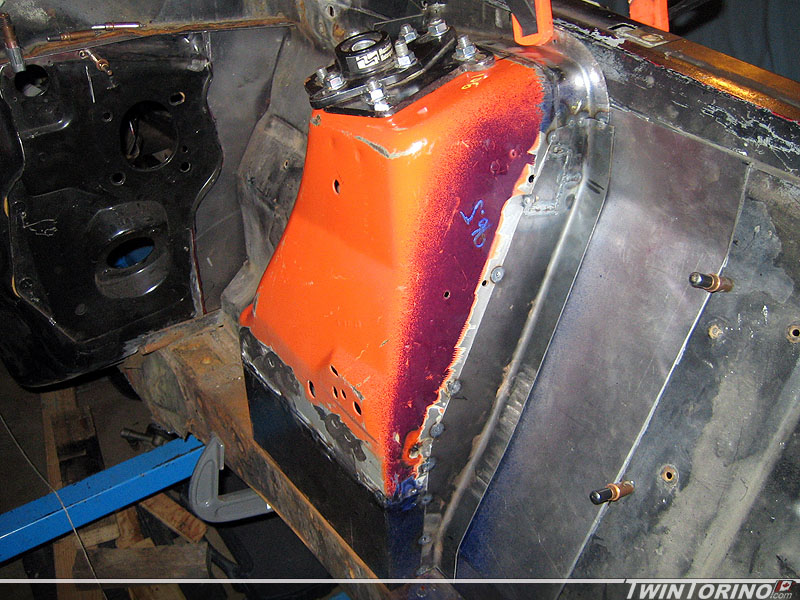
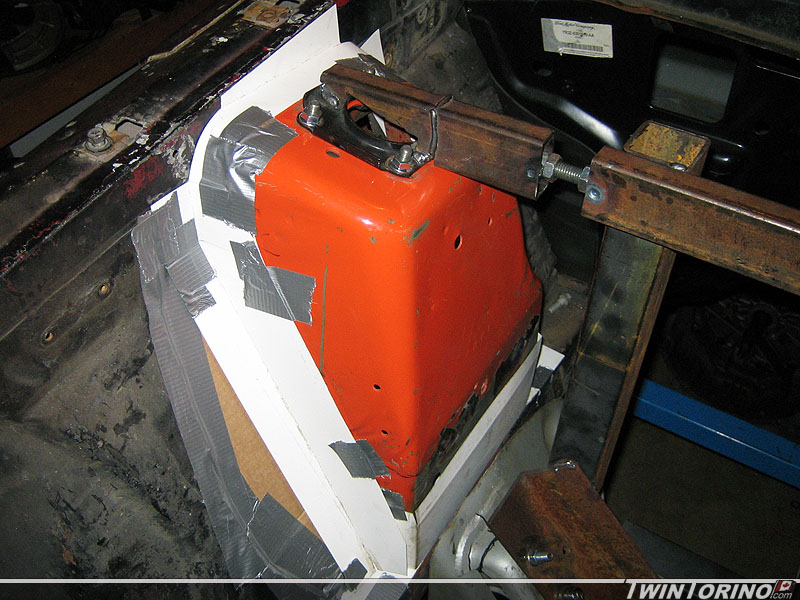
Made a close-out panel at the rear of the pass side strut tower. In order to clear the air dryer for the A/C and to to mate up with the new firewall, it was just easier to make this from scratch. Once this piece is done, the strut tower can be finished as well.
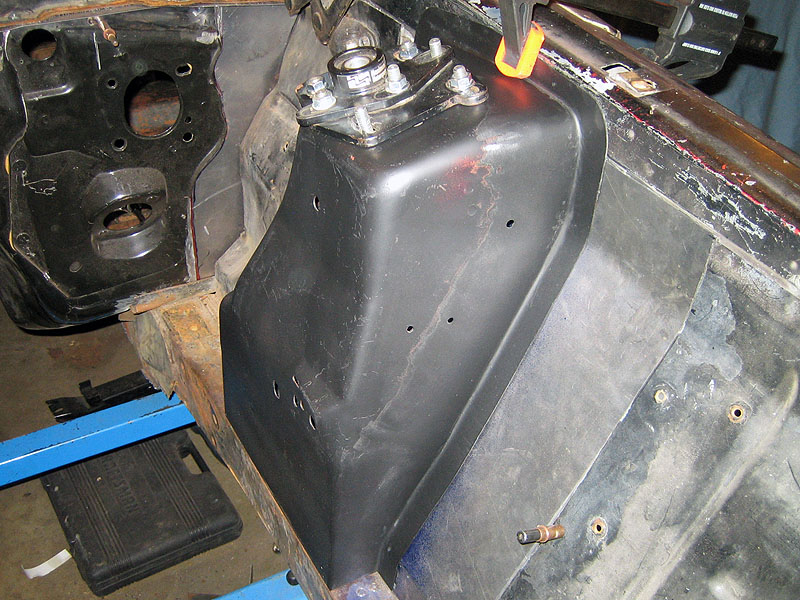
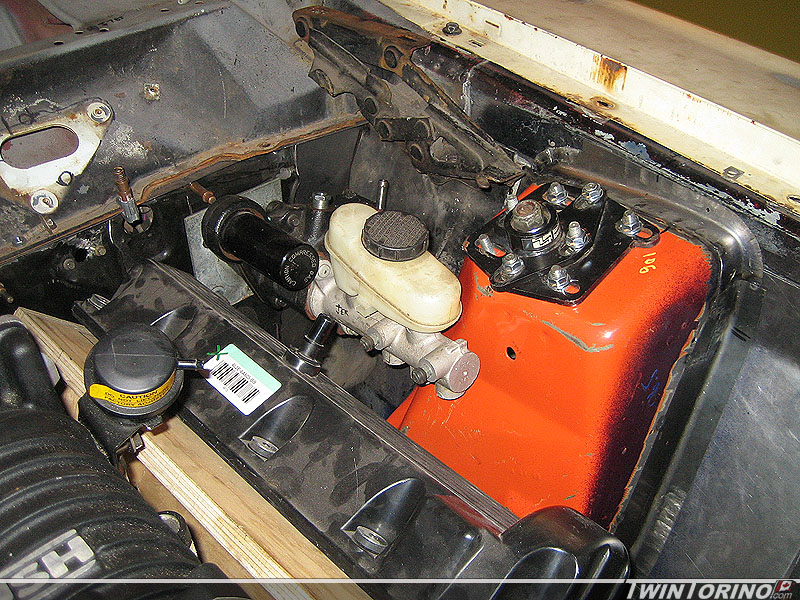
Decided to put everything together once again and check all the clearances one more time before we start welding parts to the car. The hydoboost unit and the hood hinges clear the new strut towers, so we can now proceed with them as in that location.
Setting Initial Alignment..
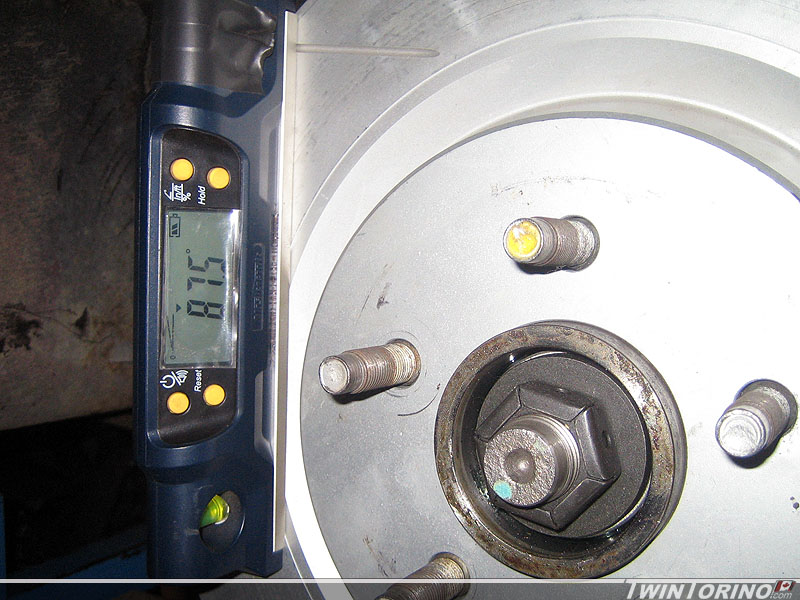
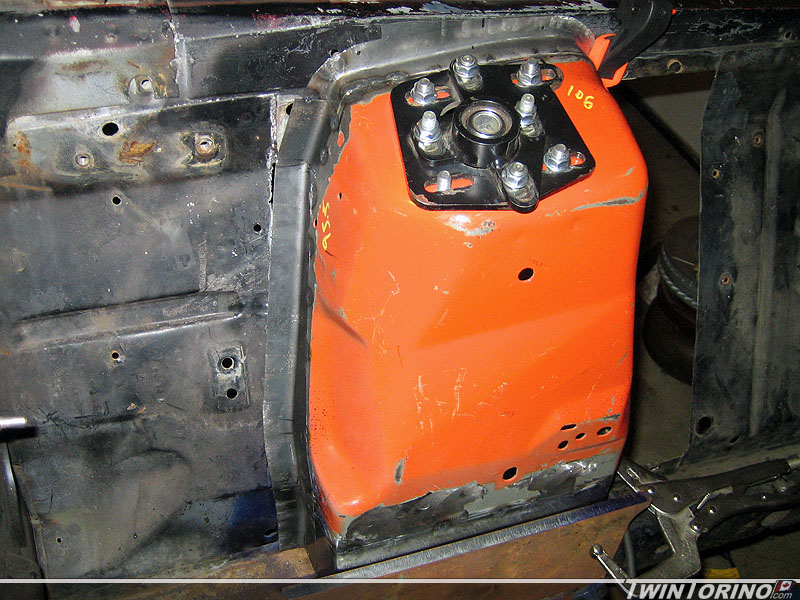
Managed to work on the car a bit over Christmas. Hoping to maybe even get the car back down on the ground soon enough. I got a Longacre caster/camber gauge for Christmas this year so it was time to put it to the test. It is a nice billet piece with lots of bubble levels on it. The only unknown parameter in the mix was the caster that needed to be set for the vehicle (as camber is relatively easy to measure with a digital level). Ford recommends 3.6-4.3 deg caster on the Mustang. We are setting it to approx a min of 4.5 and max of whatever the caster/camber plates allow. The larger number will mainly be used on the track. These numbers are generally agreed upon in the Mustang world, and lower recommended numbers are based on the fact that the Mustang was designed with the “average” vehicle owner in mind. The shock towers were simply slid forward until we saw the measurements we wanted. They are now fixed in place.
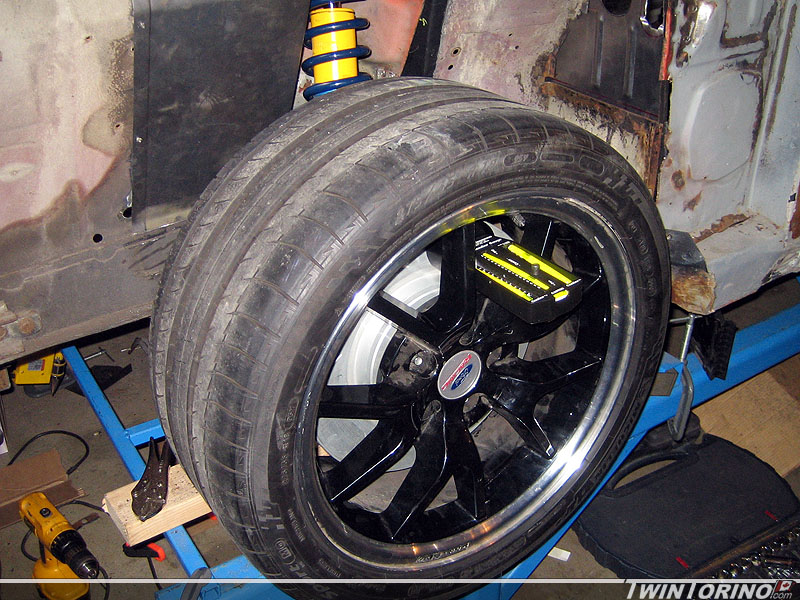
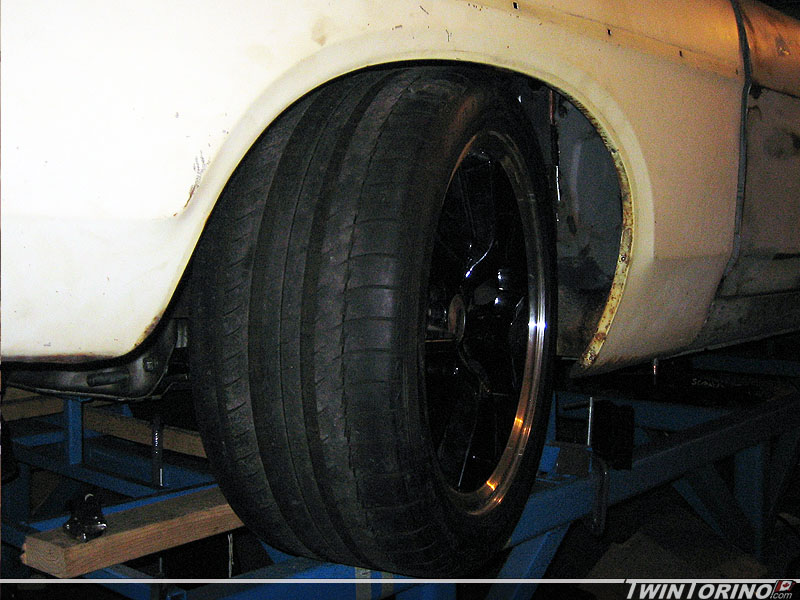
Also managed to find a barely used pair of 275/35R18 Michelin Pilot PS2 tires to try out on the car (same size/model as a newer Viper so they are not that hard to find). They were mounted up on the car and we ran through a clearance check and they fit perfectly. The hardest part about getting a tire to fit is while turning the tire when the front suspension is compressed, and they also need to clear the coil-over suspension.
Also moving right along on the front strut towers. Have all of the pieces tacked together on the driver’s side and everything fits great. Should be able to weld these in soon. Just need to add a piece in the top corners and they should look factory stamped.
Got a couple more things done this week. Found a set of nearly new rear adjustable Konis specifically made for the IRS suspension. Just need to make some custom upper mounts.

Also got the pass side upper shock tower piece bent up. Stretcher shrinker combo works miracles with ease. Also got the drivers side upper piece tacked in, and worked on the front filler panel. Most things are almost ready to weld in.. but I ran out of Argon so I have to wait another couple of days to get the bottle filled.

More Front Konis..
Finally found another set of Konis for the front of the car. They almost never come up used as they are not very common since they are double adjustables (likely because they retail for close to $1k for a pair). Since we can’t afford that.. or even close we just have to wait to get them for 20% of that. Easy way to pick out a double adjustable Koni is to look for the screw for adjustment on the bottom which both sets have. Single adjustables (rebound only) only have have sdjustments on the top of the strut rod.

Also dusted off the stretcher/shrinker and formed the sides and top of the strut towers. Also cut the bottom piece to fit and trimmed the shock tower to mate with the bottom piece. They should look factory stamped by the time we are done with them. Also made the filler panel for the section that was cut of from the original shock towers. Just need to trim things to fit and we will be ready to weld. Finally there is light at the end of the tunnel.
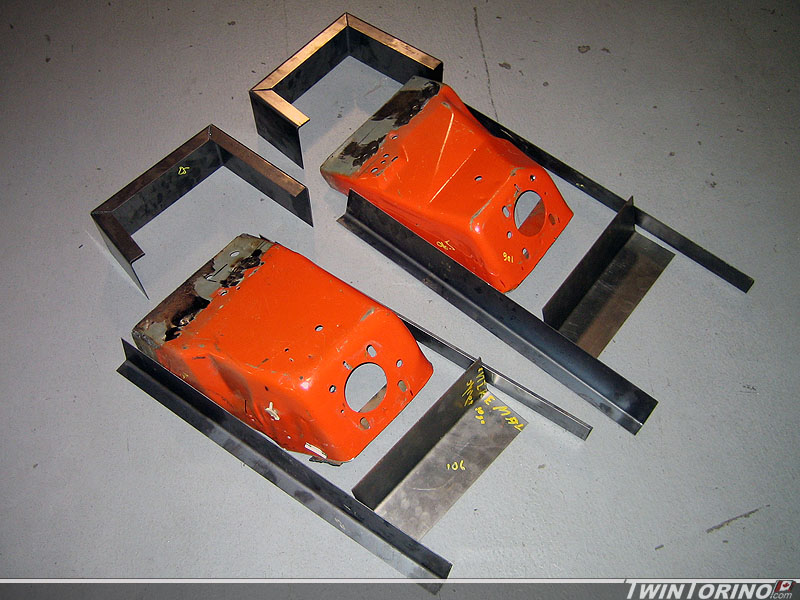
Shock Tower Parts and Pieces
Speaking of building, we made up the filler pieces for the strut towers this evening. 16 gauge sheetmetal is definitely not as easy to work with as 20 gauge. Hope to get everything in and fit up this week and ready to weld in next week. Actually feels like I am getting somewhere now. The only pain with making these up was that none of the angles were 90 deg and each face of the strut tower has a slight crown – looks the like the stretcher/shrinker is going to get a good workout.
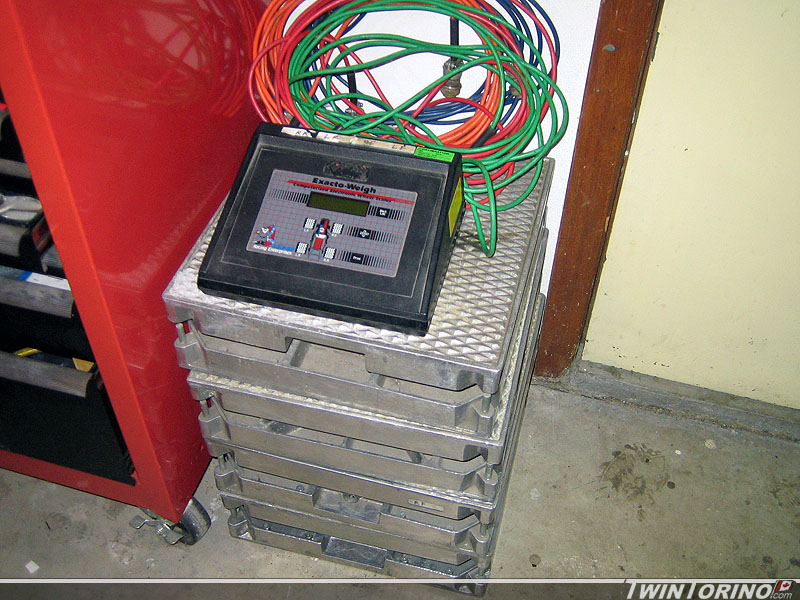
Towers, Slicks and Scales
Got the point where we finalized the front strut mounts and achieved the desired caster and camber targets (took a lot more time than planned to manipulate everything to get it perfect). Now it is time to bridge the gap between the Mustang strut towers and the Torino. Went out and bought half a sheet of 16 gauge steel (same as the Mustang towers) and made up templates using cardboard. Just need to bend these up in steel, cut and weld into position.
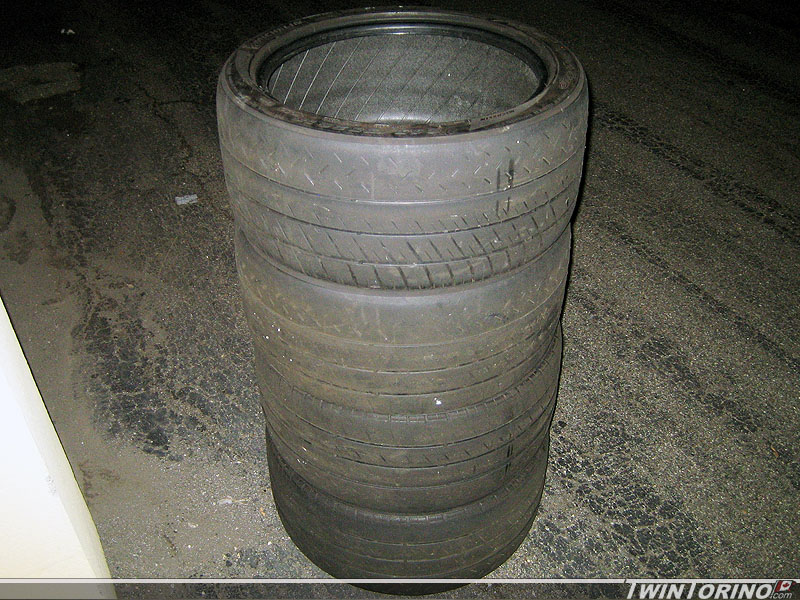
Also landed a couple of good deals in the past week or two. Bought a set of tires for the track for $100 – Michelin Pilot Sport Cups. These come new on the Porsche GT3 and the Viper ACR. They are basically street legal slicks. These ones are 265/35 18’s and have lots of life left on them. Also picked up a set of Rebco corner weight scales for setting up and weighing the cars. I bought them as non-functional for only $25. After and hour of troubleshooting and fixing as issue with the circuit board, I had them up and running. I always wanted a set, but could never justify the $1500 cost. Now I can weigh anything and everything on the car, and the car itself. Will be interesting to see the weight difference between the motors etc.
Shock Tower Camber Setting
Got some more work done on the shock tower setup. Unfortunately with the Fox control arms being used, this also means the upper strut mount needs to move inboard to be able to get the alignment settings right. This meant we needed to cut up the jig and make it adjustable using threaded rods and nuts.
The goal here is to be able to set the front wheels to 2-3° of neg camber for the track, and then adjust them back to 0.5° neg camber for the street. The caster is also being increased relative to stock. Looks like 275’s will fit up front when using the 0.5° setting which is great news.
All that is needed to set things into position is to flip the camber plates upside down and swap side to side. This way they can be bolted to the jig. Next max the camber setting inboard and then take suspension measurements. Keep adjusting the fixture outboard until the max neg camber is achieved. After this, unbolt and put on shock towers. Lots more sheetmetal work ahead, but it should hopefully work out in the end. Turns out the inner surface of the shock towers is almost flush with the origional fram rail which make things easier fab wise.