8/7/09 - Almost have the firewall ready to go in. Worked on getting the wiring pass throughs sorted out and the drivers side piece is now ready to weld to the center portion. Made up some simple carbboard templates to cut out the holes for the Mustang wiring harnesses. Worked great and was very fast. Note sure what I would have done otherwise. Rolled a couple of beads on the part and also step flanged the ends so everything will look flush from underhood after it is welded.
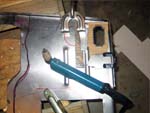 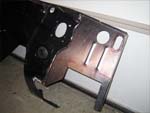
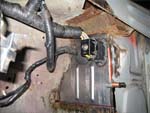
7/28/09 - Finally some more progress here. There is and end in sight with the firewall mods. Almost getting ready to weld everything together and then weld it into the car. Once it is done it will be great as everything will bolt right in. Not sure what it would have looked like if we kept the original on there. Once everything is painted black should blend much better. Just need to extend the pass side floorpan and the fab work will be done for here.
Rather than double up the material near the torque box, we figured we would just use them as is. Save a bit of material and make the process easier.
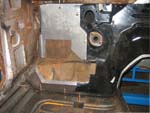 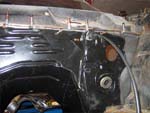
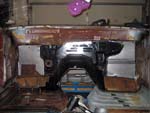
7/15/09 - Jumping all over the place lately as far as different parts of the car goes.
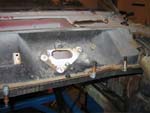
Finally got the last of the firewall out.. had to remove the upper lip that ties into the cowl (gets rid of the 1" or so overhang too which is good). Kinda doing the opposite to what most people do when they remove the cowl panel  . Actually got a chance to put the stretcher shrinker to work since the upper lip of the firewall is curved. Have the drivers side almost ready to weld to the firewall.. just have to work on the pass side. . Actually got a chance to put the stretcher shrinker to work since the upper lip of the firewall is curved. Have the drivers side almost ready to weld to the firewall.. just have to work on the pass side.
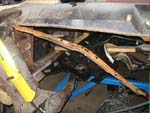 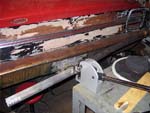
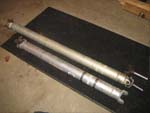
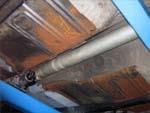
Next onto the driveshaft. Believe it or not, a police package Crown Vic driveshaft is the perfect length for our setup. Just had to swap out the slip yoke as the T56 uses the only 27 spline shaft in Ford's trans lineup (since it is a GM based trans). Has just enough clearance to the tunnel as well. Now that it is in.. time to get the tunnel made up. We have the rough shape made up.. just need to get it made out of sheetmetal. Note the difference in length from the Mustang one.
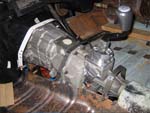
3/6/09 - Making some more progress in getting the 6-speed in. After struggling with getting it to work with the stock trans tunnel - it was clear that it was not going to fit. The plasma cutter made that go away quickly - A new custom tunnel will be made up. Otherwise, the shifter is in the perfect location and feels great going through the gears. The handle shown is just for mockup - I will likely modify a Hurst shifter or something like that and then use a custom boot.
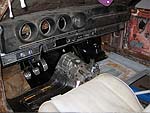 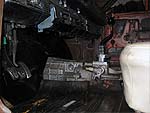
2/16/09 - Too late to turn back now. Firewall is now gone and there is now a large hole in the car :). Surprisingly, with only some slight removal of material from the Mustang firewall, the piece started to fit up quite nicely. It will obviously need material added in certain places since the Mustang is a diffrerent size vehile altogether. Started to install parts to see how they fit into the package and everything is finally falling into place. Pedals, hydroboost, steering shaft and heater box were all installed. Next the trans will be installed so we can see what is going to have the happen to the trans hump if anything. With the engine in, everything also fits nicely. The throttle and clutch cables also worked out quite nicely.
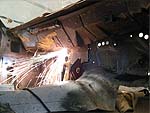 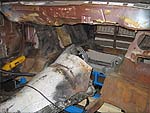
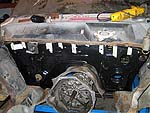 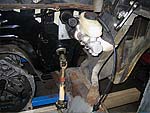
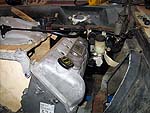 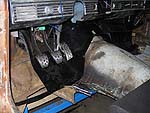
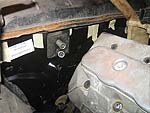
2/12/09 - After going back and forth on how to make these pedals work out, along with the clutch cable, gas pedal & cable, heater box, wiring harnesses, steering column pass through etc. etc, we came to the conclusion that the firewall would likely be hacked to pieces by the time we got done with it. If only we had a firewall from a Mustang. We had two that were already part of a complete car, but those have lots of other pieces spot welded to them and they would likely be ruined trying to get the out, let alone how long it would take. I put a call into a friend who works at a dealer, and the next thing I know he was telling me that firewalls are available and are cheap! I guess when you think about it - how often would a firewall be replaced? Are car would likely be written off before needing to replace one. As you can see below - everything wil bolt up nicely and look like it was supposed to be there. Obviously this is not a quick bolt on modification and will require lots of cutting and welding, but it will be worth it in the end for sure. In the end, the cost of the firewall was less than 2 replacement Torino toe pans, so this was a no brainer.
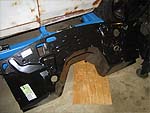 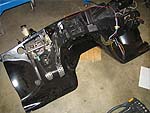
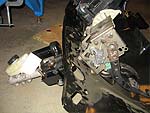
1/20/09 - Measurements were taken from a 2004 Mustang to be able to position the pedals the same distance from the firewall, height off the ground, and releationship to the steering wheel. The goal here is also to use a stock floor shift Torino column as I hate the look of a new column in an old car. The first issue popped up exactly as we were expecting. The clutch quadrant hits the windshield wiper motor area. This area will need to be modified to make it work. It is looking like we will end up grafting a Mustang firewall onto the Torino. That way everything will bolt right up (including brake clutch and gas pedals, steering column, hydroboost unit, heater box and all wiring and cable pass throughs) and look much cleaner. Since we have 2 complete Mustang firewall assemblies and a plasma cutter.. this should not be a big deal.. famous last words I guess.
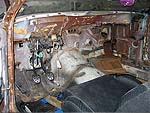 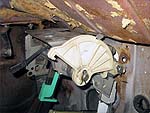
4-Speed Pedals (Abandoned )
These 4-speed pedals we got in a $50 parts lot from a guy that was
scrapping a car and said I could take anything that he didn't feel
like taking off the car. The car was a 3-speed manual, and it
turns out the hangars are different in these. This just means I
need to refinish the hanger that is in the car right now. The
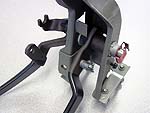
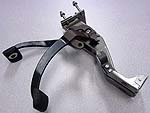
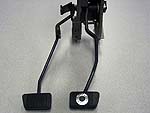
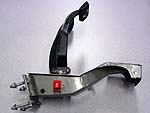
pictures below show before and after pictures of the pedals after
being powdercoated and receiving new bushings and pedal pads.
After powdercoating they look nearly new again. We tried to make
them look close to as they were originally, which includes the look of
dipped pedals (black/cast iron). Just need to powdercoat the
springs and they will be ready to mount on the car.
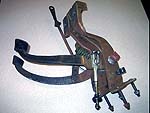
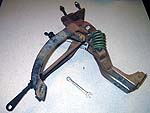
After:
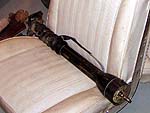
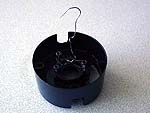
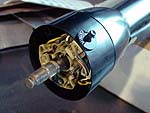
Floor Shift Column
The column shifter came from the same person as the bucket
seats. I asked them if they had any additional parts when I bought the
seats, and next thing I know I had a column. It was in decent shape
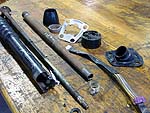
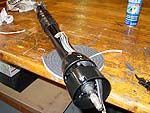
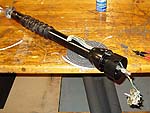
but needed a refreshing. The column was completely stripped, the
bearing was repacked with grease and all the parts were repainted. The
main housing (which is visible in the car) was powdercoated semi-gloss
black. The turn signal/hazard wiring was checked for function and
everything was reassembled. Quick tip for the lettering on the turn
signal bezel (plastic) - a metallic silver Sharpie works perfect for the
lettering.
|