Remote Battery Mount and Floors..

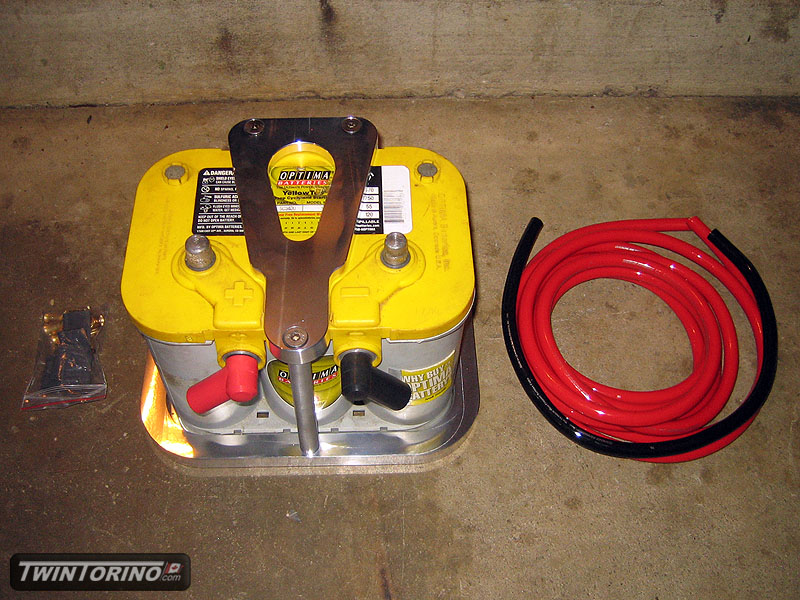
Since we plan on having the car up and running in the next month.. time to take care of the smaller things. Worked on getting the parts together for the remote battery setup. We were going to make our own battery mount, but for the time it takes, we decided to just go with a DSE mount for a 34/78 Optima. To connect the dots, we are using 2 gauge Quickcar cable and side mount location on the battery.
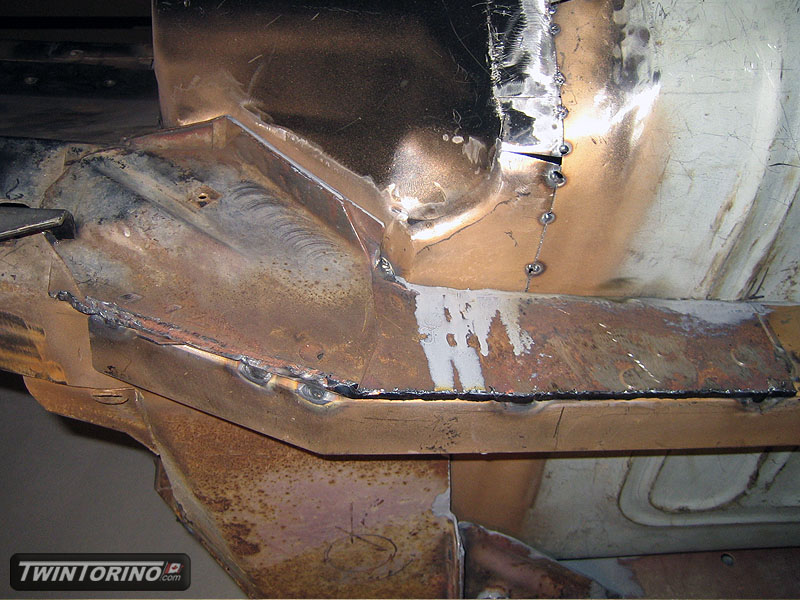
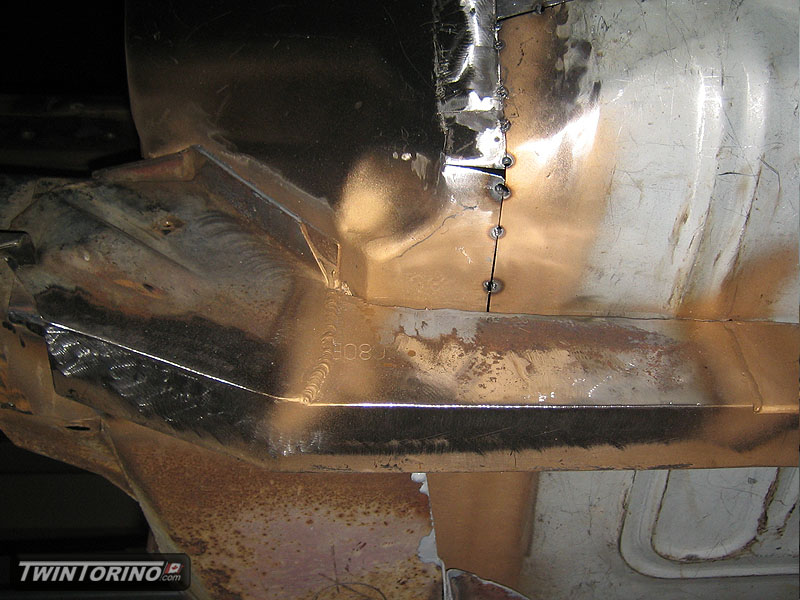
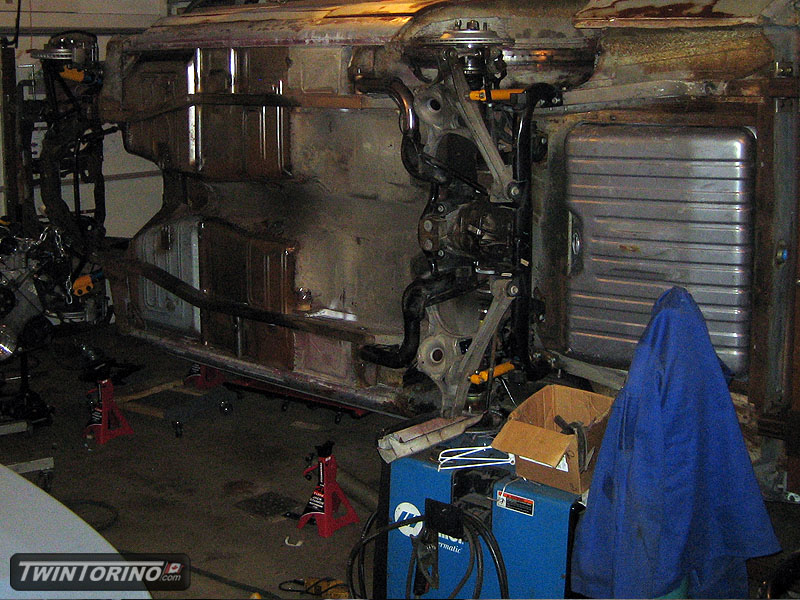
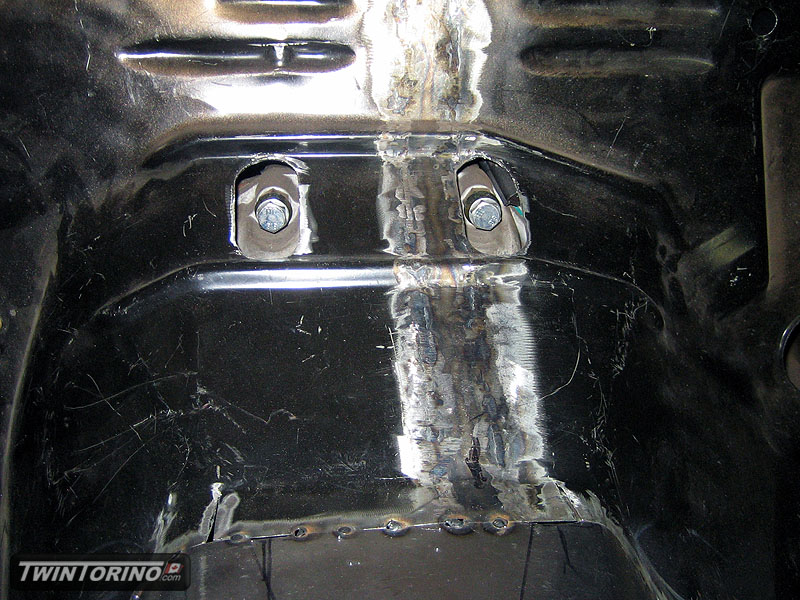
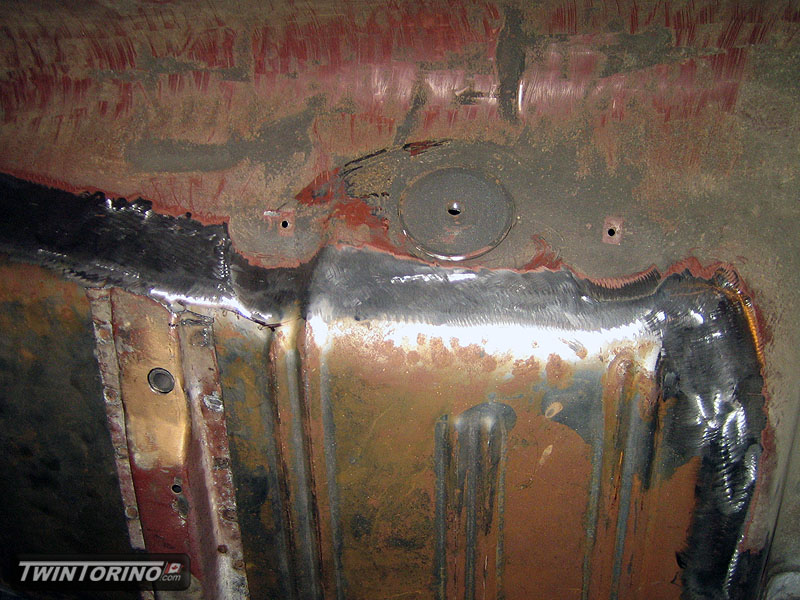
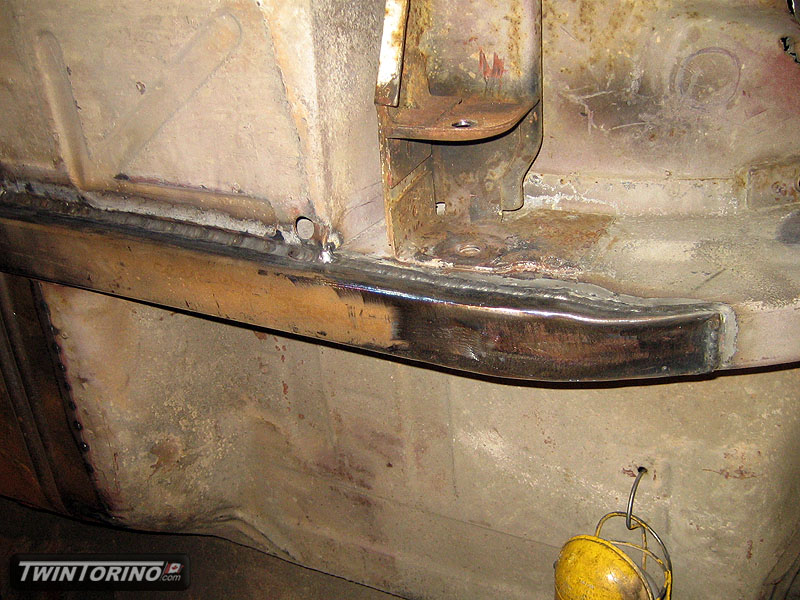
Driver’s side floors have been welded and smoothed out. Pass side is close behind and just need to be ground down smooth. Sure is nice to be able to do this with the car sideways on the rotisserie. Nearly done everything under the car now. Also in the process of of putting the rear seat support back in. It is hard to see in the picture, but we added a recessed area in the seat supports right beside the frame connectors where the brake/fuel lines will clip into on each side.
Welding and Exhaust..

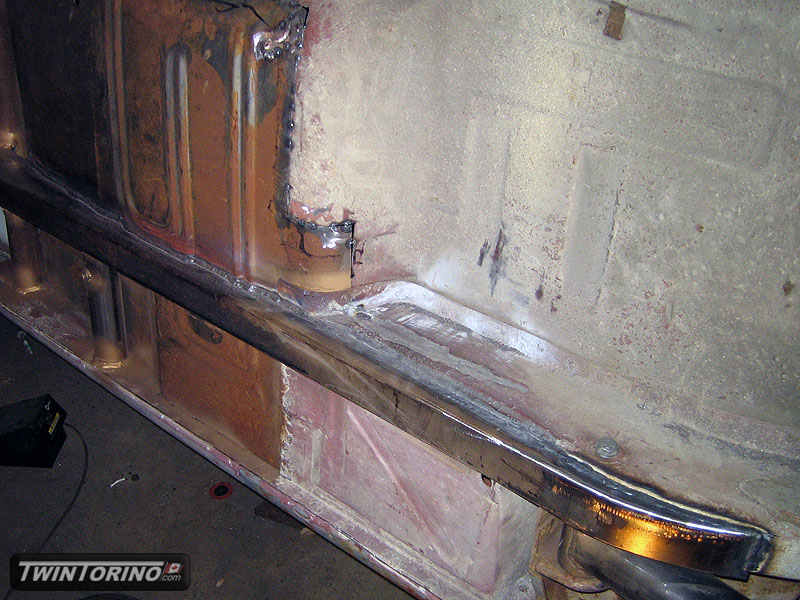
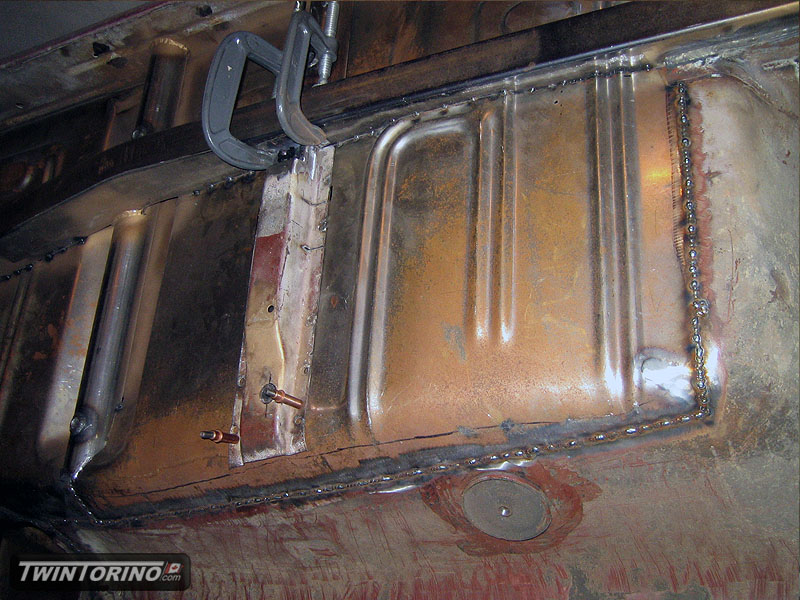
Been working a lot on the car lately.. mostly in the form of welding, so there is not as much to see as of late.  Finished the balance of the welding on the subframe connectors in the rear and moved onto the rear suspension and wheel tubs.  Should have that done in the next couple of weeks.

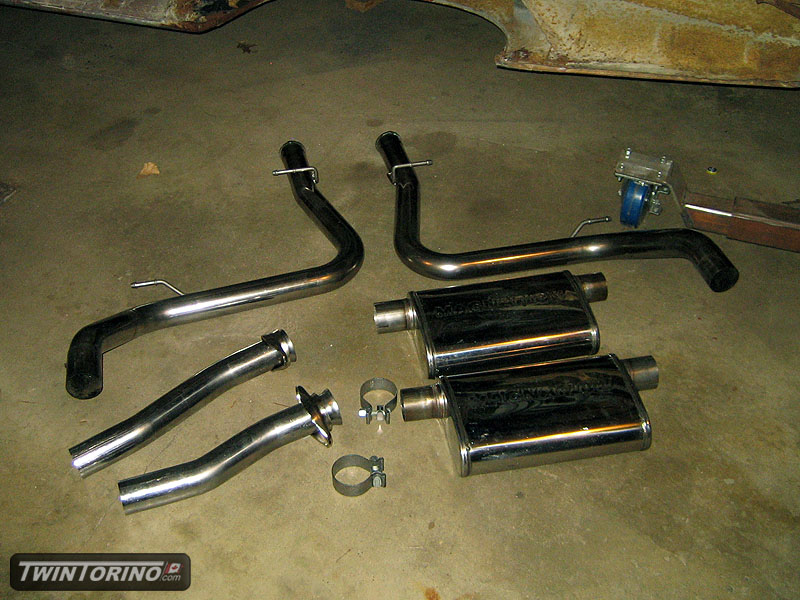
Finally gave the exhaust some attention.  Decided to just run an “off the shelf” 2003/2004 Cobra system, and will add length where necessary, and modify the outlets so you can’t see them.  Found a used 2004 Cobra cat-back stainless Magnaflow system with only 1600 miles on it for only $200 shipped, and it even came with an extra set of flowmasters.  Not sure why it was so cheap, but I didn’t ask questions there.  Have the forwards x-pipe section on it’s way, so we may have an exhaust system in the car soon enough.


More welding and rear suspension..

Have been doing lots of underbody welding.. so not a whole lot of exciting progress to see latetly.

Added the final pieces to the rear of the subframe connectors to make them blend into the rear frame rail. Once the IRS comes back out, this can be finished up. Also started to weld the connectors to the floor pans.

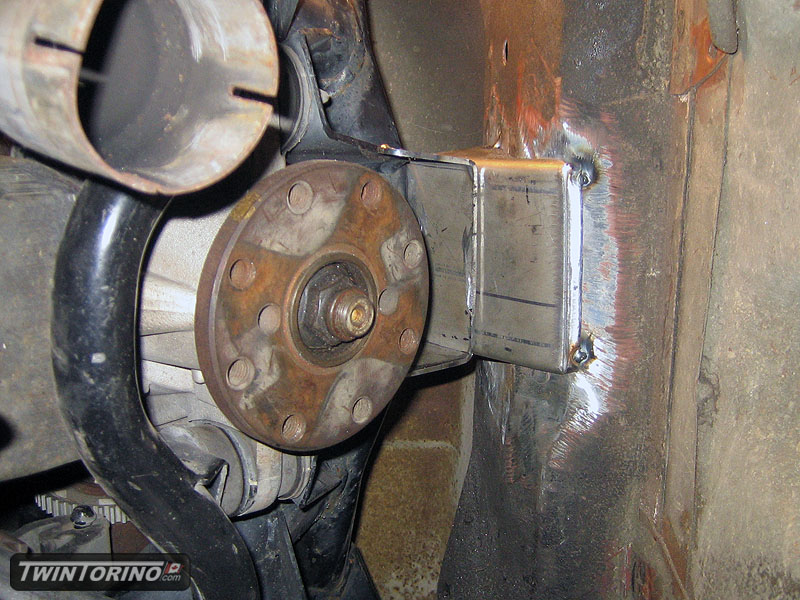
Now that the rosisserie is in use, we added the final bracket to the IRS in the middle of the car. These IRS units are notorious for wheel-hop issues, so hopefully stiffening all of this will put that to rest.


Coolers and SF Connectors..

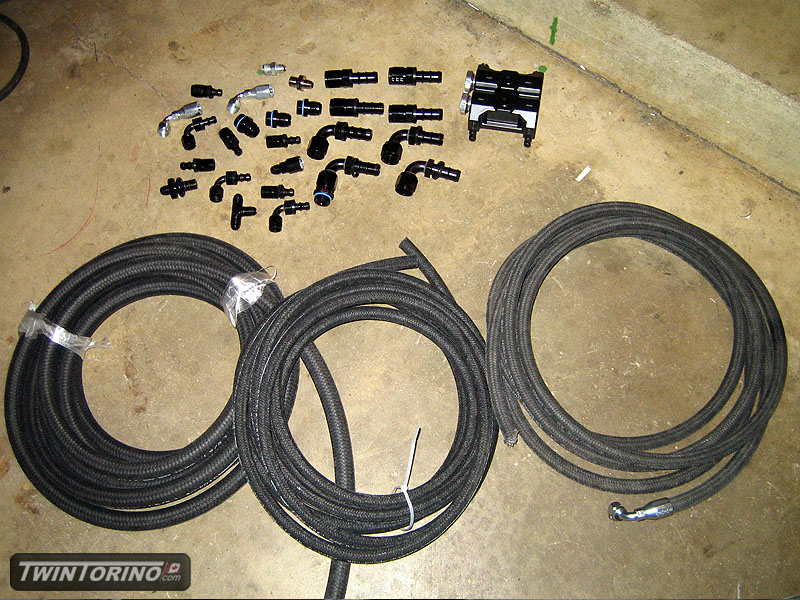
Could only put it off so long.. finally had to buy some new parts for the car for a change. Working on getting the cooling, power steering, fuel and brake systems up and running. Wanted to have all the fittings in black and with black polyester weaving on the hoses. Took a while to track down all the parts for the right price, but we have everything now for one car.

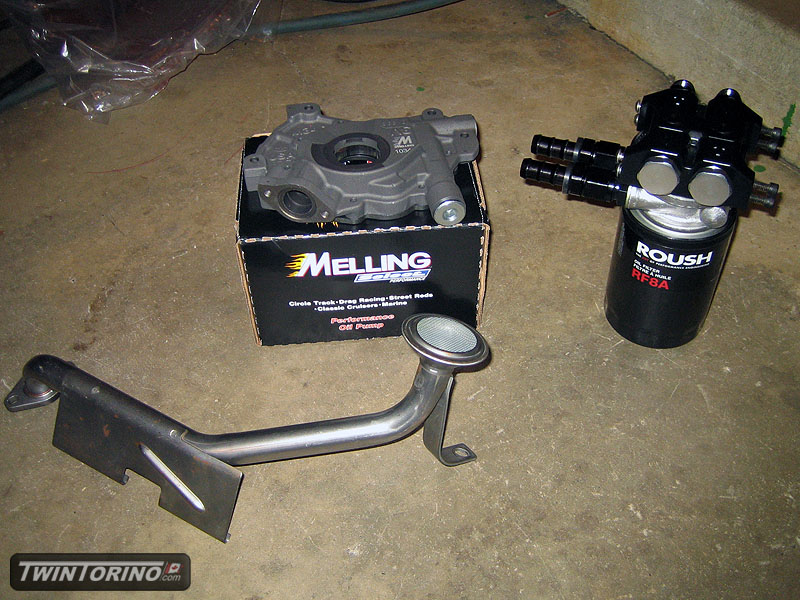
Also got upgraded parts to run the remote oil cooler and also a better pump and Cobra pickup to keep the engine happy on the track.

Started cleaning up the underbody and began welding everything underneath. I am not sure how we would have done this without a rotisserie.


ABS and upside down car..

Finally finished up the worm gear setup on the rotisserie to allow the car to spin around and got to see what the rotisserie hype is all about. Sure is a nice tool to have around the garage! Unfortunately got carried away and forgot to drain the oil out of the diff. Now the garage has a wonderful 80/90 aroma.

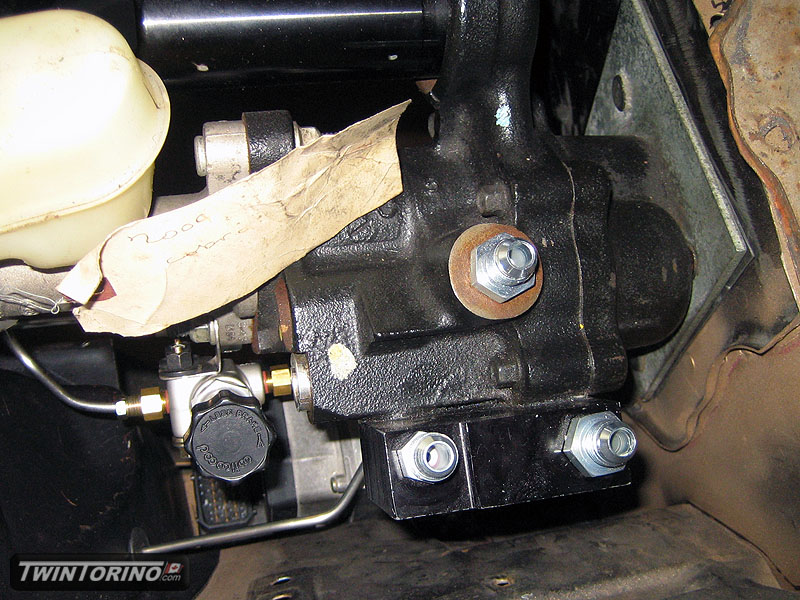
Moved on to getting the brakes in order. After searching far and wide for Torino brake line kits with ABS, we just ended up bending our own. Got the Wilwood proportioning valve in place, and also bent and flared up both front lines. Started routing the rear lines. We bent all of the lines up with 3/16 aliminum tube first which was 10x easier. Kinda looks like it was supposed to be there. Also got in the adapters to convert the hydroboost to AN style fittings.


Tank and lines..

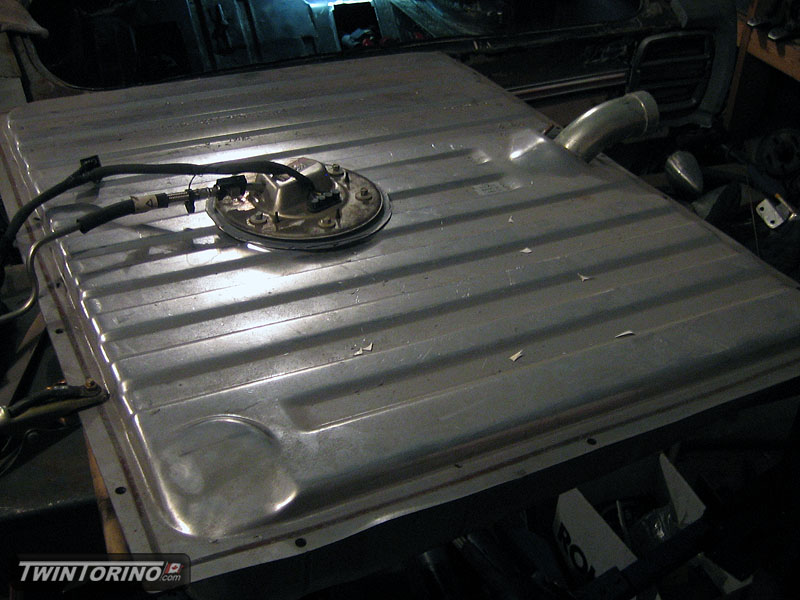
Started cutting up a new gas tank for the car and amazingly the 2004 Cobra fuel pump assmebly is the perfect height for these tanks. Just need to integrate a sump into the tank for the pump to sit in, and then modify the upper flange and weld into the tank. Surprised to see a “Made in Canada” tag on this tank, a pleasant surprise. Very nice quality part. Since the gastank is also the trunk floor in the this car, we will likely just make up a guard to protect the pump housing and lines.

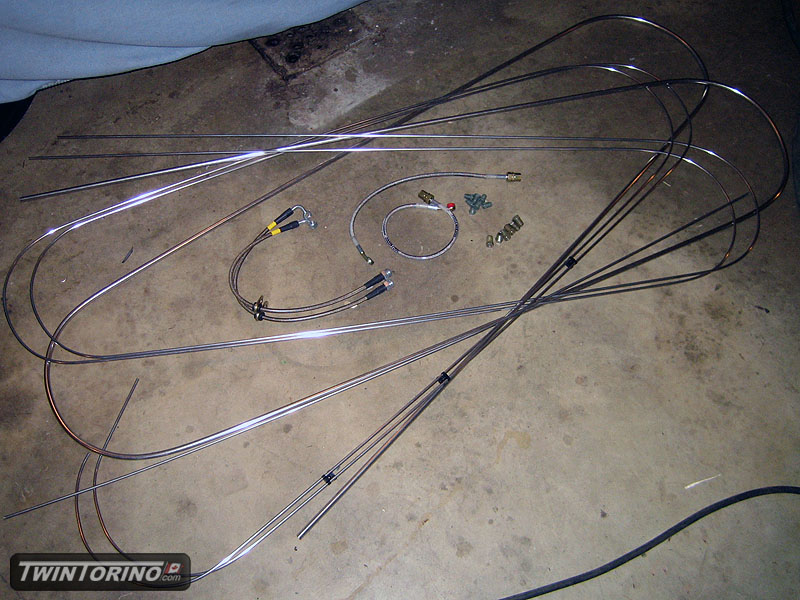
Moving on – need to connect all of the systems together. Picked up some stainless 3/16″, 1/4″ and 3/8″ lines and found the appropriate clips, etc to attach to the car. This stainless tubing is seamless and annealed which makes it much more pleasant to flare. The Mustang has a wonderful mix of flare nuts, M10, M12, 3/8-24 and 7/16-24 to connect to the master cylinder, proportioning valve, ABS controller and all 4 corners. Since this is a 4-channel ABS system we also need to run 2 brake lines to the rear. Also have Goodrich front stainless flex lines and Maximum Motorsports in the rear.


Pullmax..

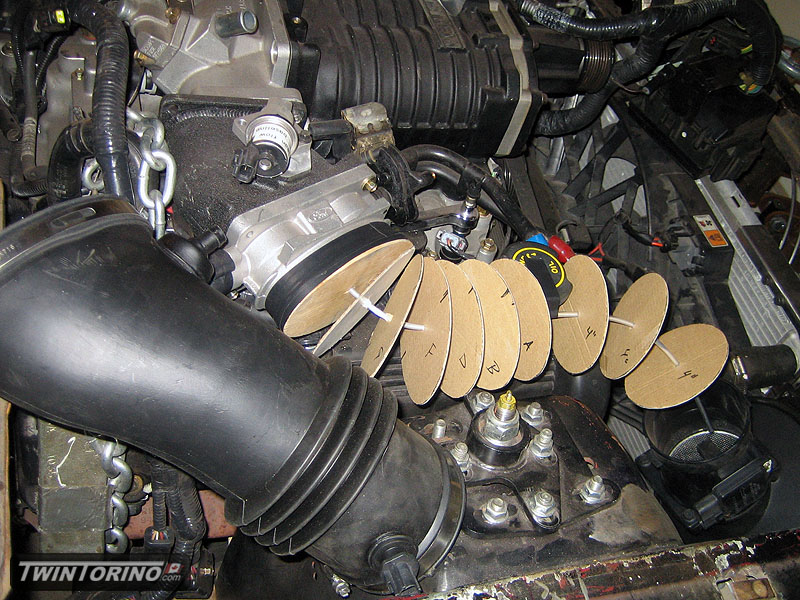
Moving right along on progress. Back to the engine – we are converting the engine to dual bore throttle body instead of single in attempt to get a bit more power out of it. It is a known issue with the M90 blower kits as the pressure drop across the throttle body is much higher with the single bore. This also means we now need to make up a custom clear air tube, which will either be carbon fiber or aluminum (see below for how).

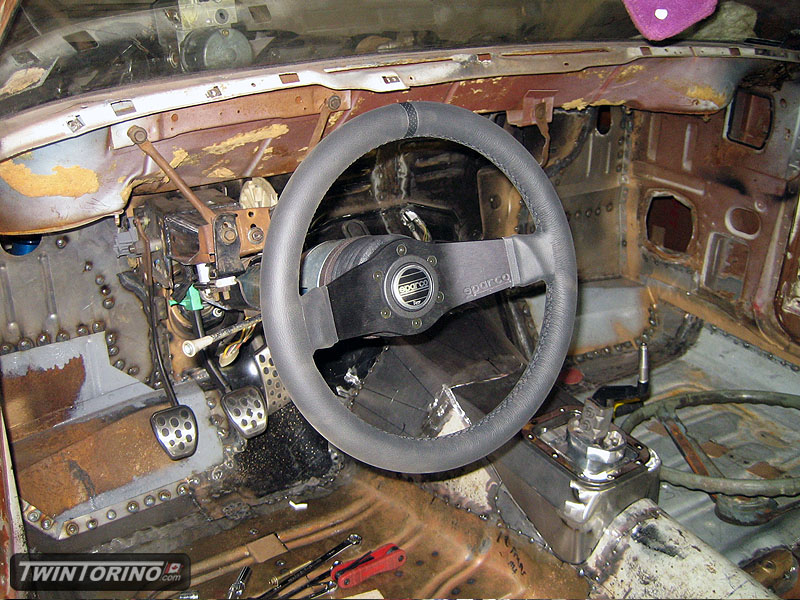
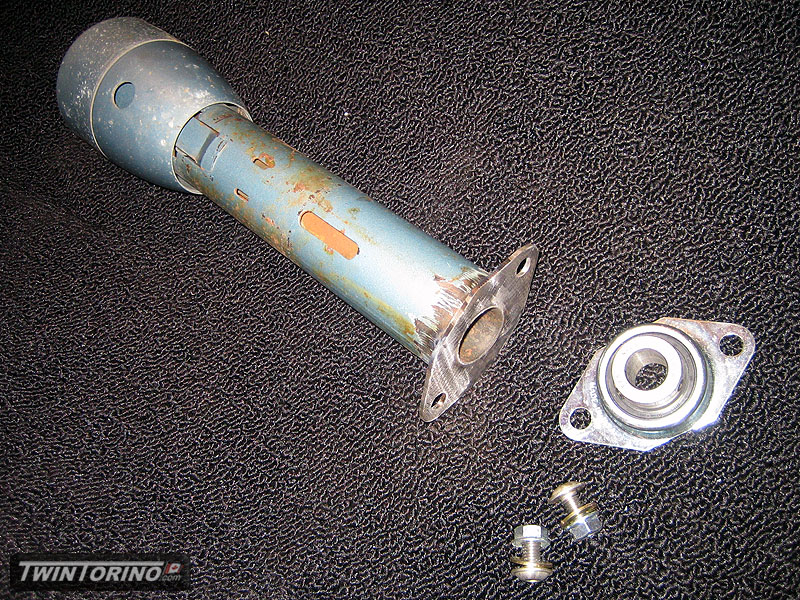
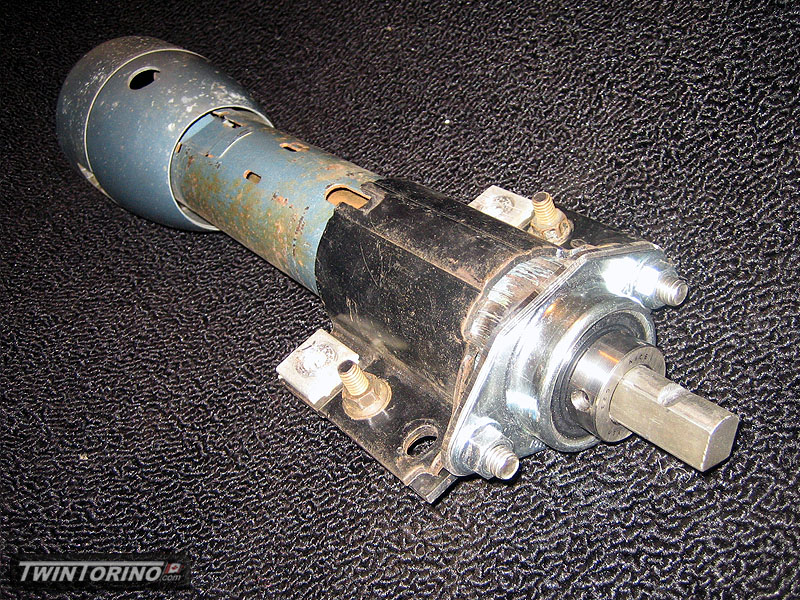
Got the steering column modified, and got a Momo Ford specific adapter for the steering wheel. Adapter/wheel takes some getting used to, but it is growing on me. For those of you running smaller OD steering wheels on these cars.. how the heck do you see the gauges??

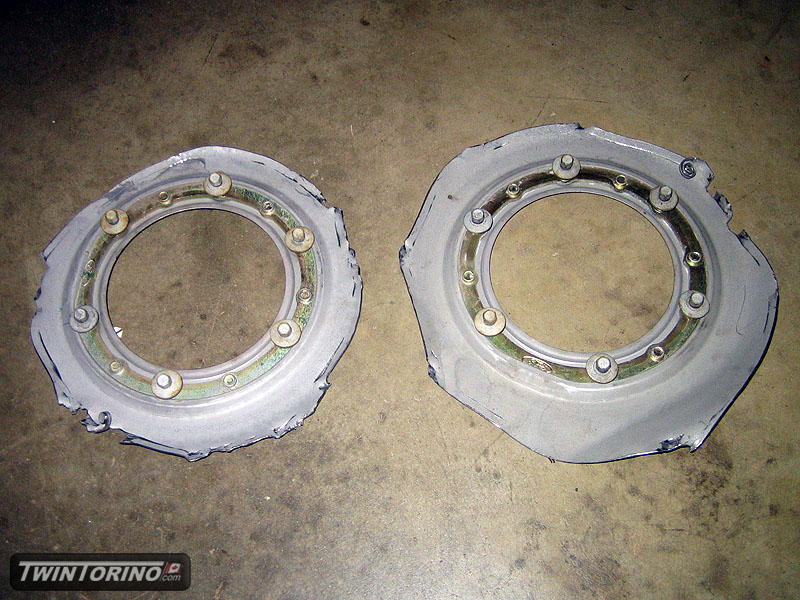
We were not really sure how we were going tin integrate the Ford fuel pump into the tank. Then one day the lightbulb went off and I realised that we should likely get someone to cut the tank flange off at an wrecking yard. Taking that one step further, we called al late model Mustang wrecking yard and they helped us up with

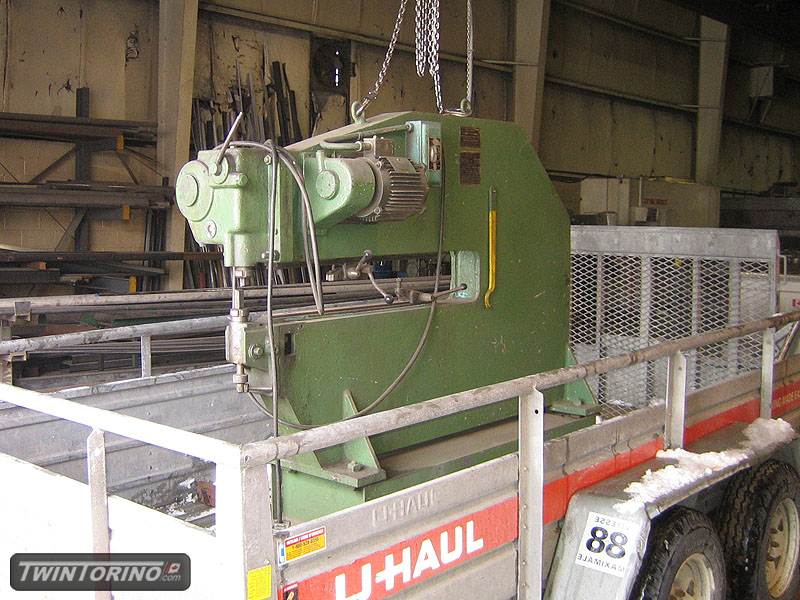
Took a road trip this weekend to grab a new toy that was too good to pass up. It is a Pullmax model D3. We have been looking for years and years for one of these to show up close to home and for the right price. This was only slightly more than the price it would be worth if scrapping it. It works like a charm and we just need to make up some tooling before we can experiment with making parts for the Torino. We even broke out the custom trailer for the event :).


Steering shaft..

Some more progress over the weekend – since we were happy with the steering and how it worked out, we modified a pair of floor shift columns. The other one we used was an old beat-up column shift one. Just need to powdercoat these when we get closer to final assembly time.

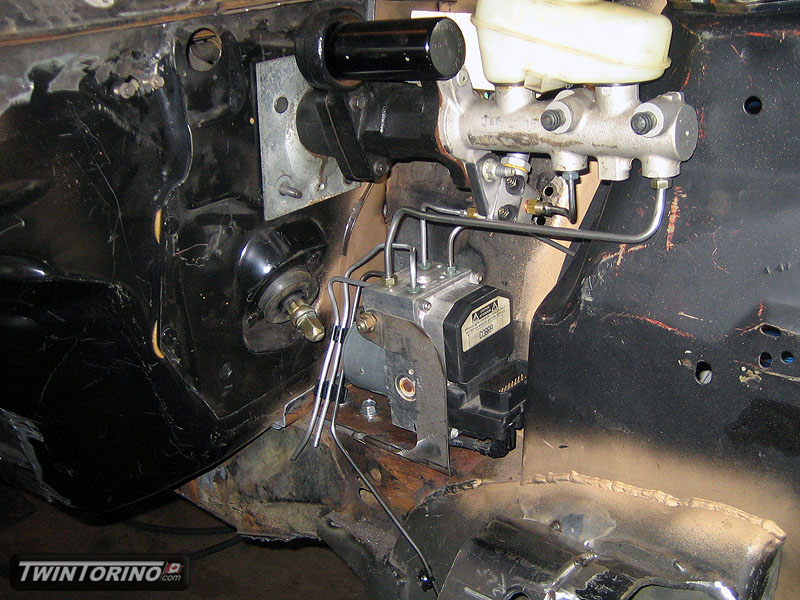
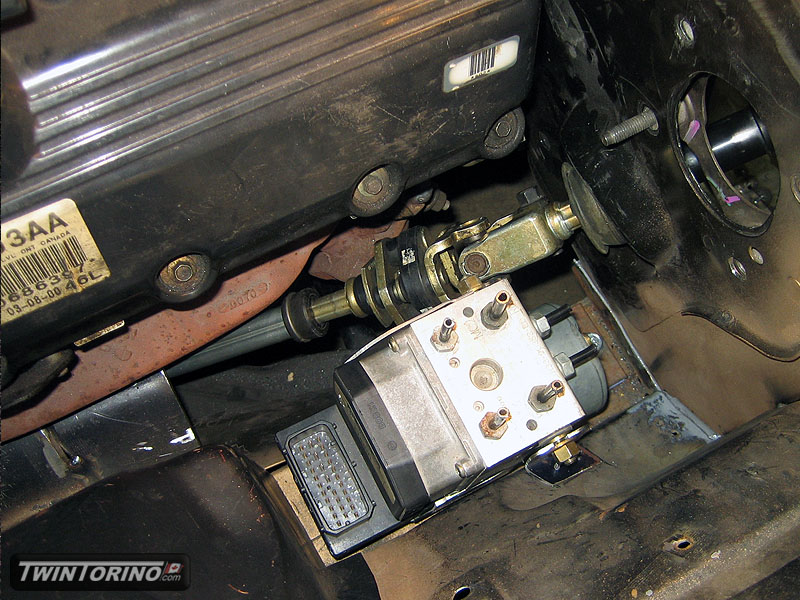
Also moved onto the braking system, and got the ABS module mounted in the car. We opted to move this from the passenger’s side in front of the engine (on the base Mustang) and move it to under the master. This makes brake line routing much more simple, and hides the module out of the way. Thankfully the original Torino steering box sat where it did, as it made a nice place for the module. Just need to run the lines now. Will be starting into the fuel system next week – getting closer to a running and driving car by the day.


Trans access..

And now with the trans in place.. get a great view of the “hard to reach” trans bolts, which are now a breeze to get at. Just have to move the carpet out of the way.. and don’t even need to touch the heater box.

T56 mount..

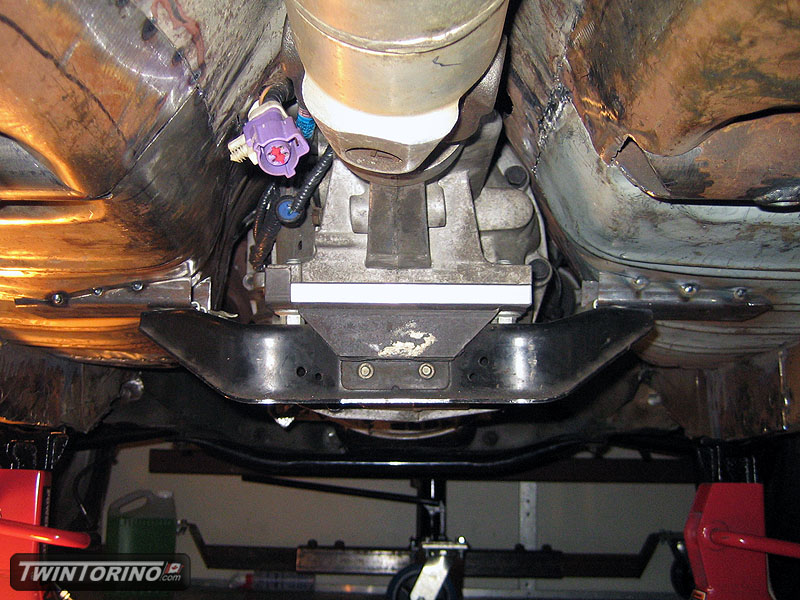
Made some more headway this eve.. trans mounts – check. Had to make up a 1/2 aluminum spacer to be able to get j-nuts under the mounts. The crossmember is from a 2004 Cobra with T56.

Page 3 of 12«12345»10...Last »

Categories

Archives