Full Car Renderings…

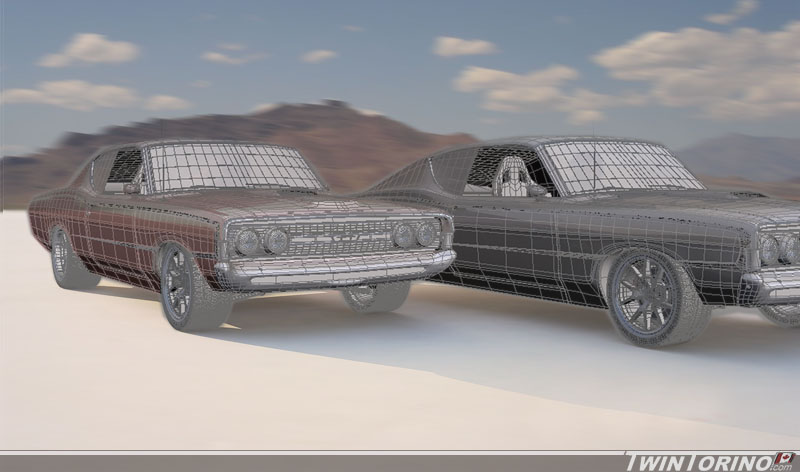
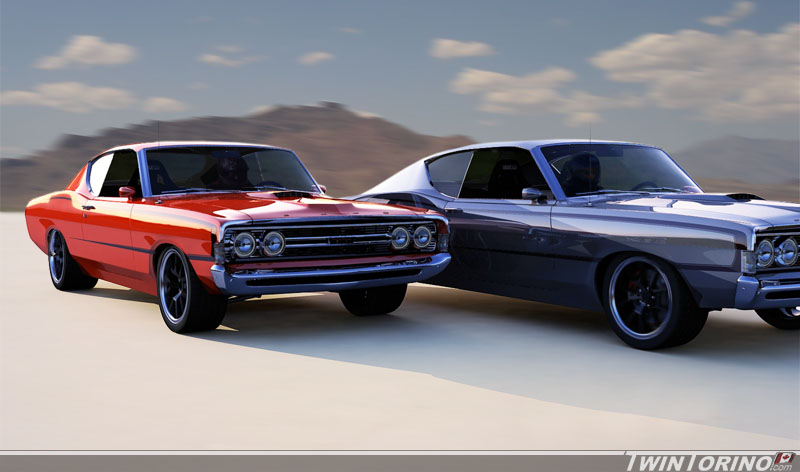
Finally have something together that is worth showing. These models are done in 3D, so there will be many more to come now as the models progress. These models will be used to chose colors, add body pieces like lower fascias etc and whatever else happens to come up. After doing to first render – I was definitely sold on the original style c-stripe instead of the 2 tone that was originally planned. This was my first go at 3D rendering, so much more to come..


Suspension Simulation..

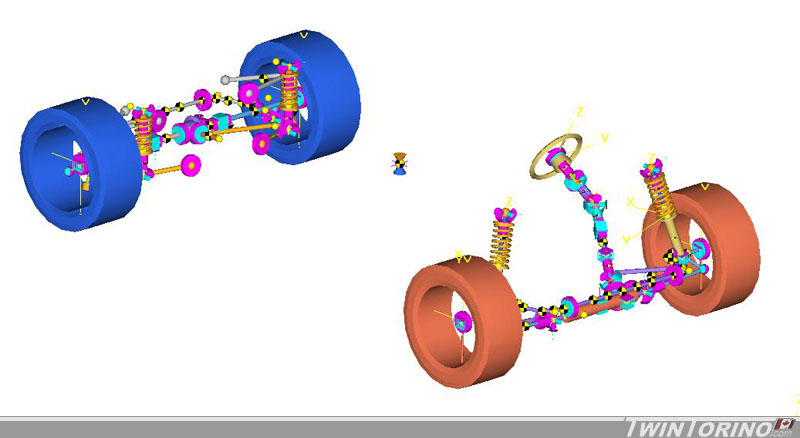
We have been spending some time lately figuring how we want to set the suspension up, and seeing what we want to run for hard points on the chassis etc. We also want to figure out how to set up the rear springs/shocks, since there is not a lot back there. We started to get the chassis points into the computer and figure out roughly how the car will behave when we set up the points the way we want to. The models is being created using program called Motionview (by Altair Engineering) which is for multibody dymanics. This is then sovled using a program called ADAMS.

Here is the model as it is today. The front and rear suspension have all the basics points in. Not much to see aside from the bare basics. You can clearly see all the main suspension parts for the front MacPherson strut suspension and SLA rear IRS. The key here is the info it spits out.. and not having detailed graphics. I will post some animations once they are up and running, as it makes more sense when you see things moving. Now it is time to determine the kinematic behavior of the car (camber/caster/toe curves) and them move onto the dynamic side of things (spring rates, shock rates etc). Also been spending some time with a complete 3D rendering of the car which should be ready to post in a week or two.

This is much easier to do now before everything is finished, and it is not really easy to guess how a car will behave by just looking at where points are. This will provide a starting point for setup, as it is much harder to move points when everything is welded in for good.

Front Suspension Mockup..

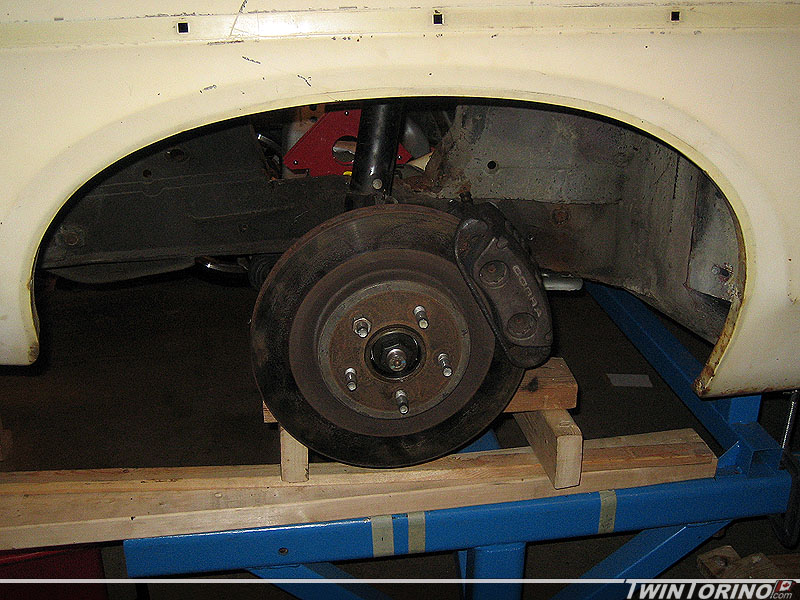
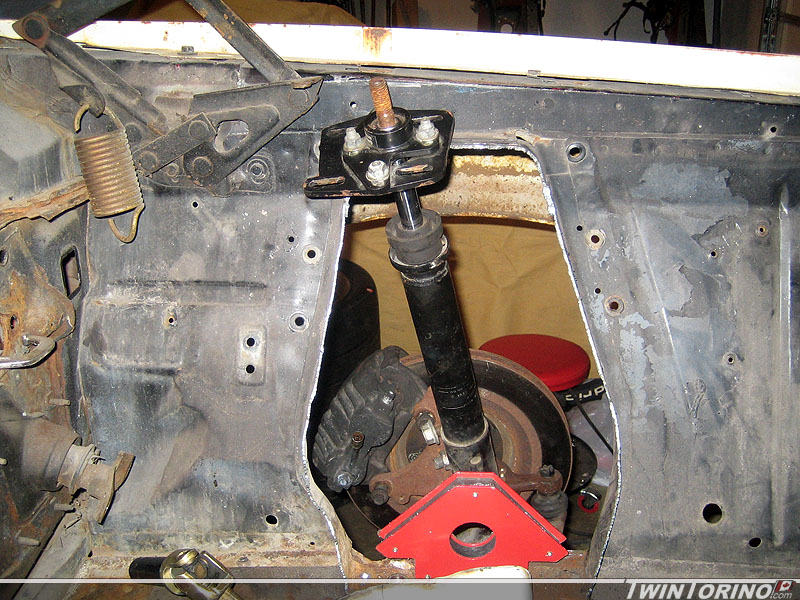
Started to mock up the front suspension by putting the control arms in place as well as the spindles, hubs, struts, caster/camber plates and brakes. The suspension is sitting approx where it will in the shock tower area. Next step is to finalize these points with a plumb bob to match the same points as a stock 2004 Mustang. Then it is time to build up costom strut towers. The struts shown are just for mockup. In the end the car will be running coil over struts with adjustable rebound and compression (Koni or Tokico – haven’t decided yet). The Maximum Motorsports caster camber plates will allow us to run 2-3° of camber at the track and then back to close to stock specs for the street. The only immediate problem is going to be with the hood hinges interfering with caster/camber plates. One thing we did figure out here is that a SN95 Mustang swaybar is not going to work here since the Torino framerails are much lower than the Mustang, so I think we are going to have to run an S197 Mustang bar instead.


Engine Trial in Vehicle..

Once the front shock towers were removed and the stock Mustang front suspension k-member was modified, the engine was placed in the car. Surprisingly, the engine and exhaust fit quite well, and should only require a few tweaks to make it work. This is a big relief as we had thought it was going to be necessary to widen the frame rails. The only thing that is really in the way is the old trans crossmember brackets which will be cut off anyway. The motor mounts on the crossmember will need to be adjusted as the engine needs to shift back at least 6″. Things are finally starting to move along now!


Making the Floors Go Away.. Adding Some Stiffness..

That’s the story.. now some progress.

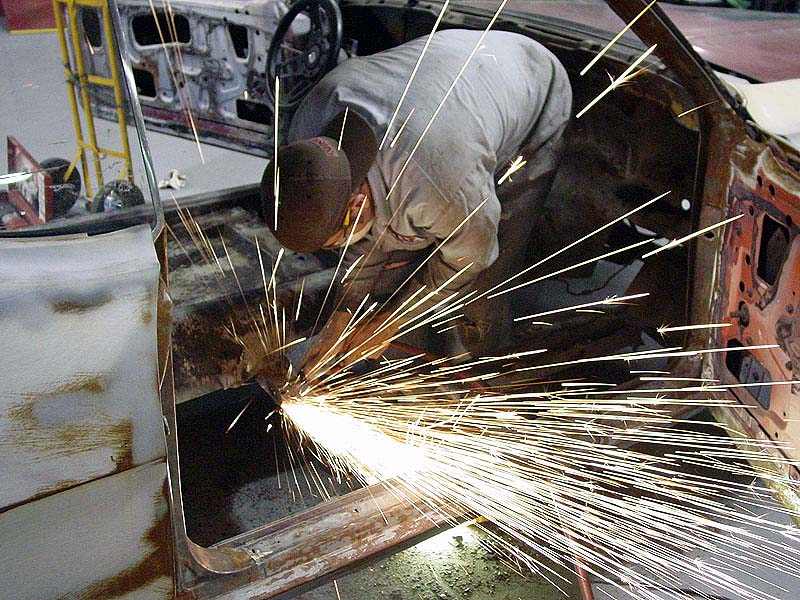
Floors be gone:

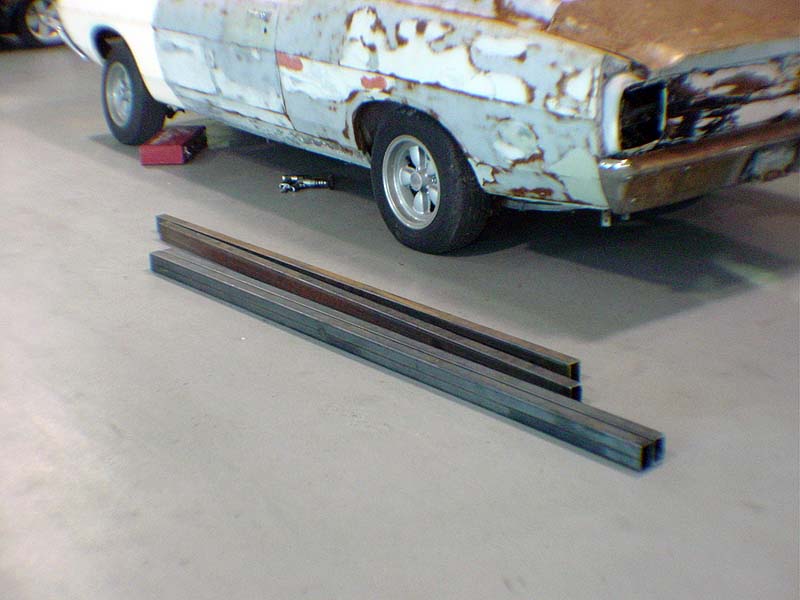
Soon to be subframe connectors:

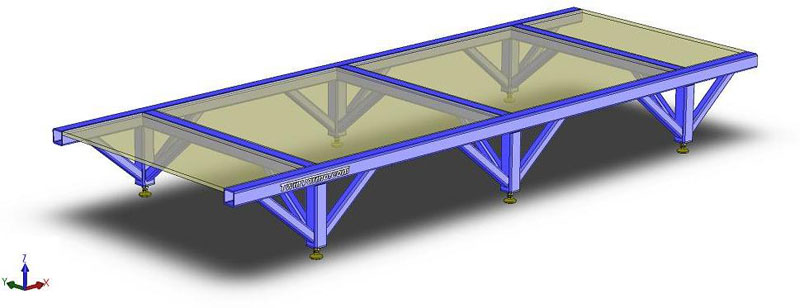
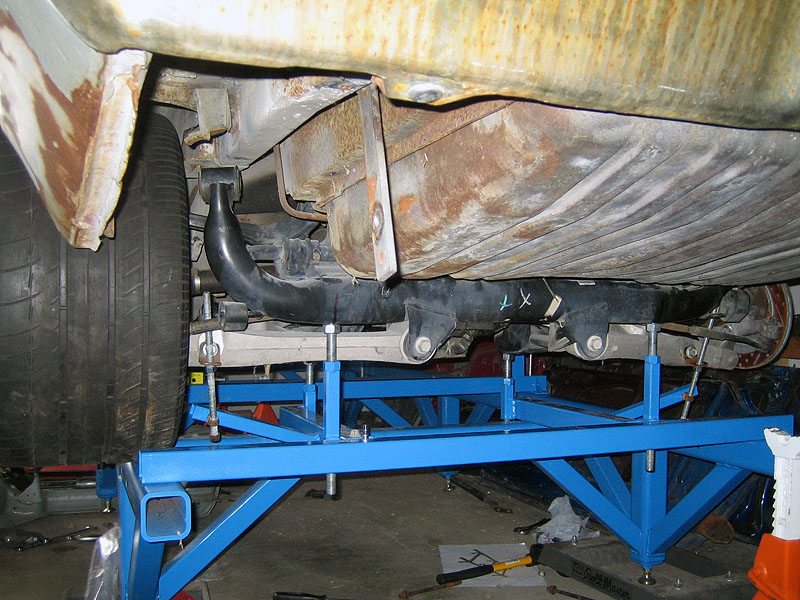
Custom chassis fixture for setting up suspension and powertrain:


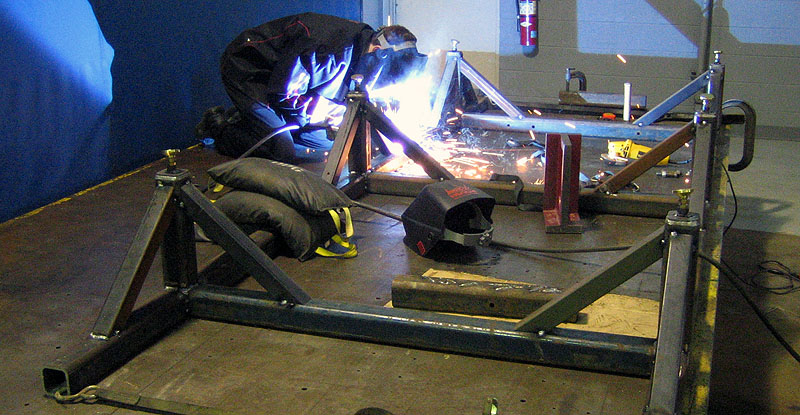
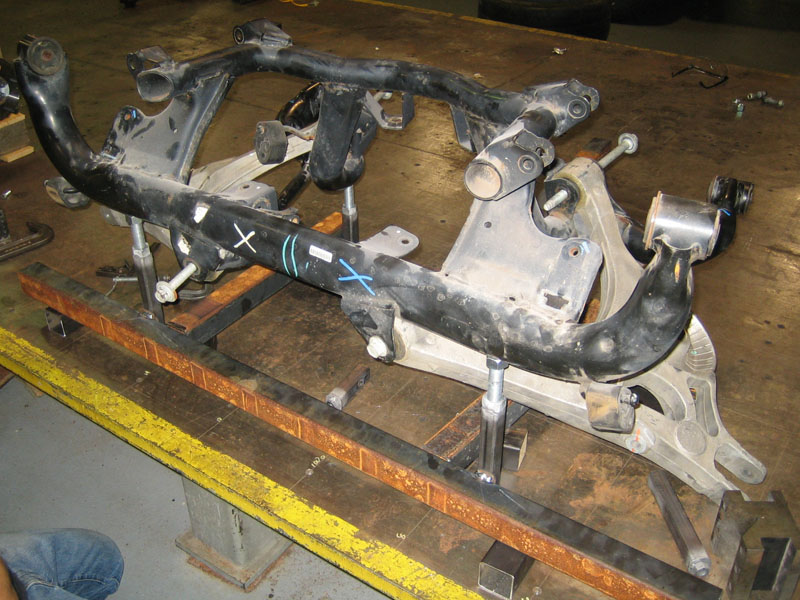
IRS cradle fixture:

IRS moving into place..

Finally starting to get some useful work done on the cars after all the detours of project funding, fixture building a parts sourcing. It has been a long road that has brought us through many provinces and states.

Making the Wooden Mockup..

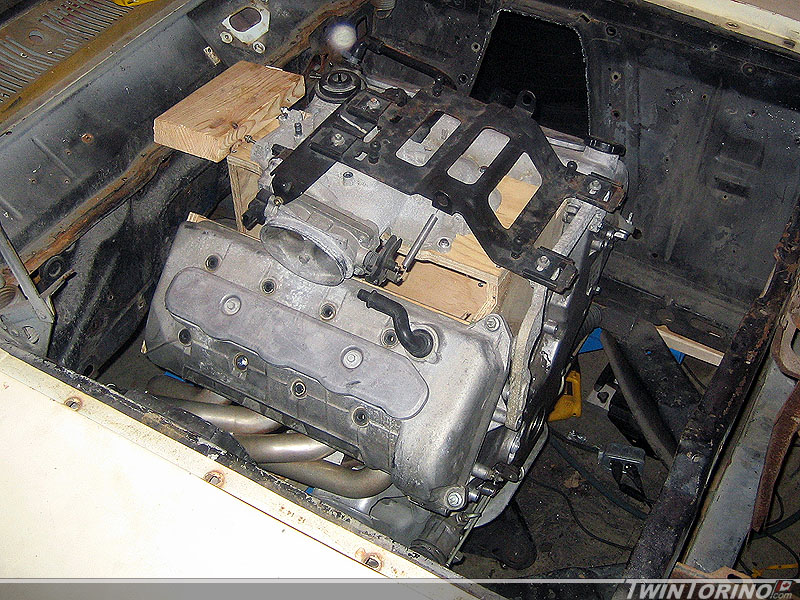
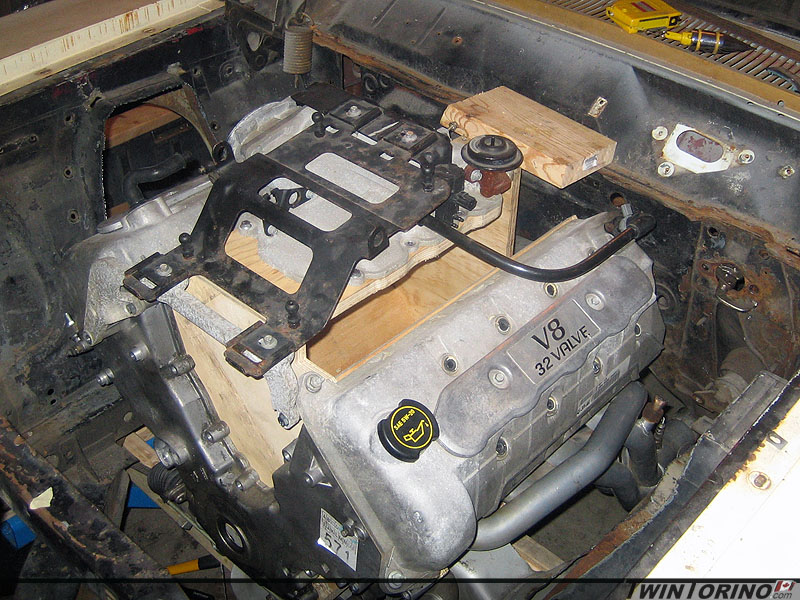
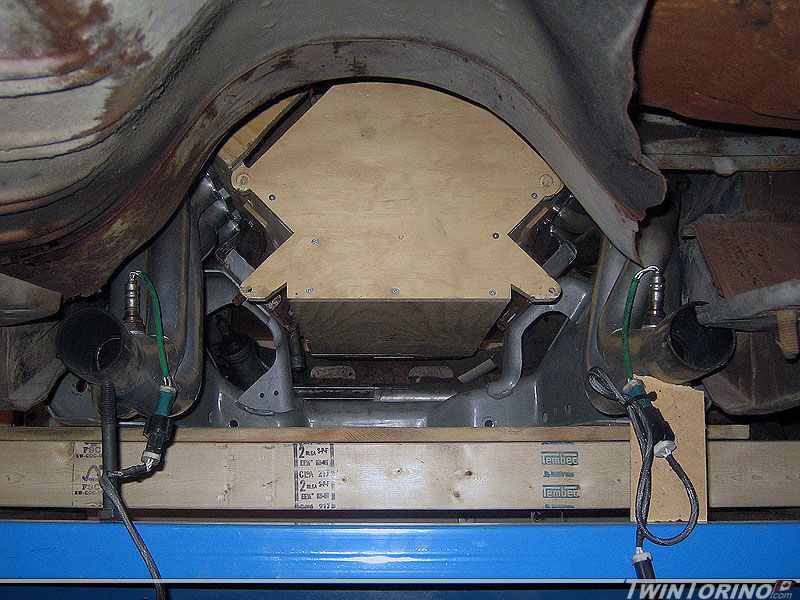
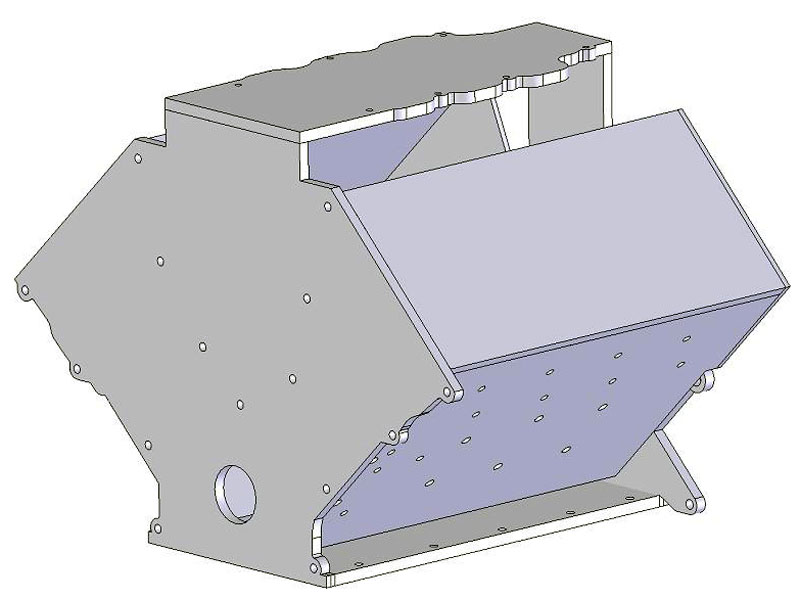
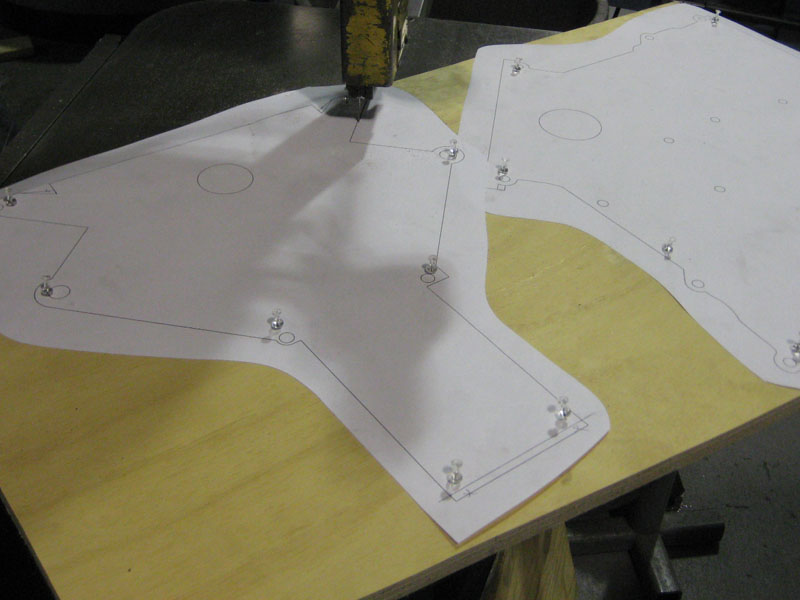
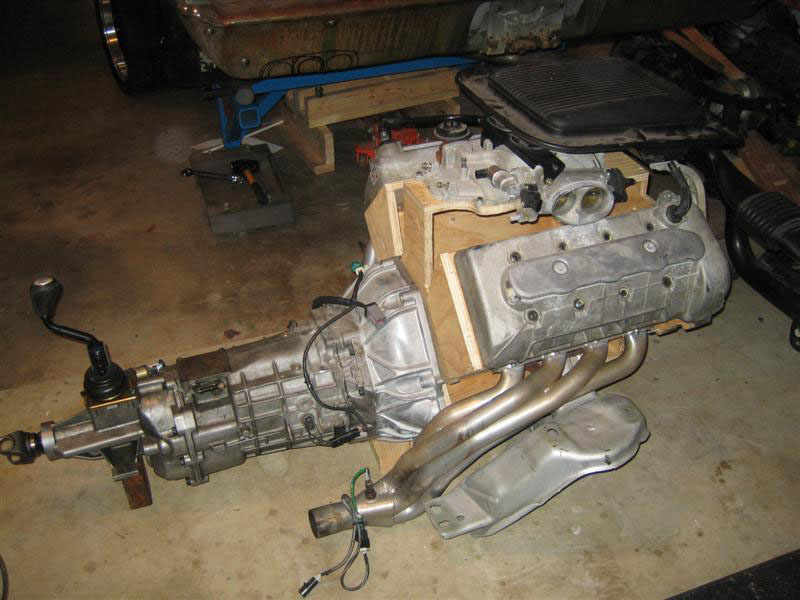
Got tired of trying to mock up the underhood area with a complete heavy engine, so I decided to make something a little more lightweight. A heavy engine was even more annoying to work with the car on a jig that is 18″ off the ground. Since I am on a tight budget, I opted to use an old shipping crate and about $10 worth of fasteners from Home Depot. After careful measurements of the block and tracing out various components, a CAD model was created. This was then used to make up 1:1 scale prints, which were in turn pinned to 3/4 plywood and cut out. This allows the headers, cam covers, trans, front cover, upper intake manifold, manifolds, A/C compressor and power steering pump to be installed in the car.

The shaker on the 2004 Mach 1 sits very far forward when in the Torino, so I had to take it apart and shift it back about 8″ to make it look right. Not sure if I am going to keep it on the car or not. The engine does not like the factory shock towers as you can see – the cam covers won’t fit (as expected). The plasma will make them go away.

Making Room for the Rear Suspension

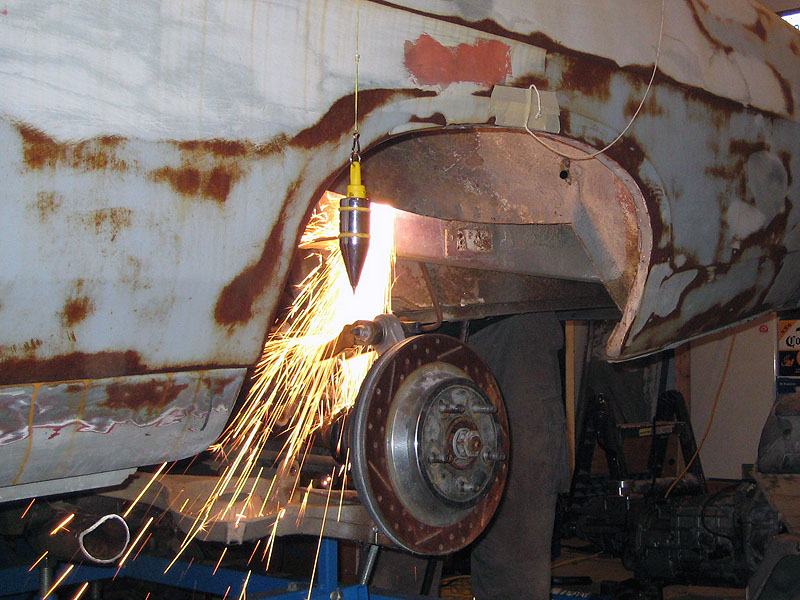
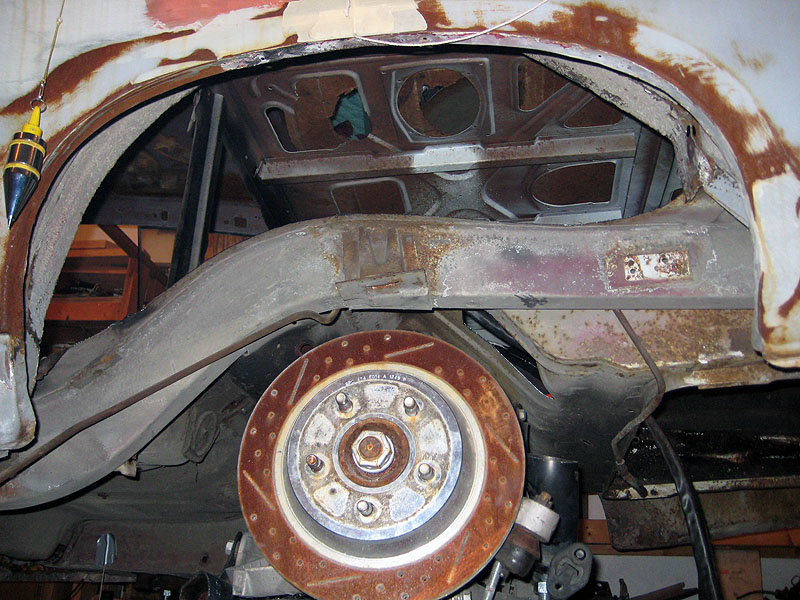
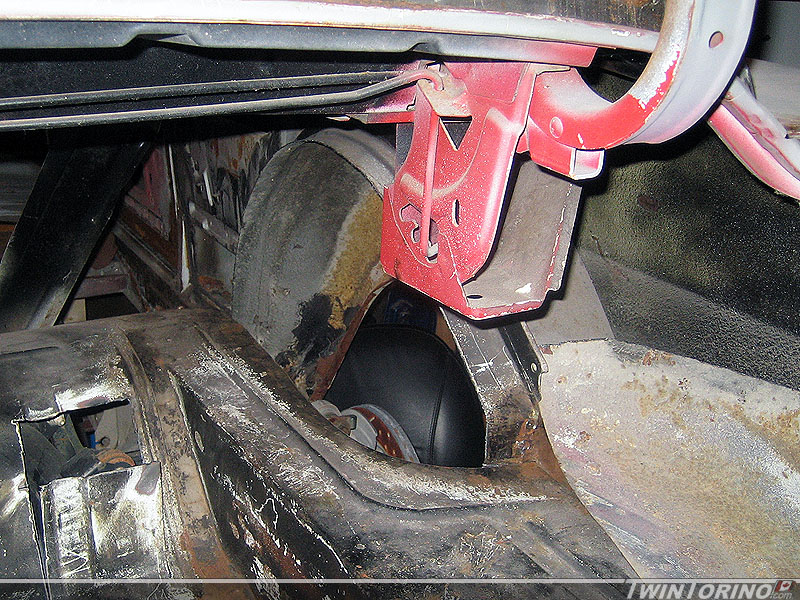
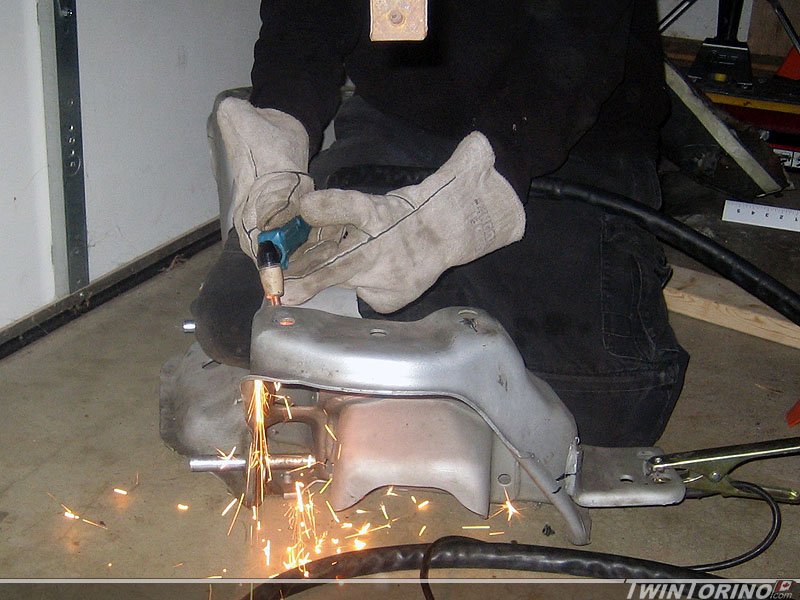
Since the 315 or 335 tires will not clear the inner wheel wells, we needed to make some more room. The suspension will also move differently than a solid axle (you get camber change now with the IRS), so that further defines the need to minitub the rear of the car. Since there is no kit available – we need to just cut out an inch of floorpan and add an inch to the inner wheel wells. Finally got to put the plasma cutter to its first test – is worth its weight on gold during this step. It is very easy to cut straight lines this way too.

Had to cut holes in the trunk floor so the upper control arms on the IRS would fit. Also hitting the pinion snubber and will hit the jounce bumper brackets, so those were cut off too. This all needs to be done so the car can have a lower stance and still sit at the correct “design” position as it was designed (and not just at some arbitrary control arm angle).


Making Room for the Powertrain..

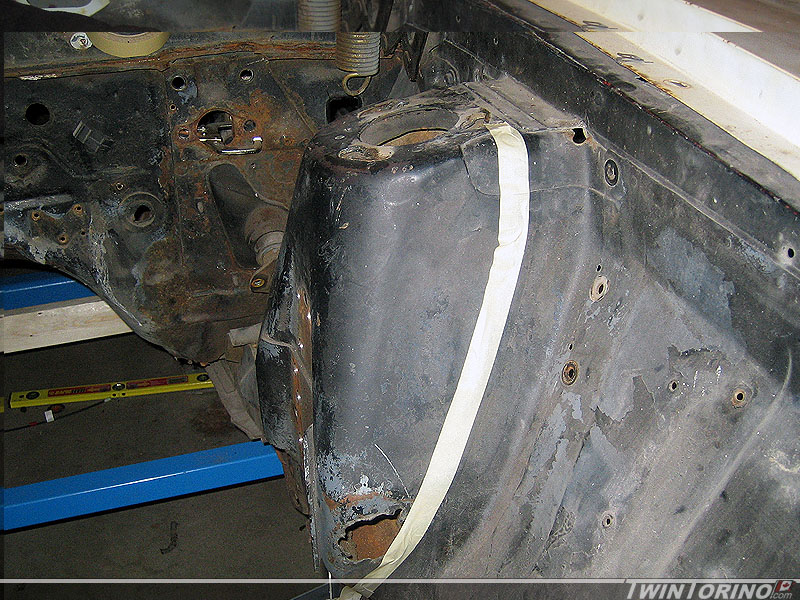
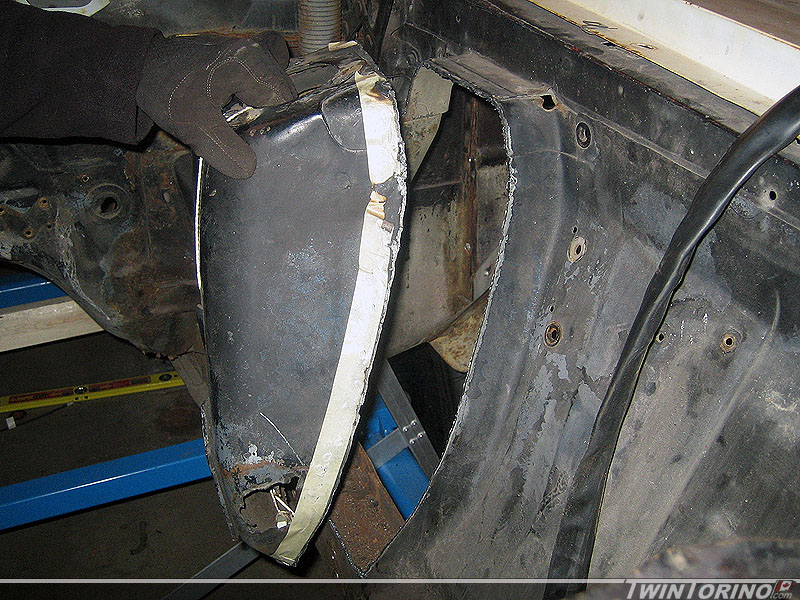
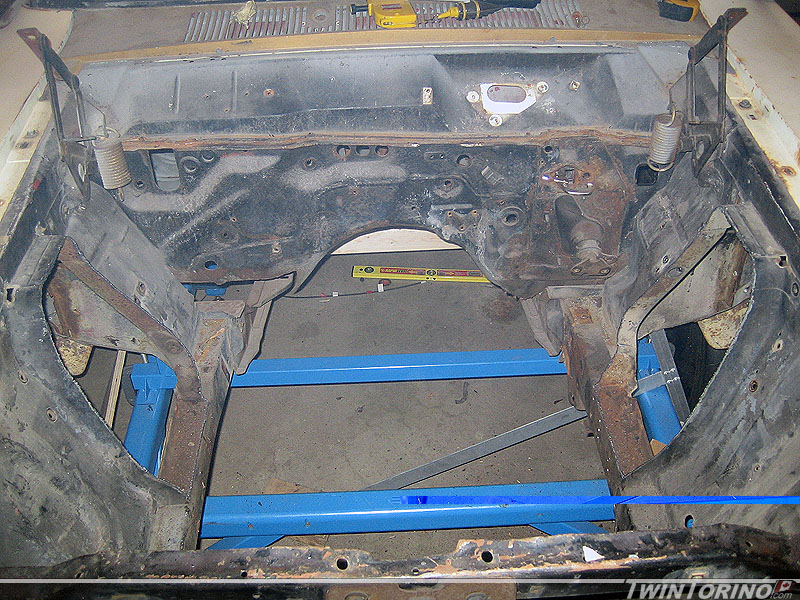
If you look at the previous pictures, you will see that a DOHC engine was not meant to fit within Torino shock towers. Easy solution there – get rid of them. They will be replaced with 2004 Mustang based ones.

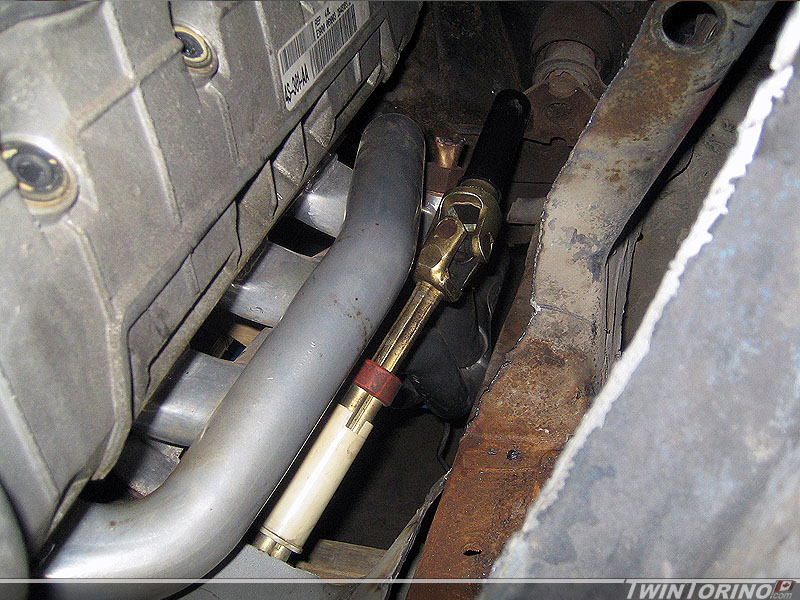
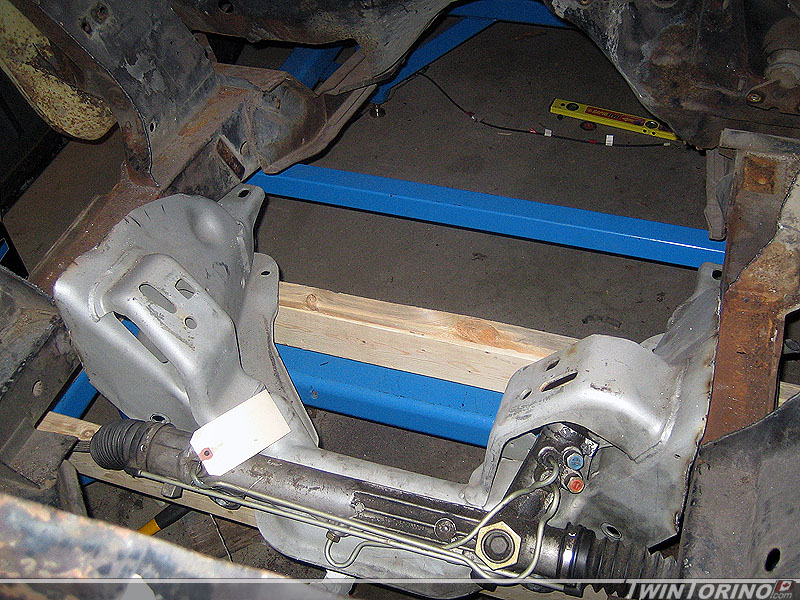
I will say once again how great a tool a plasma cutter is!! This is by far one of the best and fastest tools I own. It makes cutting up cars a breeze. Once the shock towers were out, the stock Mustang k-member was modified to allow it to bolt into the Torino. A spare mockup steering rack was placed in position and will work perfect once in place which is another relief as we were not sure if it would hit anything.


Page 12 of 12« First...«89101112

Categories

Archives