Category: Floors
Remote Battery Mount and Floors..
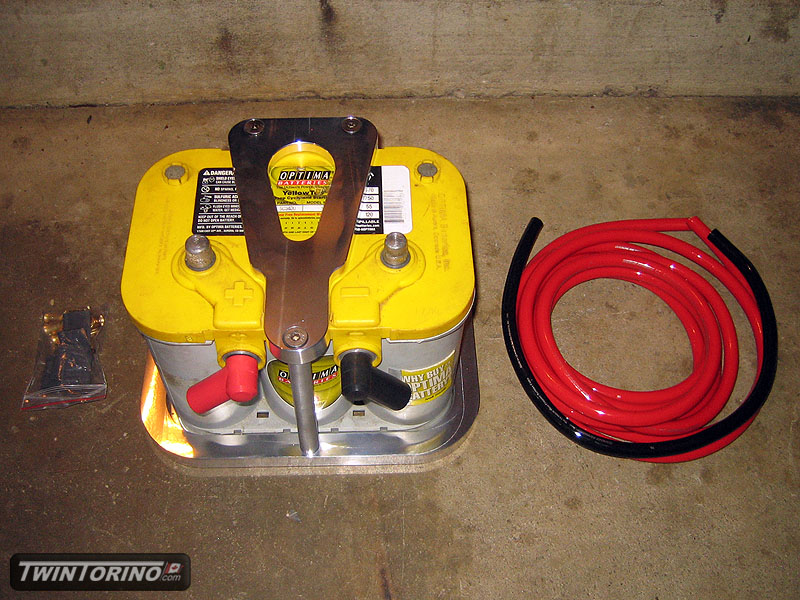
Since we plan on having the car up and running in the next month.. time to take care of the smaller things. Worked on getting the parts together for the remote battery setup. We were going to make our own battery mount, but for the time it takes, we decided to just go with a DSE mount for a 34/78 Optima. To connect the dots, we are using 2 gauge Quickcar cable and side mount location on the battery.
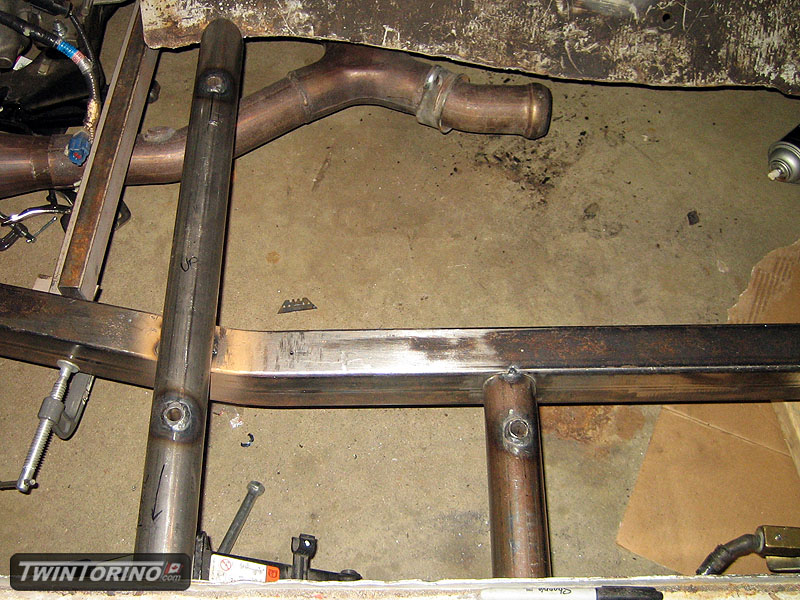
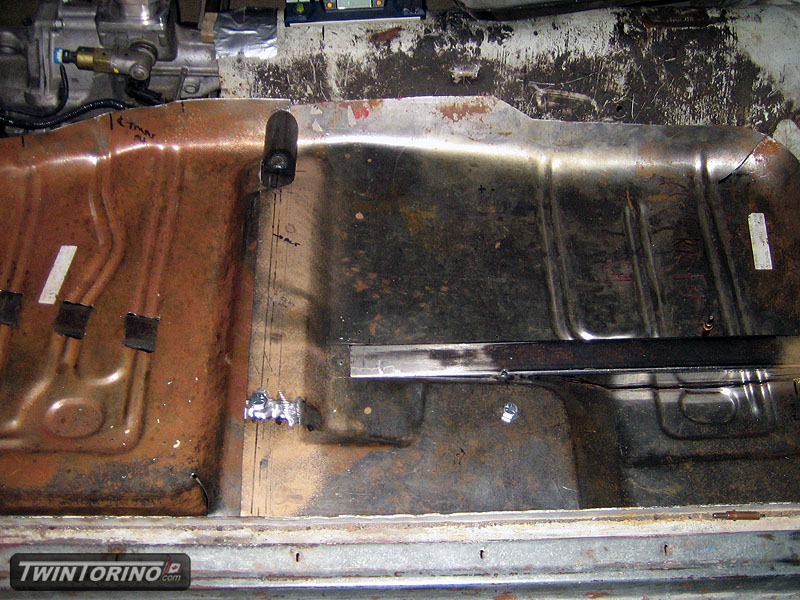
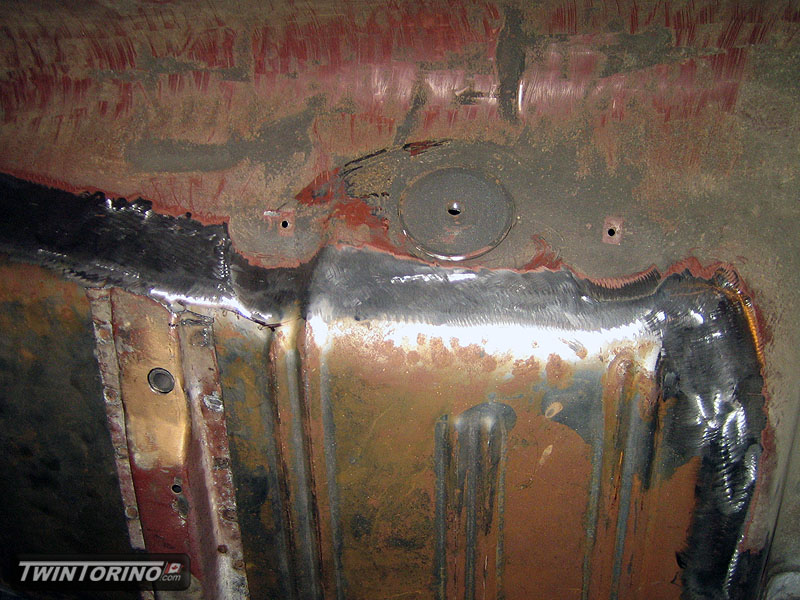
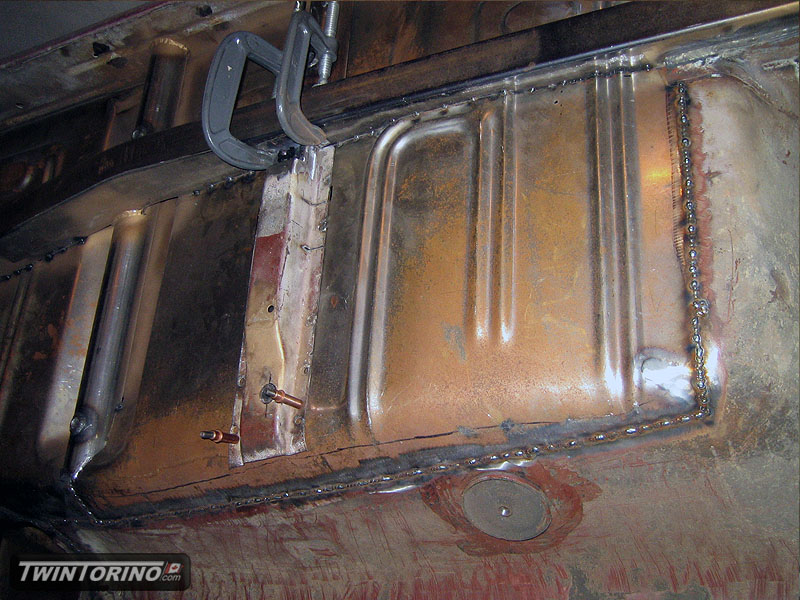
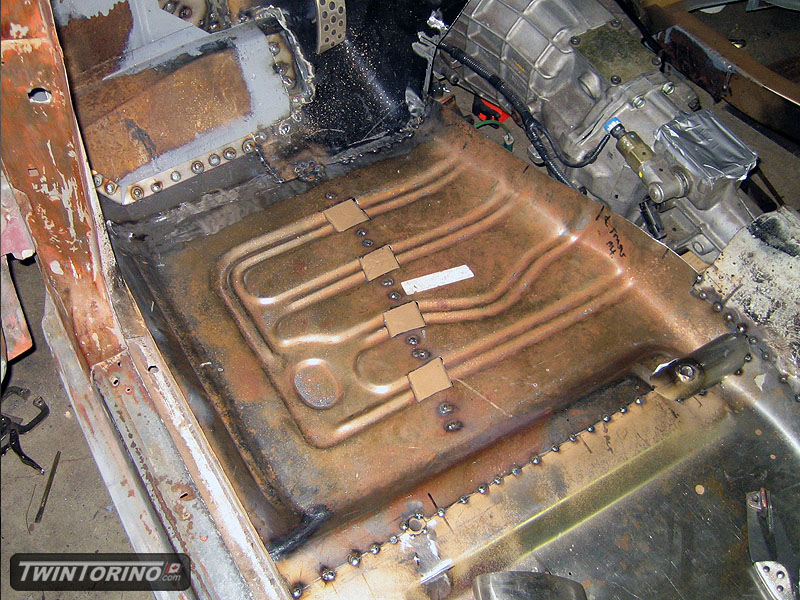
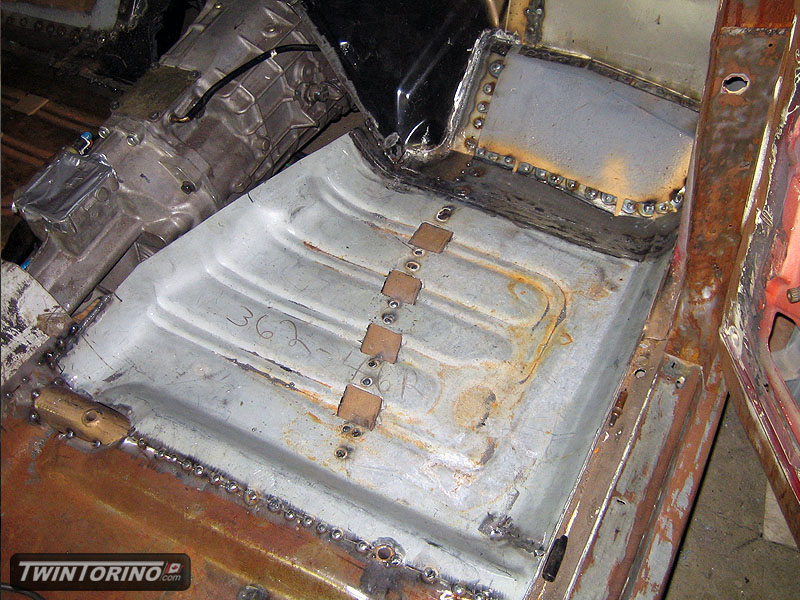
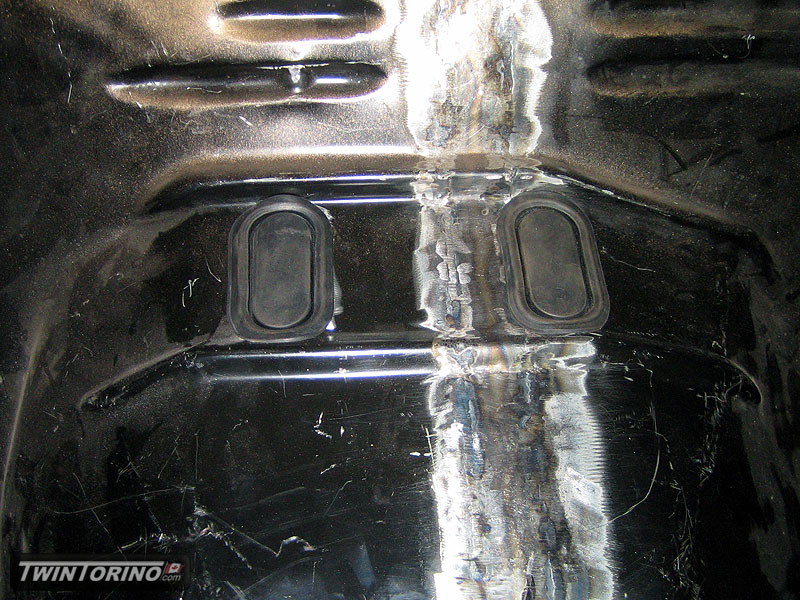
Driver’s side floors have been welded and smoothed out. Pass side is close behind and just need to be ground down smooth. Sure is nice to be able to do this with the car sideways on the rotisserie. Nearly done everything under the car now. Also in the process of of putting the rear seat support back in. It is hard to see in the picture, but we added a recessed area in the seat supports right beside the frame connectors where the brake/fuel lines will clip into on each side.
Trans access..
And now with the trans in place.. get a great view of the “hard to reach” trans bolts, which are now a breeze to get at. Just have to move the carpet out of the way.. and don’t even need to touch the heater box.
Trans mounts and driveshaft
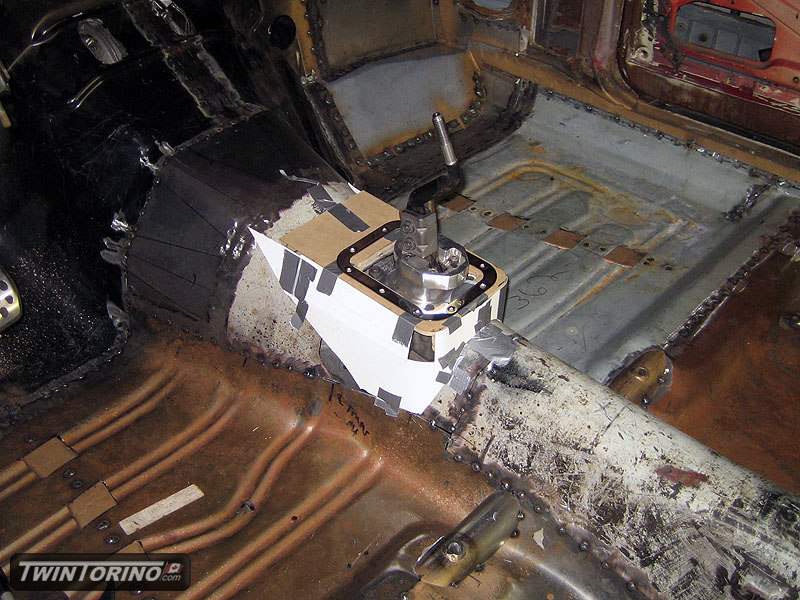
Over the weekend managed to wrap up the shifter hump which is now ready to weld in. Surprisingly the shifter lands right where it is supposed to. We put the Sparco seat with all the pedals and steering wheel in position and everything feels great. Should be fun to drive (and comfortable).
With the steering all hooked up, we were able to steer the front wheels for the first time – another big hurdle out of the way. There is absolutely no play in the steering which is a big change from before. Now just need to modify the good steering column and get it ready to go in for good. Only thing left to do on the column is make up an adapter harness to plug into the newer Mustang electronics.
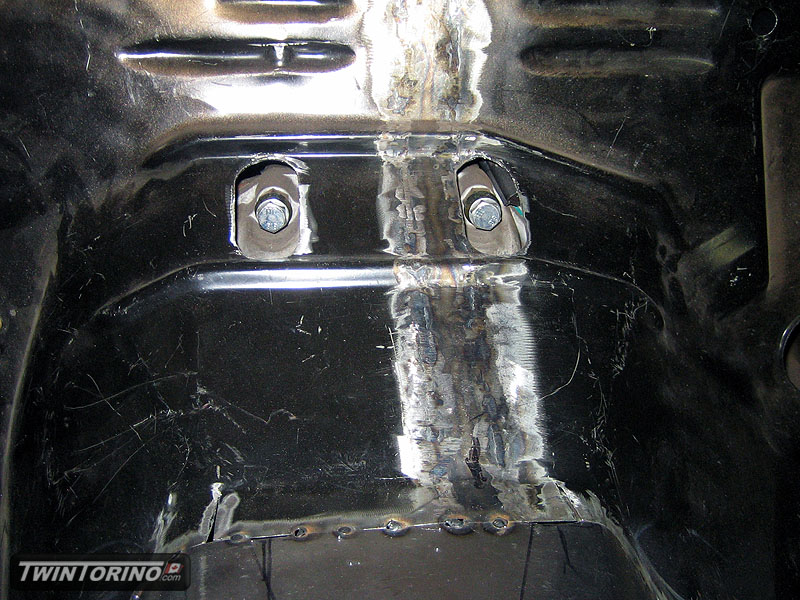
Moved onto getting the trans permanently mounted in the car. We are just going to weld two brackets to the floor (still need to be trimmed down), and use J-clips to retain the trans mount to the brackets (similar to a base Mustang). With the subframe connectors in place and the seat supports, the floor is now very stiff. Keeps things simple and helps keep the weight down.
With the trans now in position, everything clears the trans tunnel, including the Police package Crown Vic driveshaft, which is the perfect length.
Now onto the fuel and brake system.
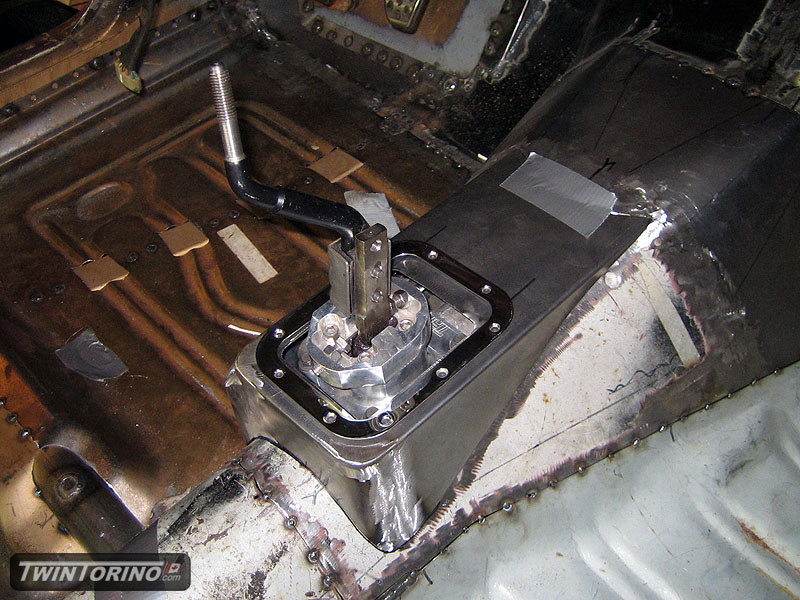
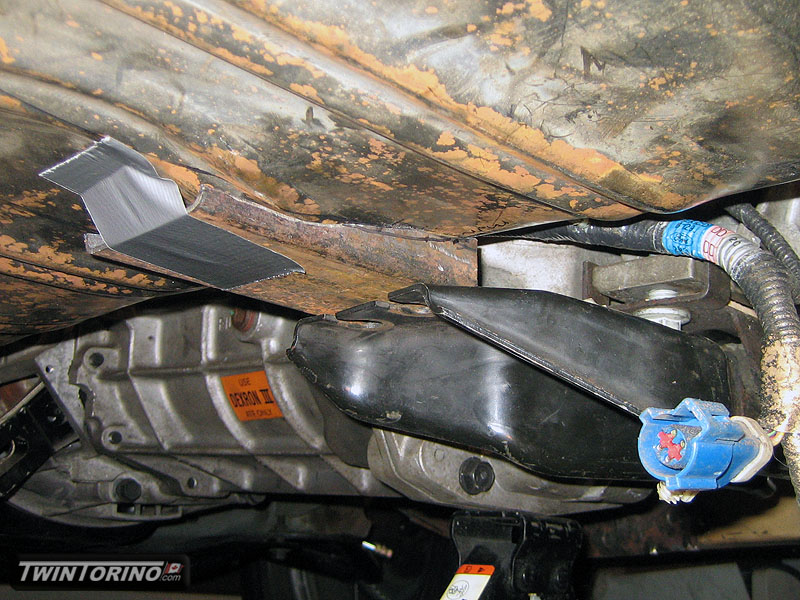
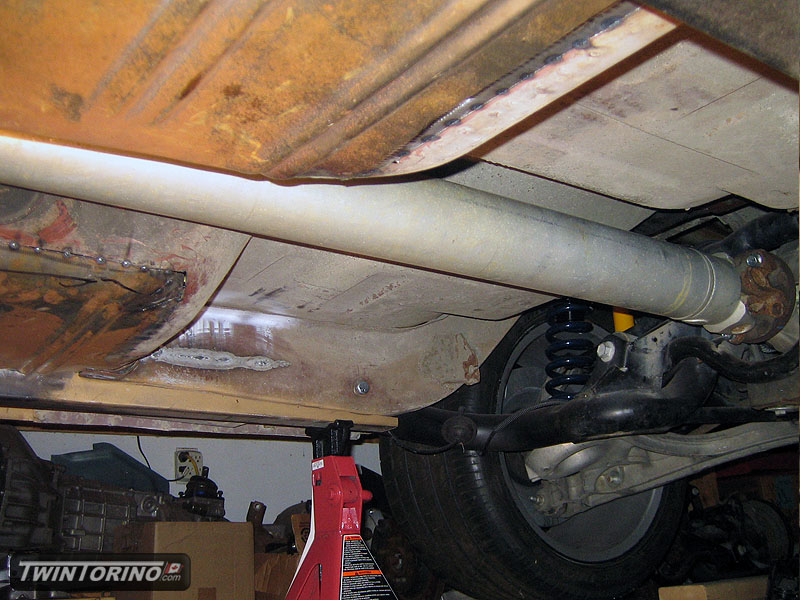
Trans hump and steering..
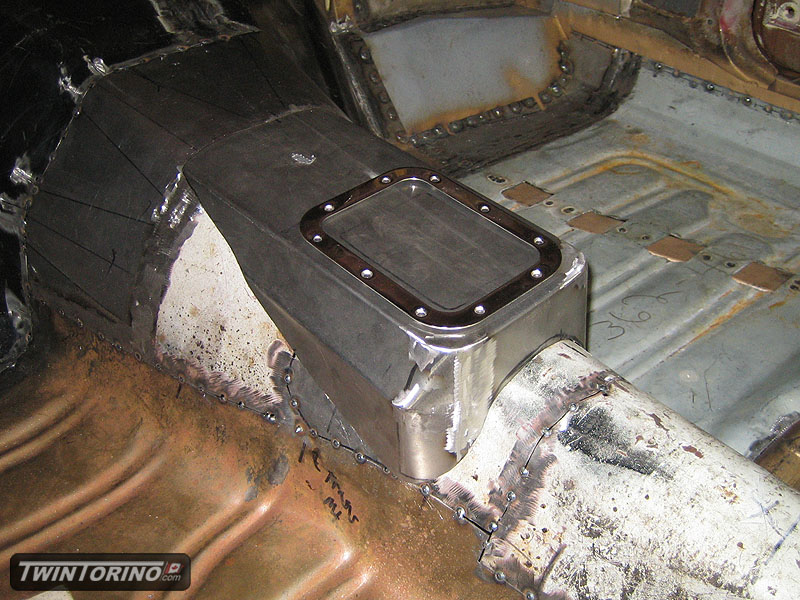
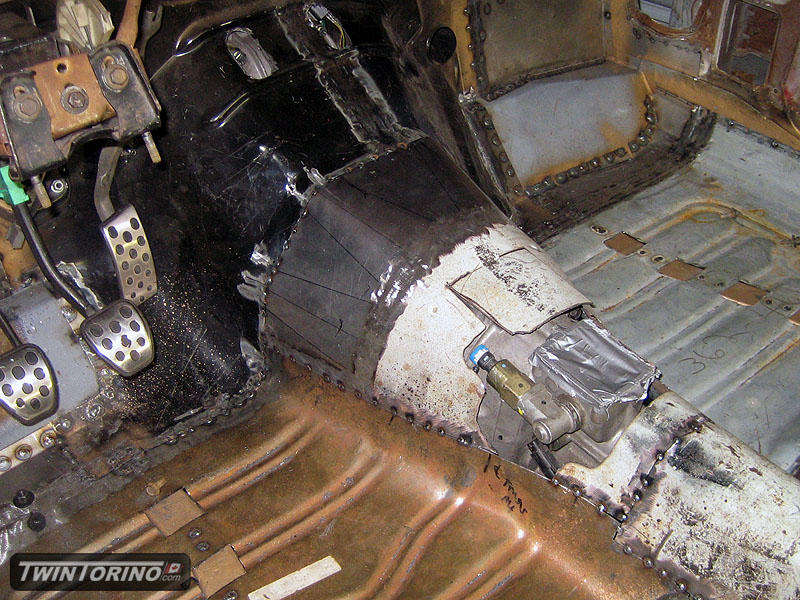
Finally.. lots of free time to work away at things. Made up a shifter hump to conform to the carpet and clear the reverse lock-out solenoid on the transmission. Almost ready to cut the floor away and weld in. After that, floor fab is done and only needs to be final welded.
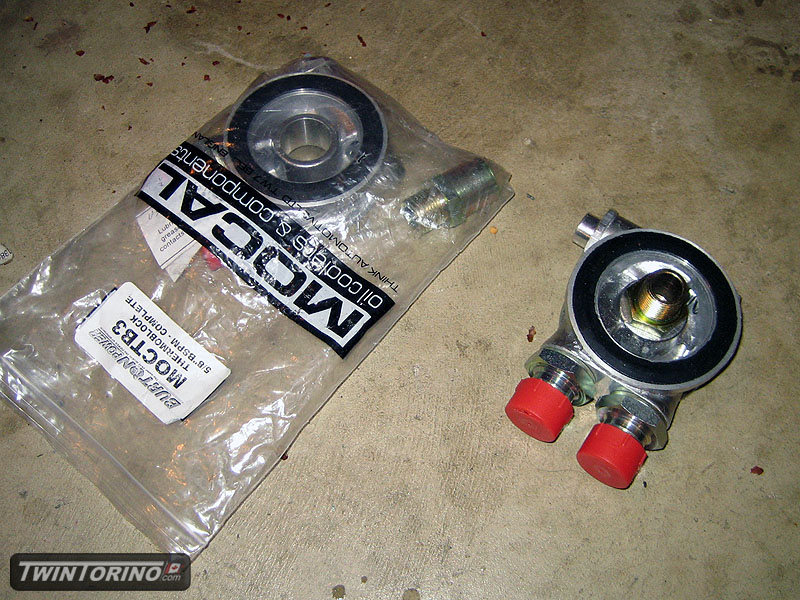
Found someone on Ebay selling oil thermostats cheap on Ebay so I grabbed a pair of them. These models are actually for a Lotus, but work fine with the Torino since it is set up for an oil filter with a 3/4-16 thread. You simply remove the oil filter and stack this on top and put the oil filter back on. Since we are running an external oil cooler, this is a must in order to let the oil in the engine get up to the proper temperature (same as a thermostat in the cooling system).
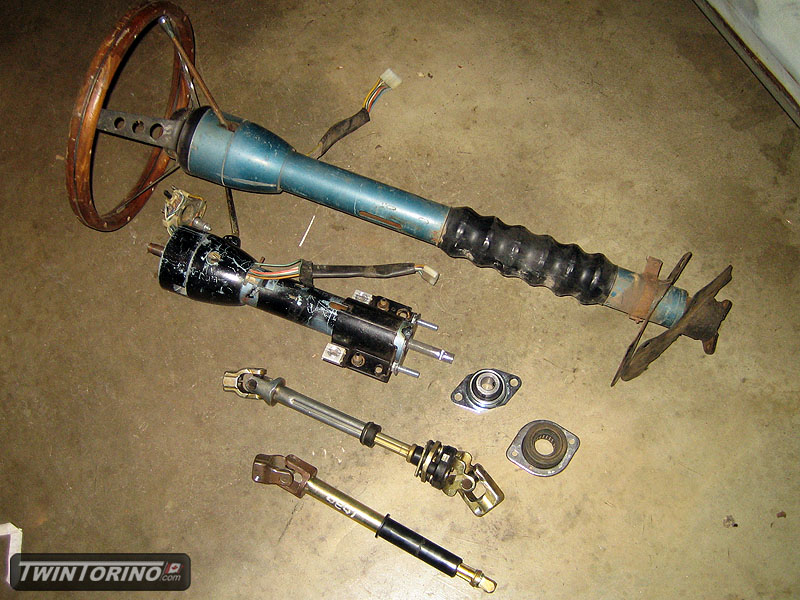
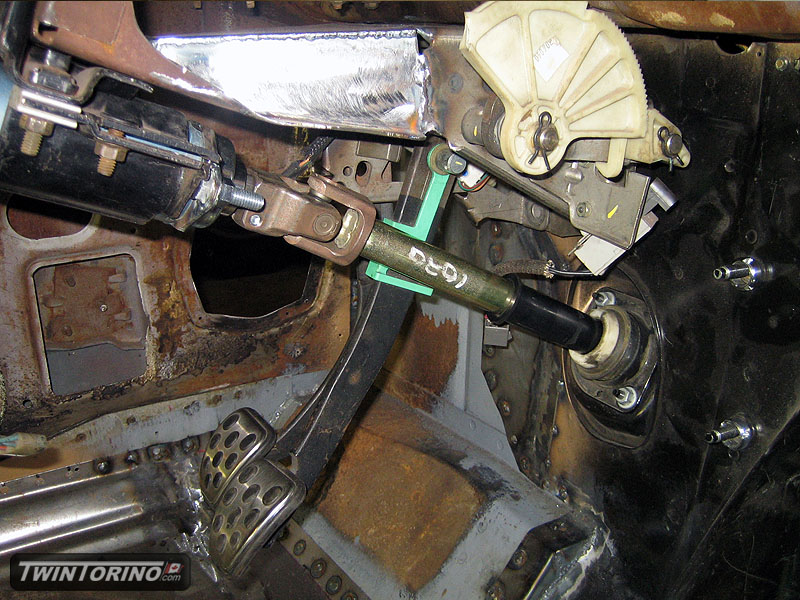
Moving onto the steering system, we found the necessary parts to make it work. The “trial” steering column was cut down considerably and a bracket was welded onto the end to accept a flange bearing. The inner shaft is then cut down to mate with the intermediate steering shaft. This shaft then connects to the lower shaft, which then connects to the rack. The steering colum has to be cut back so far to clear the brake pedal. This also reduces all of the u-joint angles. Believe it or not, these shafts are from a 2004 Lincoln Navigator ($20 on Ebay). The connection on the steering rack is a custom Ford only one, so this limited the choices to a Ford vehicle. Alternatively companies like Borgeson make the parts needed to put together all the shafts, but they are not cheap. Mustang ones will not work since the suspension is further forward. The firewall bearing is from a Mustang. For the first time in years – the Torino can once again be steered using the steering wheel.
Carpet..
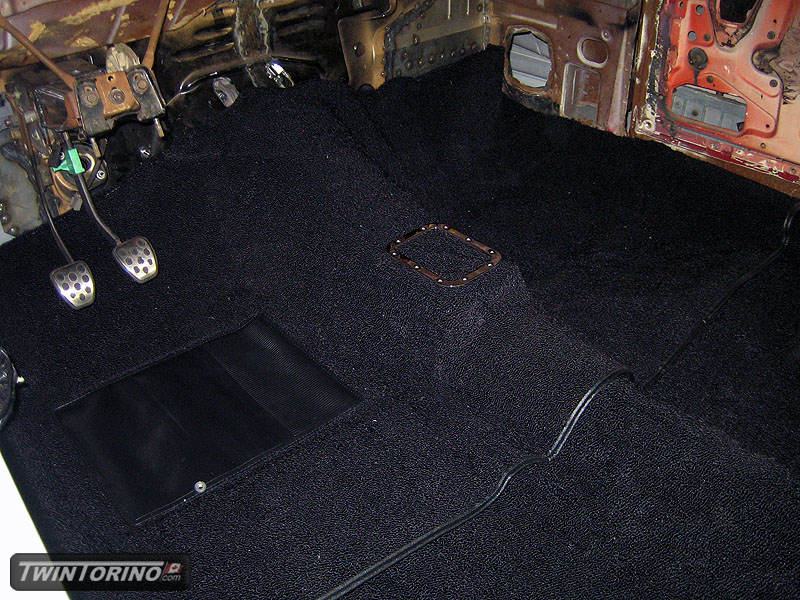
Couple more progress pics. Now onto the fun part, finally getting new parts installed. Wanted to get the actual carpet in before finalizing shifter hump position. At least from now on in are uphill. Carpet is made by Trim Parts and seems to fit OK so far. Does the heel pad really sit back that far?
Pedal Support..
While everyone else was watching football, we were hanging out in the garage. Got the trans tunnel tacked in – once the carpet comes this week – we will finalize the hump and weld it in. This was by far the most annoying piece to make fit since it was constrained tightly on all sides. In the end it fit up nicely to the Mustang firewall and stock Torino floorpans. Just need to final weld everything and the floors will be all set.
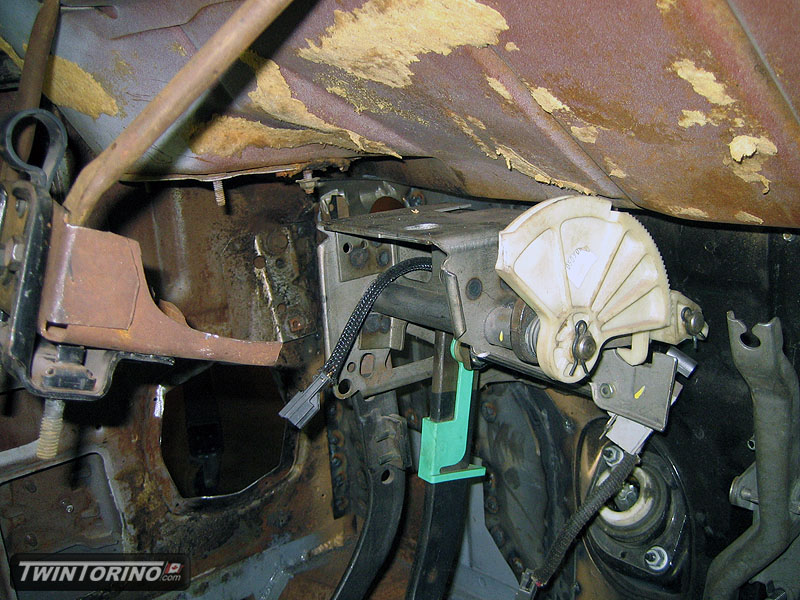
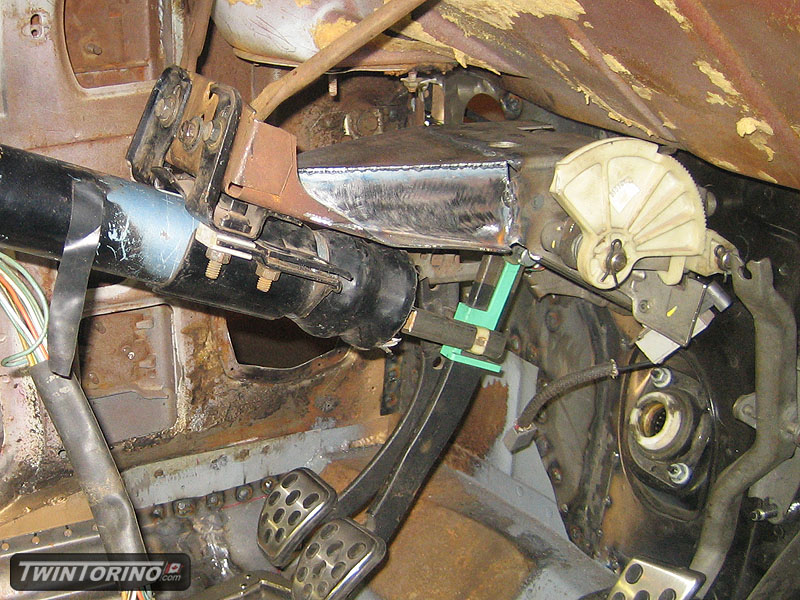
Also started to get the pedals and the steering under control. We ended up taking an auto pedal assembly and cutting most of it away (except for the part that bolts to the steering column, and bridged the gap between the two. Once we are finished welding this up – it will hopefully look like it came that way. Steering column will have a u-joint under the dash (similar to new cars) and we will make up a bearing assembly to keep it concentric to the outer tube.
Floors and rust replacement..
Finally.. had lots more time lately to get things done. Summer will be here in no time.
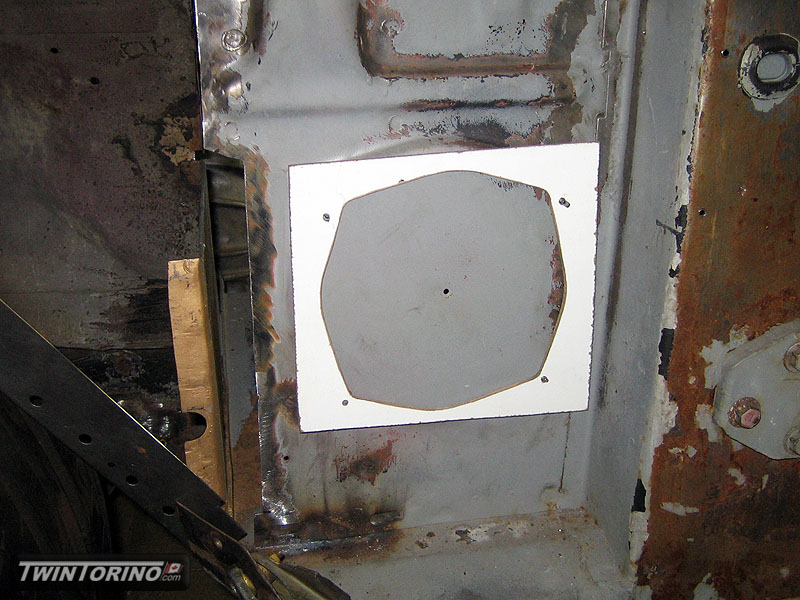
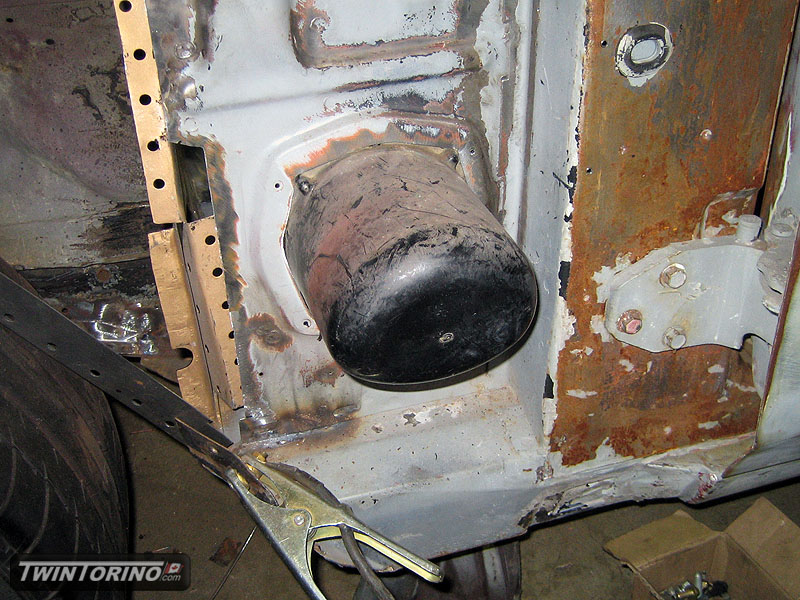
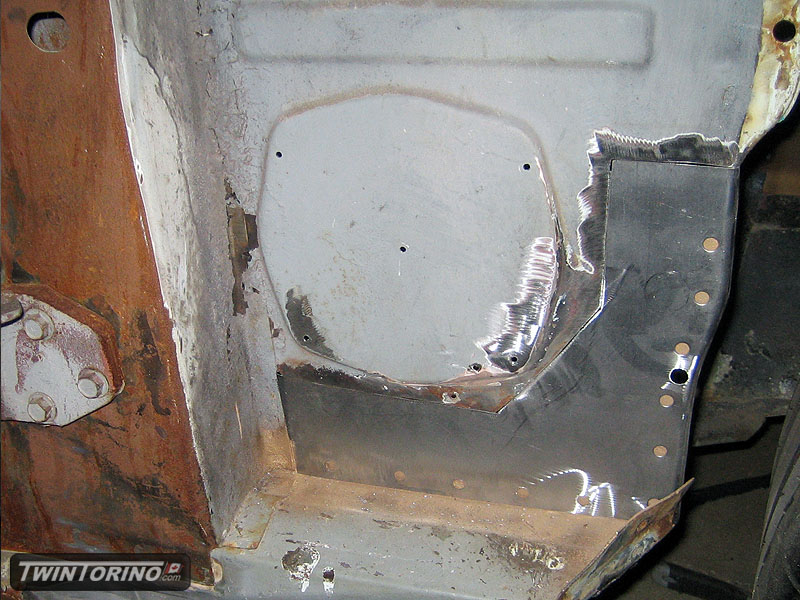
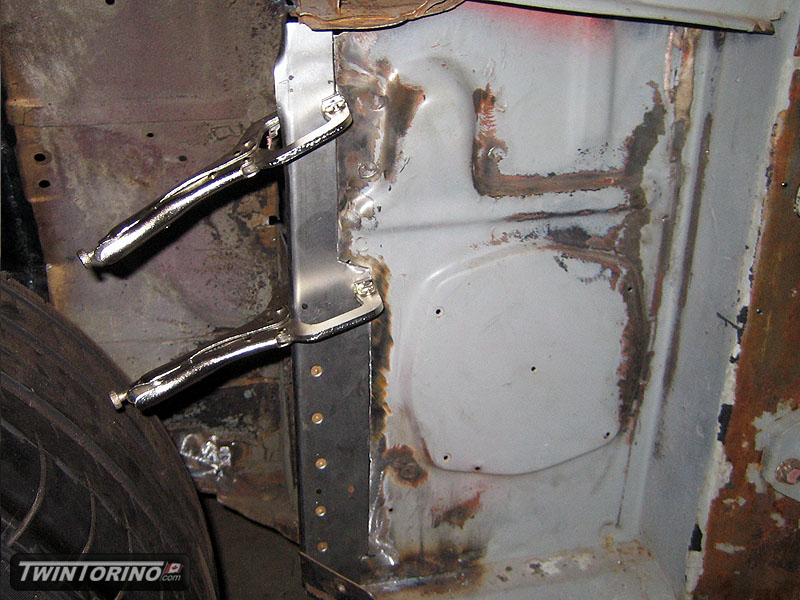
Firewall is now welded in for good, as are the front floor pans. Just need to final weld everything and also get the trans tunnel welded in. Plasma cut out some speaker holes and made up some patch panels. We got fed up with lack of access to the upper transmission bolts, so we made access holes through the firewall to get at them. Should make life easier.
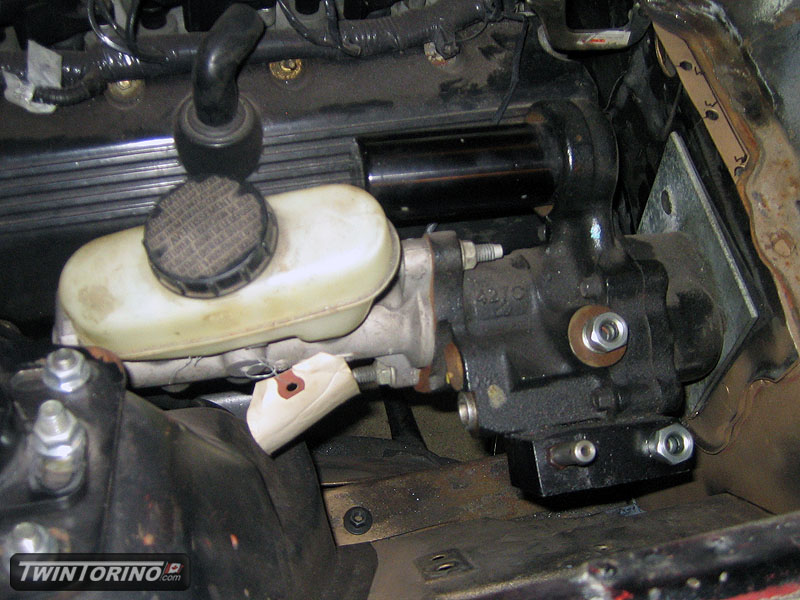
Hydraboost fits like a glove. Need to run the lines to the power steering pump, steering rack and cooler next. Also need to get the pedal box to mate up with the Torino dash. We’ll be driving the car in no time..
More Floors..
Got the rear pass side floor tacked into place. Now moving onto the trans tunnel. First step was transitioning the Mustang firewall to the Torino hump. Almost have that roughed in – just need to trim all the pieces. Next comes the 4-speed tunnel. We decided to just make our own, and integrate it into the hump. Unfortunately the T56 shifter base is too large to work with a stock shifter bezel, so we need to go with something slightly larger.. although not by much. Time to order up some carpet and shift bezel/boot.
Also need to make up a custom shifter handle and knob. We will more than likely go with a cueball style black shifter with the 6-speed pattern on it. Alternatively we may make up our own 68 style knob, but with the 6-speed pattern in it.
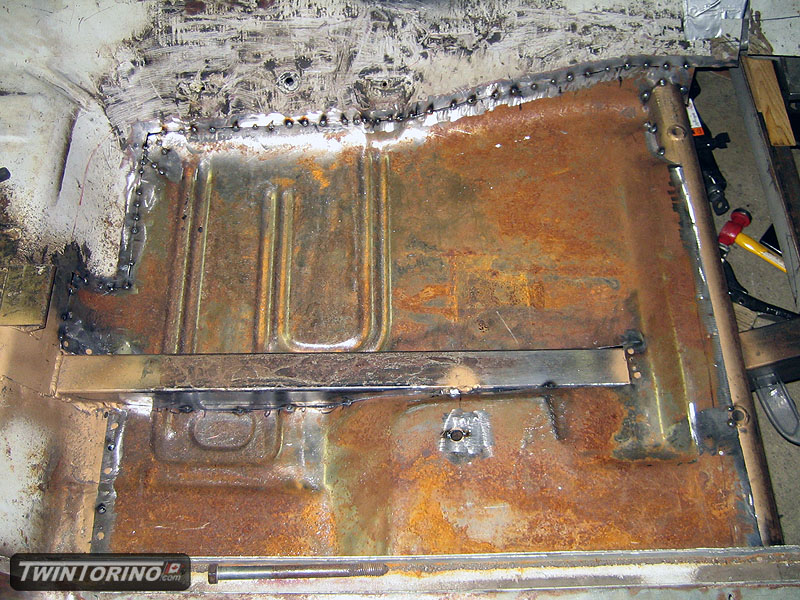
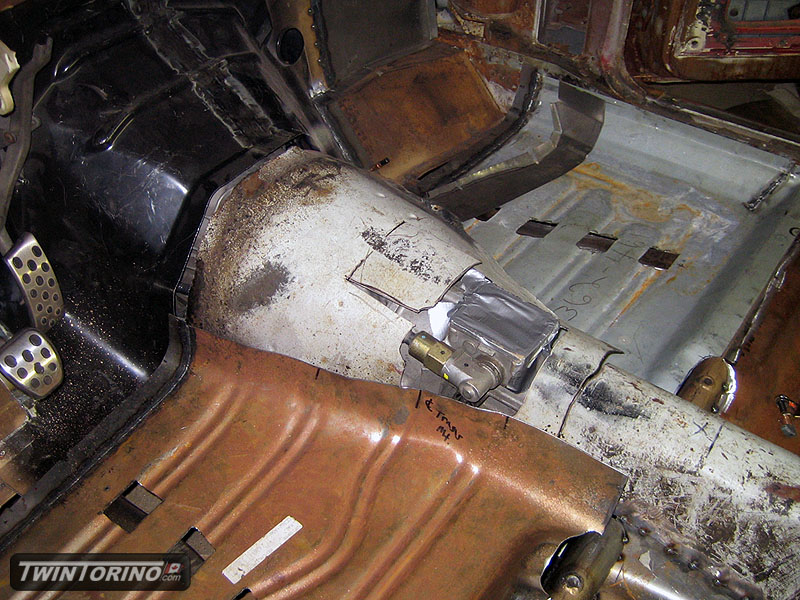
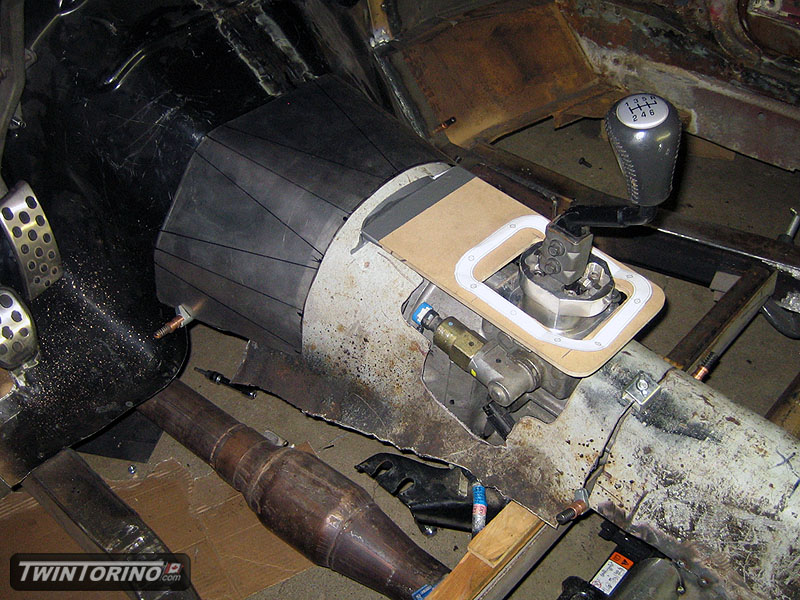
Driver’s floor tacked in..
One step closer.. driver’s side rear floor is now trimmed and tacked in place. Lots of welding to do on the car still that is for sure.
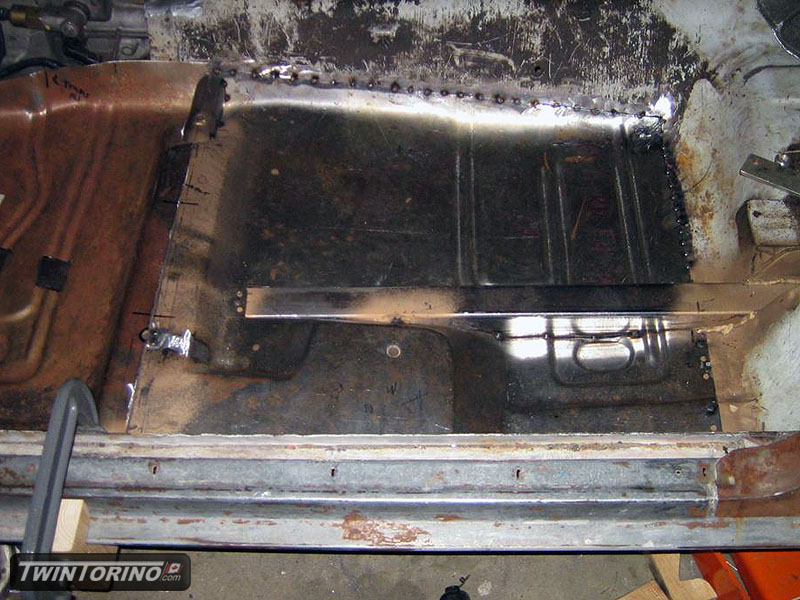
Laying out the seating..
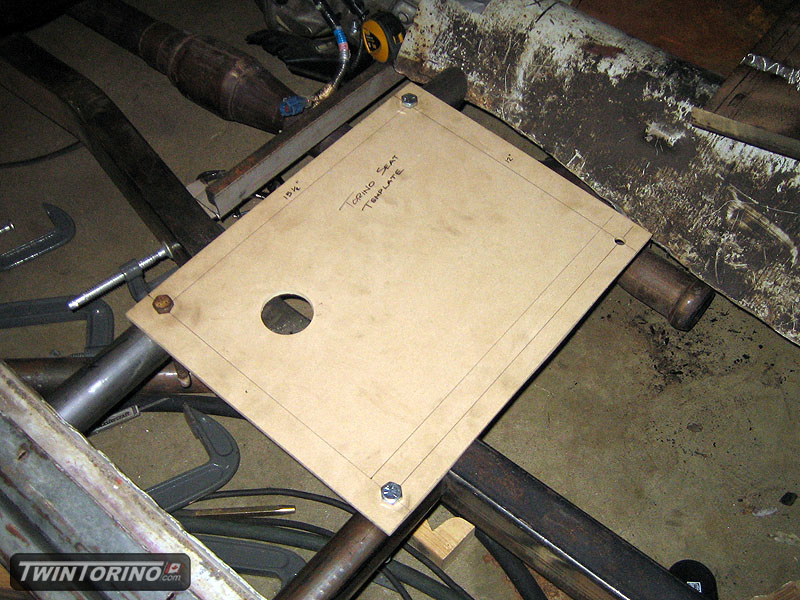
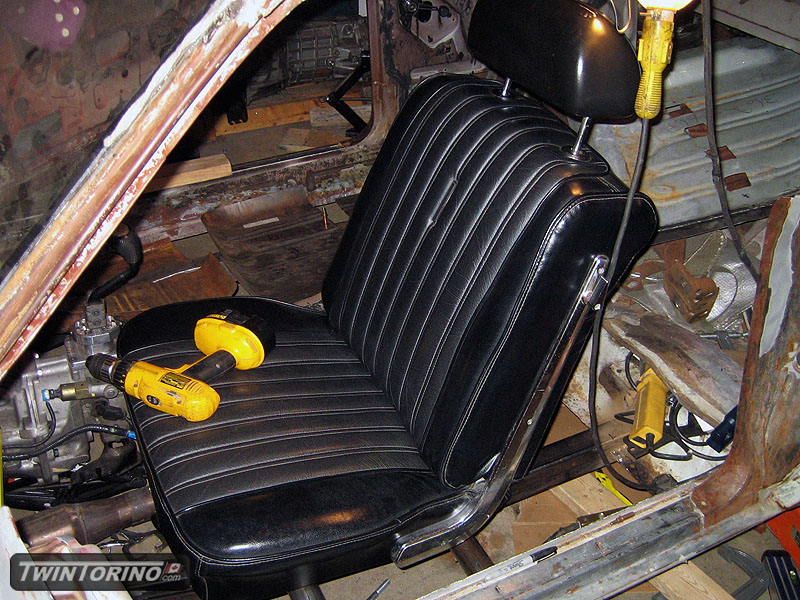
Did not get a whole lot done over the holidays since I was out of town.. but did manage to get some things done the past couple of days. Have the driver’s side seat supports basically done.. so can now finish welding the floors in for good. Have the pass side almost done too. Designed the setup so the stock buckets would still work.. even though they will likely never make it back into the car again. It’s nice to be able to sit in the car for a change. Getting closer to driving by the day..
