Category: Body
Underbody Cleanup and Part Detailing
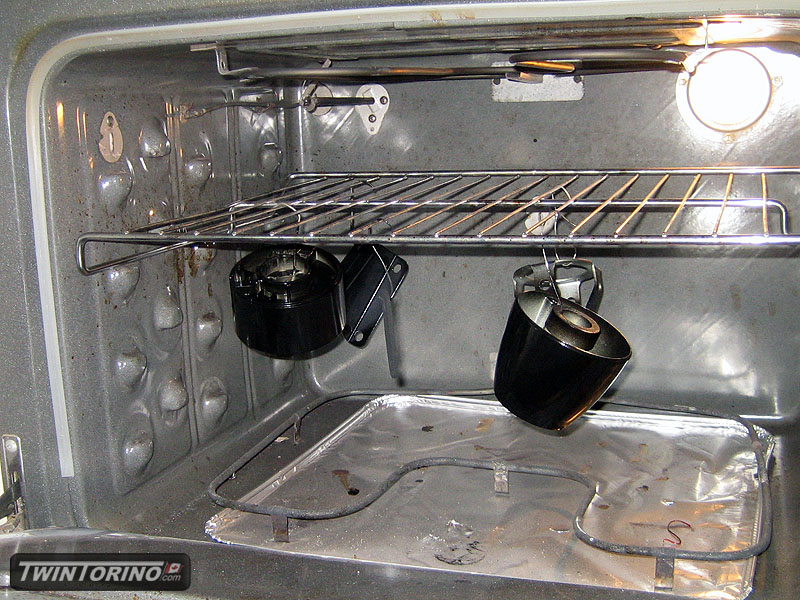
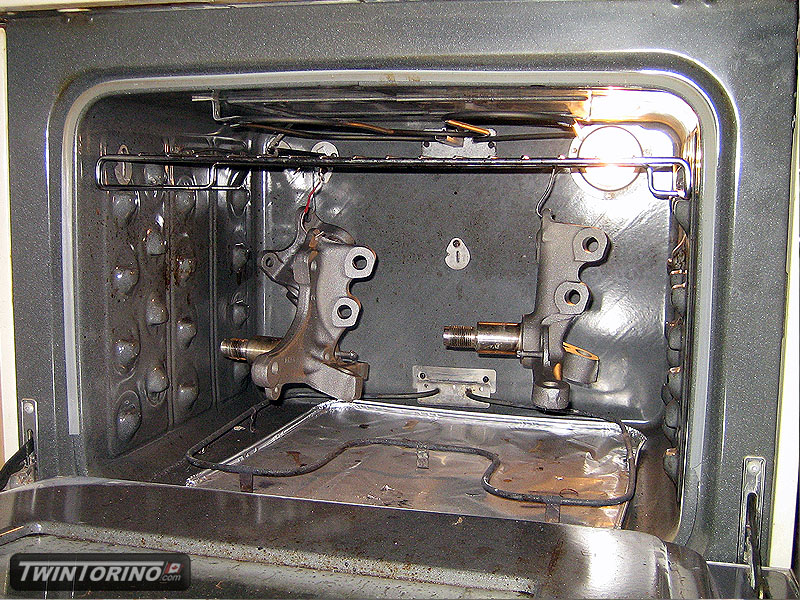
In the midst of all of this, it was time to seal things up for the time being, and start to make everything look presentable. This included painting the underbody and engine compartment and powedercoating all kinds of parts and pieces on the car. Everything will be sealed up for good later when the car gets snadblasted. Nothing high budget, just some rattle cans and an Eastwood powdercoating kit.

Wheel Wells, Front Rad X-Member and Fuel Sump
Have not posted in a while.. but getting lots done behind the scenes.
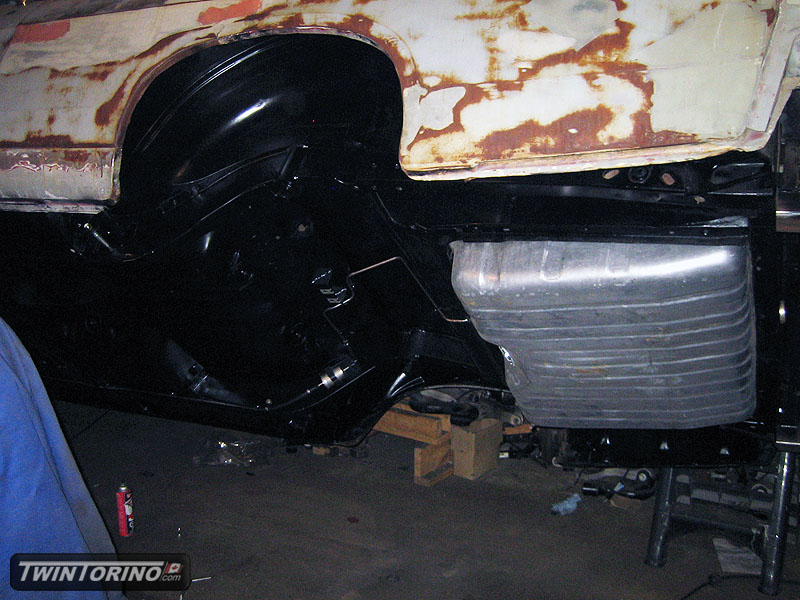
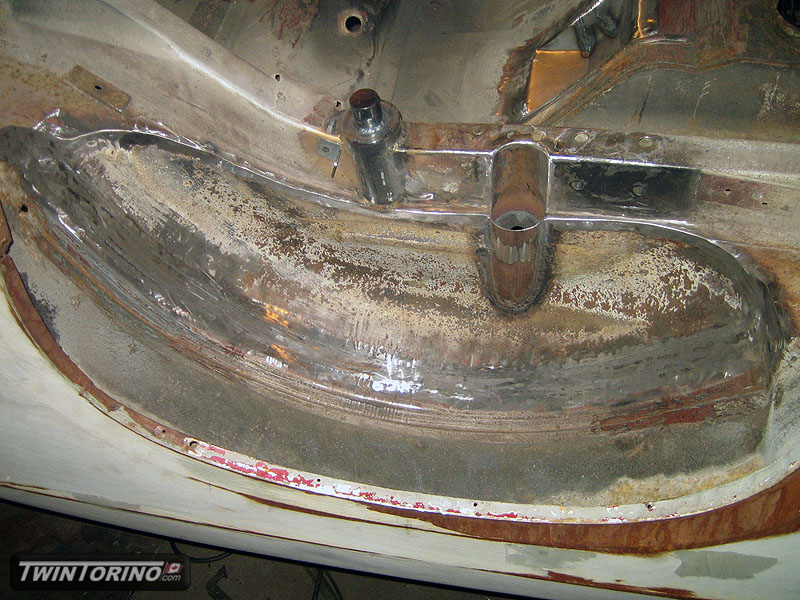
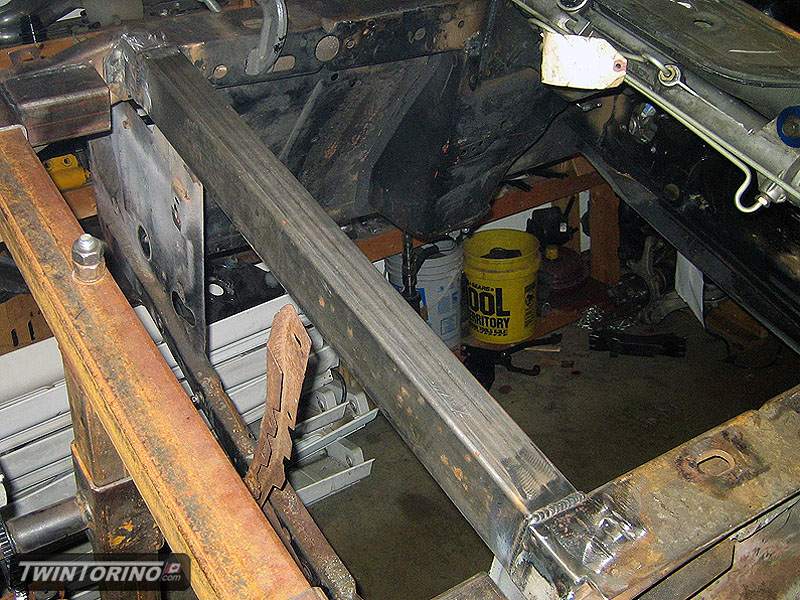
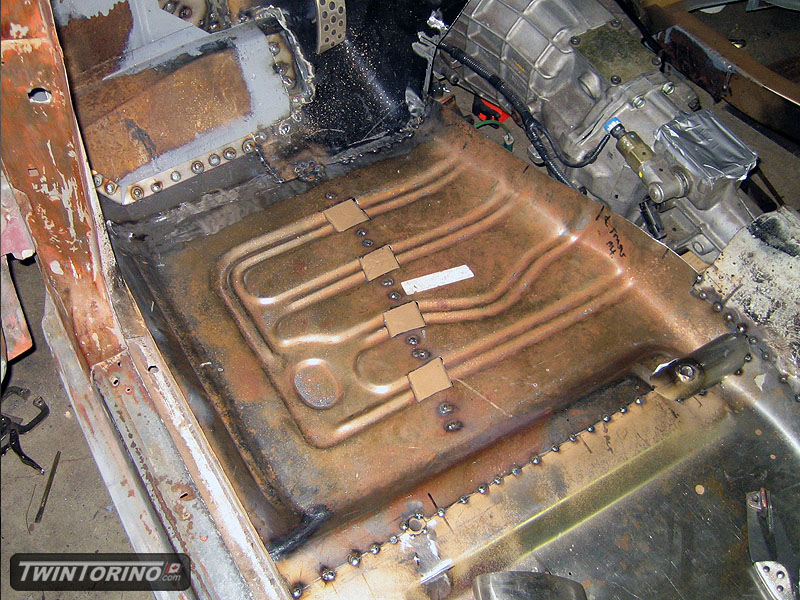
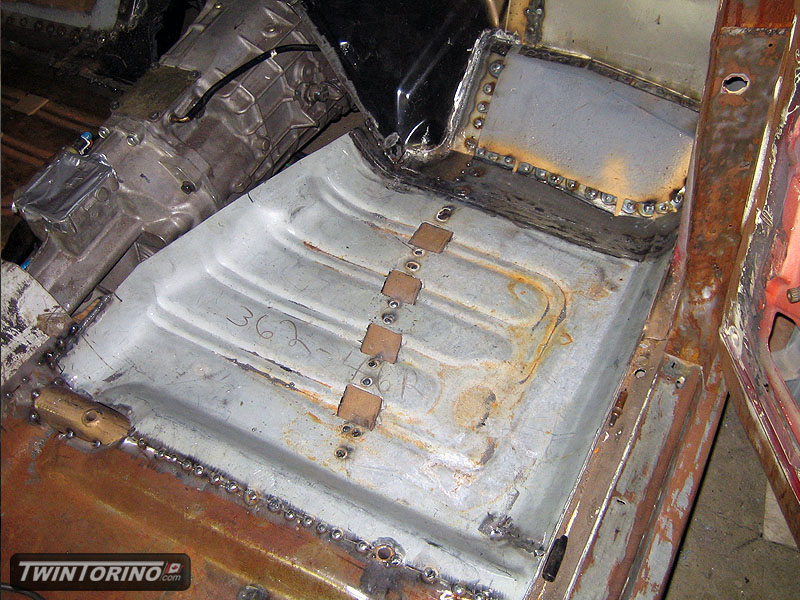
Have the rear wheel wells, shock mounts and spring mounts completed. Pictures shown is with the car upside down. Not much else to do in this area until final paint goes on. Moving onto the front of the car, the new radiator crossmember is welded in for good, and more or less complete (and also shown upside down. Just need to make up a mount to pick up the hood latch support. Only thing left to do under the car now is bend up the 2 rear brake lines and a fuel line.
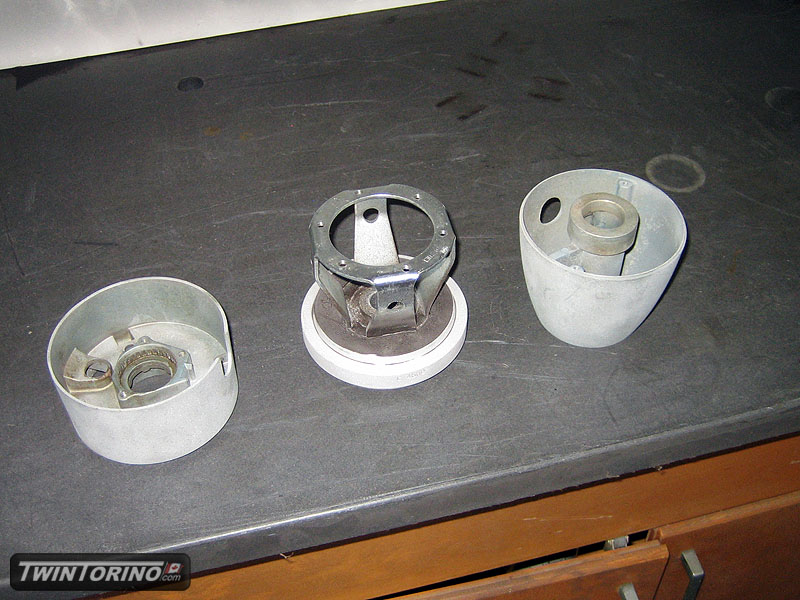
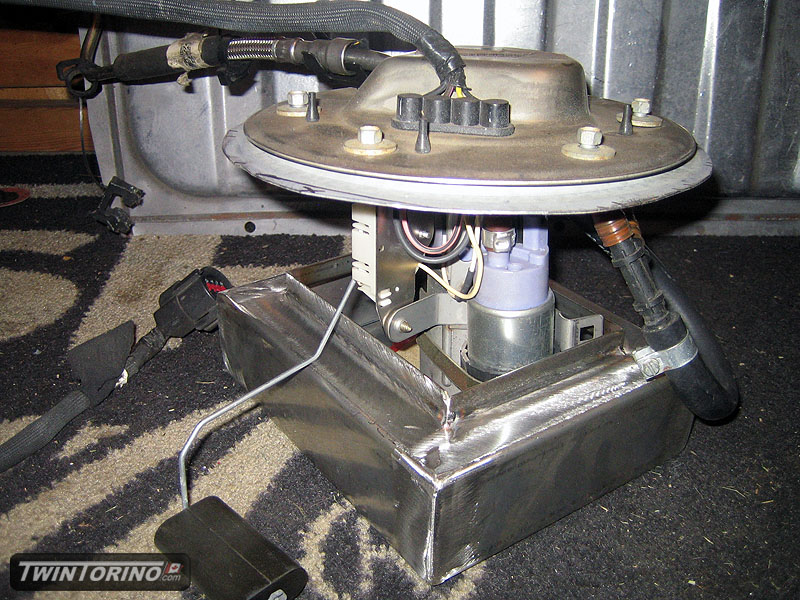
Figured since the car will hopefully be up and running soon, it was time to finish up the fuel system. We made a fuel sump up out of stainless using a 2003/2004 Cobra tank as reference. We still need to add the supply tube and air vent, otherwise it is ready to go in the tank.
Once the lines are done, the car will be put back on its suspension, and the powertrain will go in for the last time for a while, as it is time to get thing thing on the road.
Floors and rust replacement..
Finally.. had lots more time lately to get things done. Summer will be here in no time.
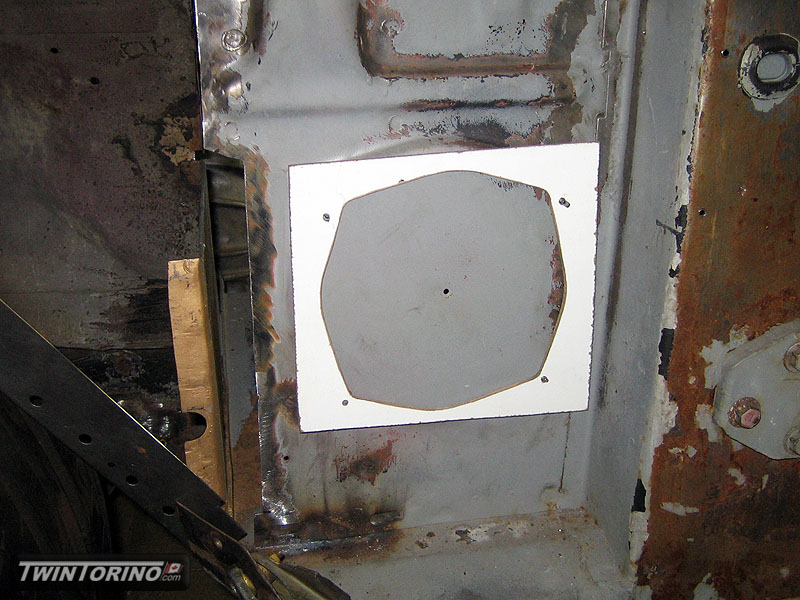
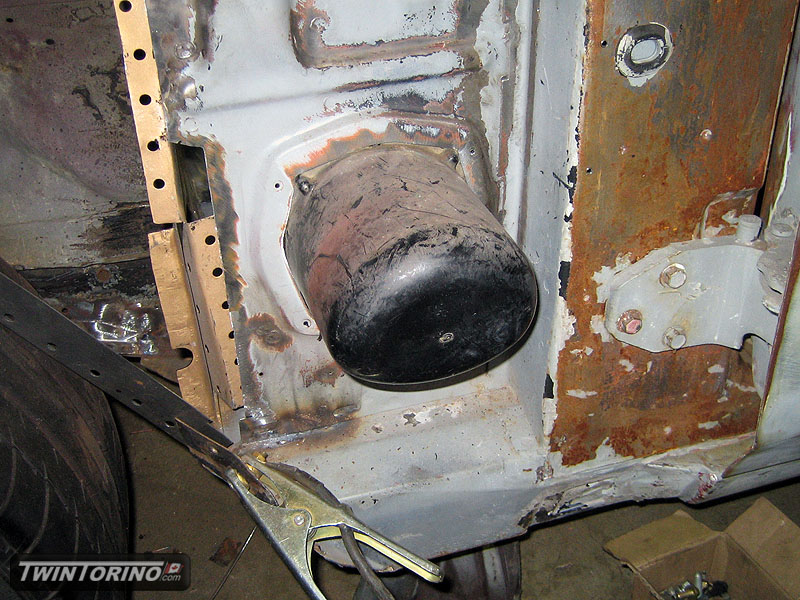
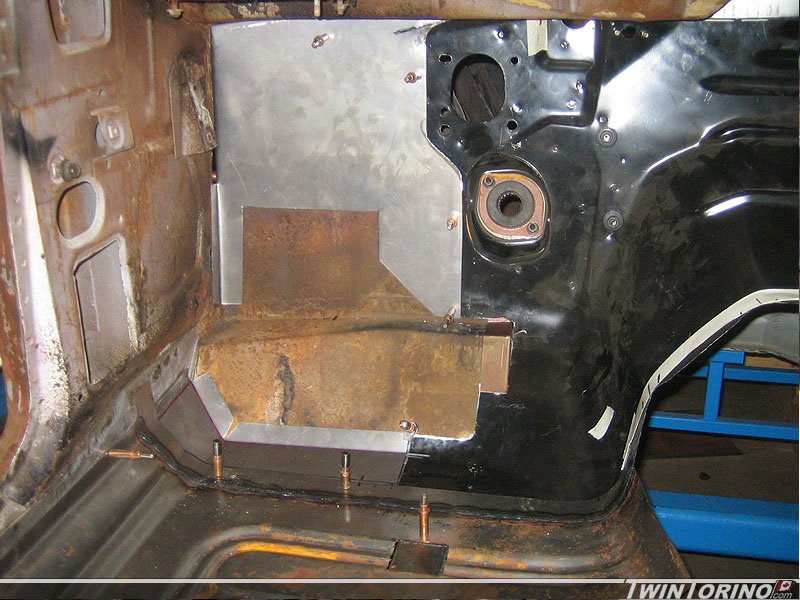
Firewall is now welded in for good, as are the front floor pans. Just need to final weld everything and also get the trans tunnel welded in. Plasma cut out some speaker holes and made up some patch panels. We got fed up with lack of access to the upper transmission bolts, so we made access holes through the firewall to get at them. Should make life easier.
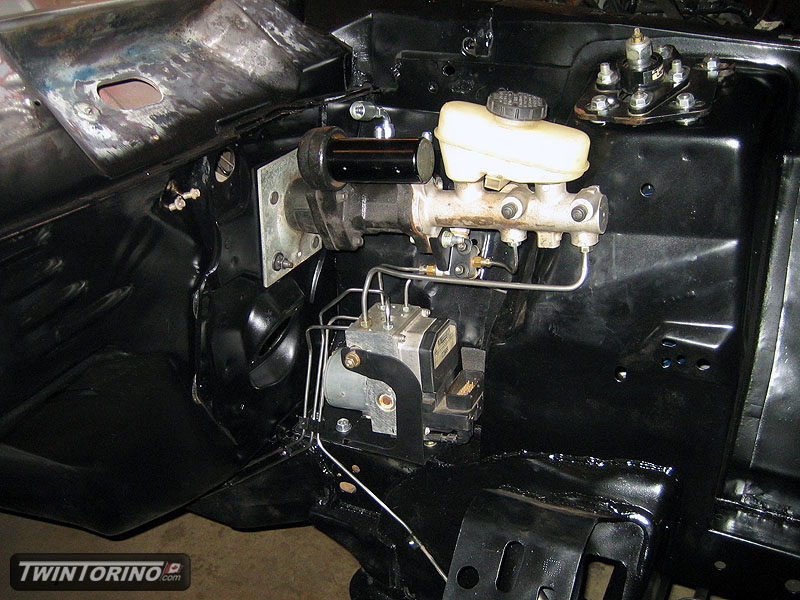
Hydraboost fits like a glove. Need to run the lines to the power steering pump, steering rack and cooler next. Also need to get the pedal box to mate up with the Torino dash. We’ll be driving the car in no time..

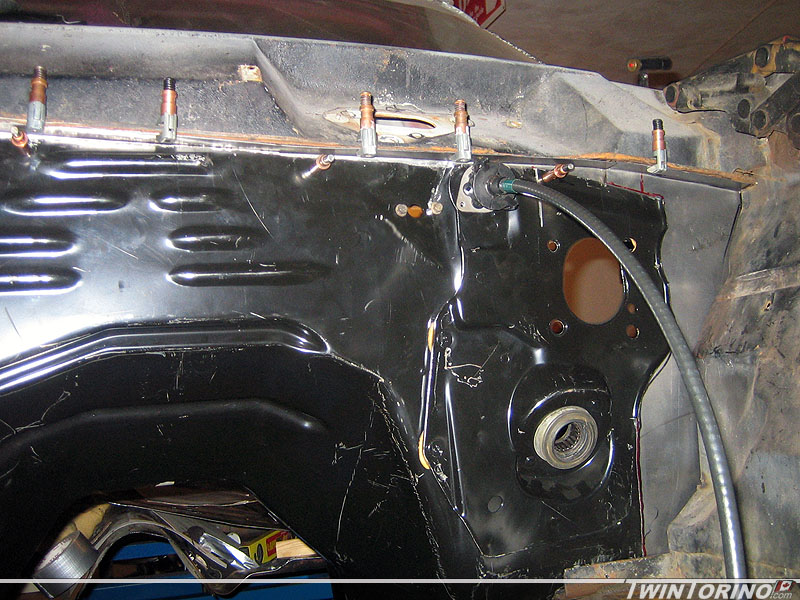
Wiring Pass Through Cutouts..
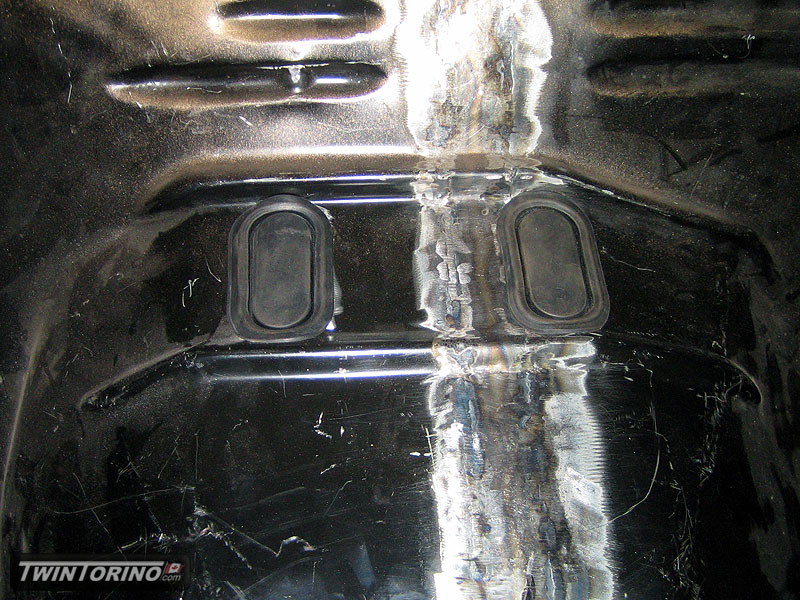
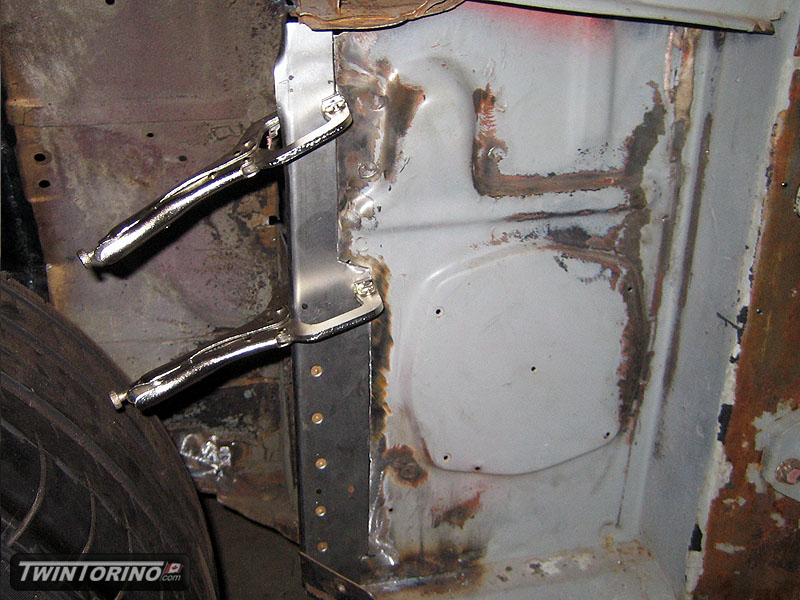
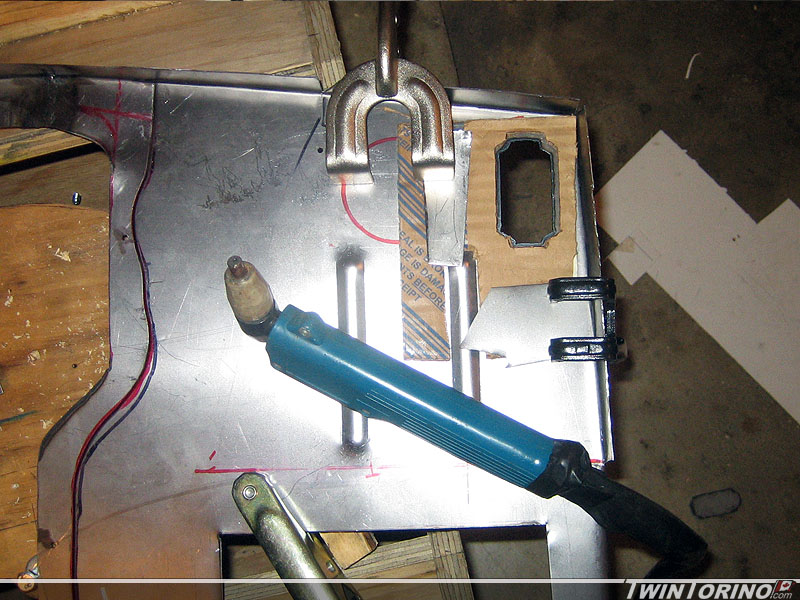
Couple more updates. Almost have the firewall ready to go in. Worked on getting the wiring pass throughs sorted out and the drivers side piece is now ready to weld to the center portion. Made up some simple carbboard templates to cut out the holes for the Mustang wiring harnesses. Worked great and was very fast. Note sure what I would have done otherwise. Rolled a couple of beads on the part and also step flanged the ends so everything will look flush from underhood after it is welded.
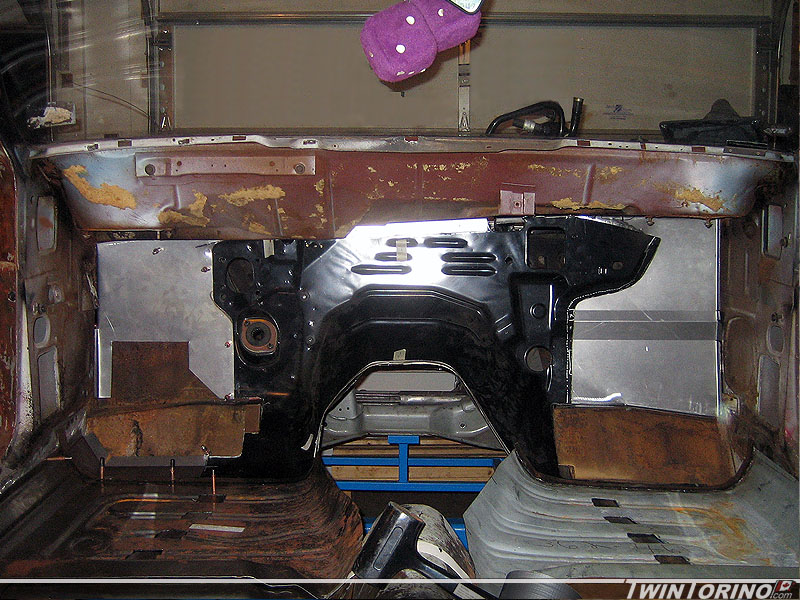
Firewall Continues..
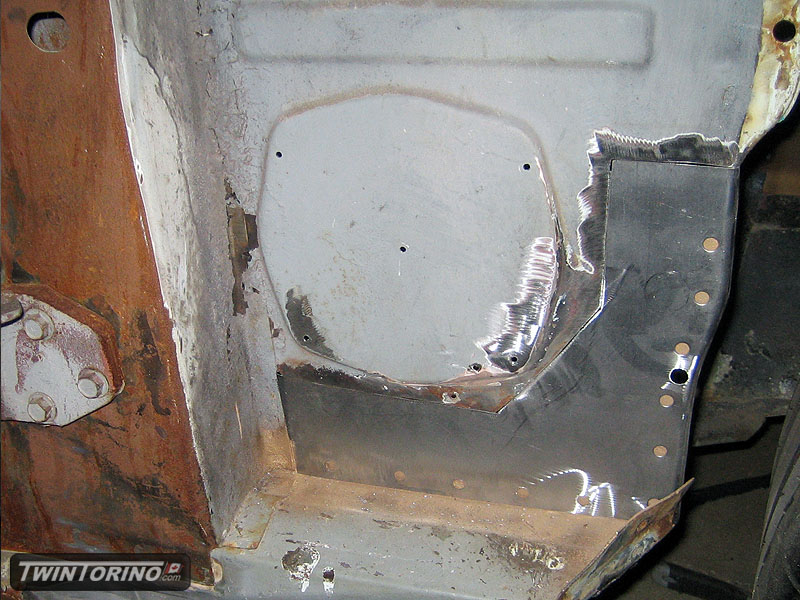
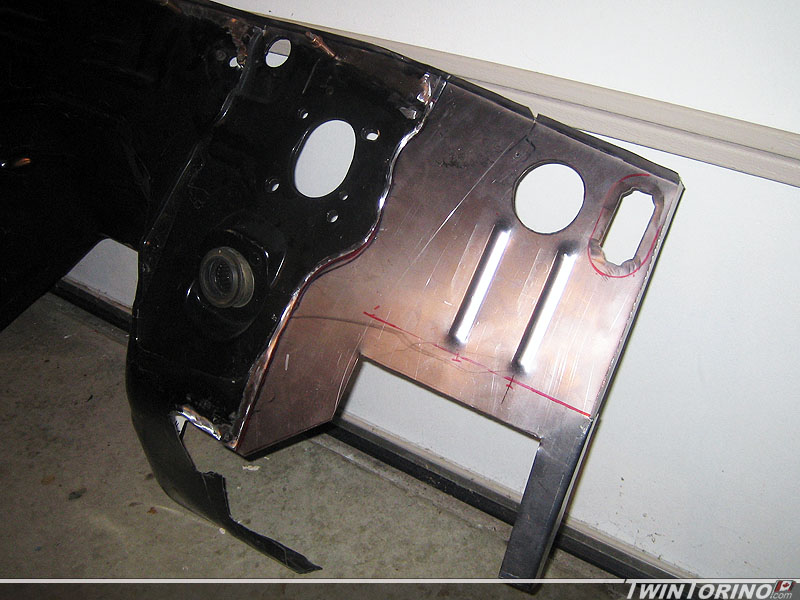
Finally some more progress here. There is and end in sight with the firewall mods. Almost getting ready to weld everything together and then weld it into the car. Once it is done it will be great as everything will bolt right in. Not sure what it would have looked like if we kept the original on there. Once everything is painted black should blend much better. Just need to extend the pass side floorpan and the fab work will be done for here.
Rather than double up the material near the torque box, we figured we would just use them as is. Save a bit of material and make the process easier.
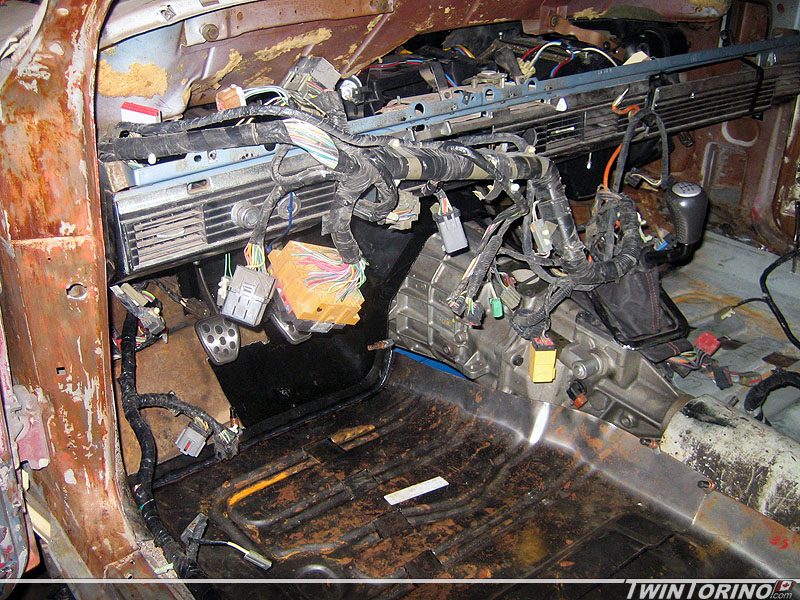
Dash Electrical and Door Locks..
Still progressing on fabricating the firewall up.. just not much to show really until it is ready to tack in.
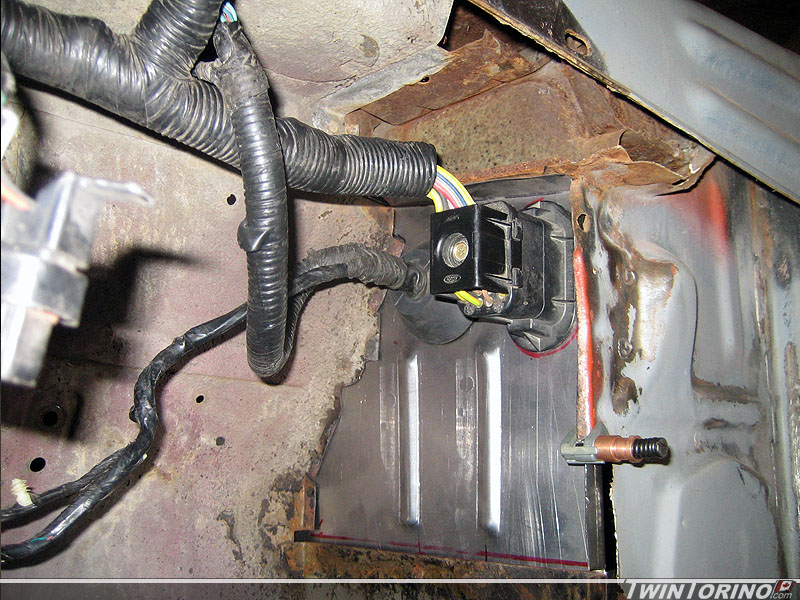
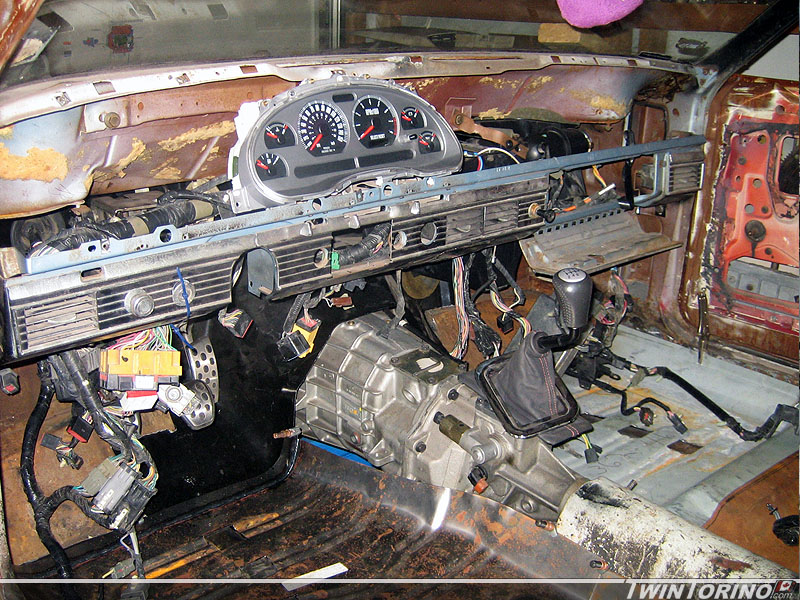
We started to lay out all of the wiring in the car as that stage is quickly appreaching. There is a lot more room to put everything in here compared to the original Mustang that it came off of. The big challenge here is going to be making room for everything once the HVAC is installed and in position. The computer processor, fuse panels, and lots of other items that wer never on the original Torino need to find home too. The Mach 1 cluster and all the wiring connectors will stay until the car is started for the first time.. and then everything will go on a diet. Al the wiring and connectors that are not needed will be cut out. The parts that remain as original Torino parts (very few pieces like the steering column and various lights) will be spliced in also.
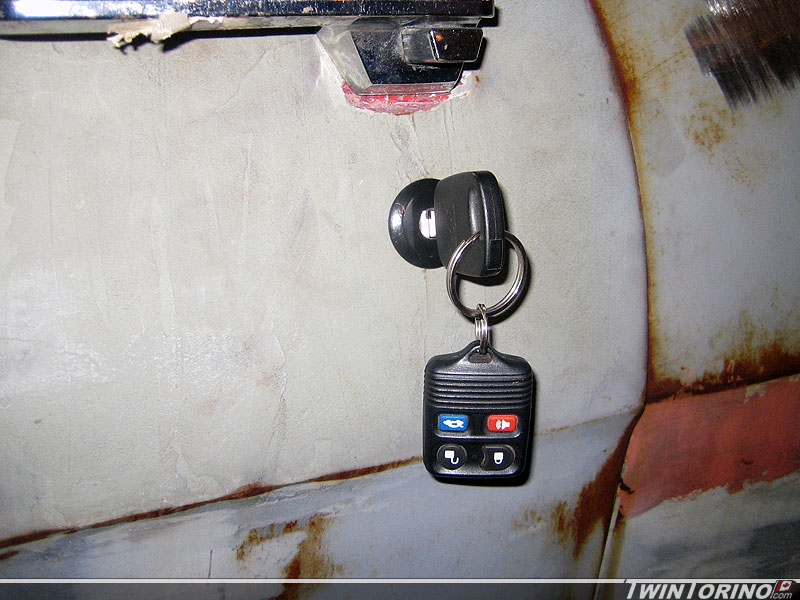
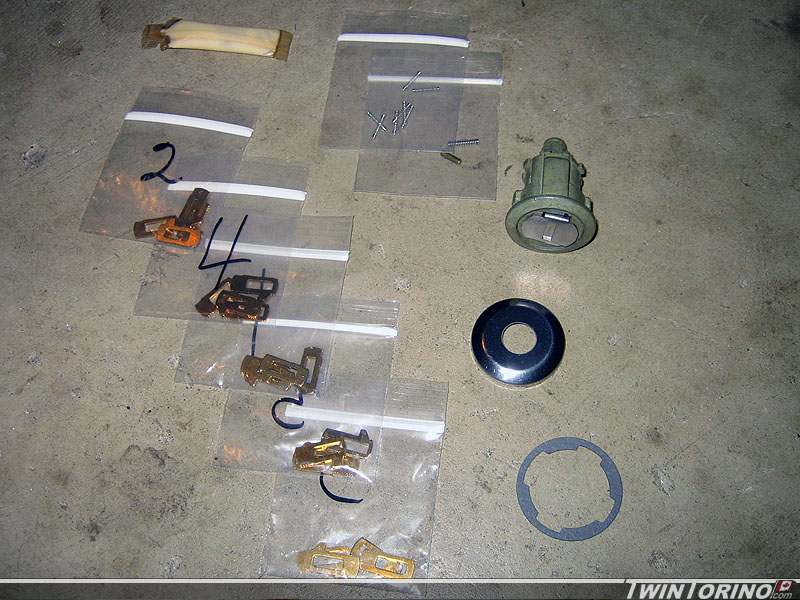
Got started on some of the smaller details of the project. In this case, the door locks. Every once and a while you are really surprised that something works for a change. In this case it was with the door locks. Believe it or not, a lock cylinder from a 2003 Mustang actually fits exactly into the stamped hole in the body of a 1968 Torino. It fits exactly with no mofifications – retainer clip and all. A custom rod is needed to connect it to the door latch – but that is to be expected. I ended up making a quick one with a welding rod, and the key now locks and unlocks the door.. kinda neat. Note that the lock is actually black – for some reason 2004 Mustangs are polished as we found out. Black will eventually be removed. Only one issue here – Mustangs do not have a lock cylinder on the pass side, and Torinos do. As luck would have it – a local Ford dealer was selling off excess stock this week on Ebay, and one of the parts they had was replacement Mustang lock sets. These come with 5 bags of key tumblers, and you simply select the tumblers to match the key you have, and then you assemble and install. This adds a cylinder to the pass side with ease.
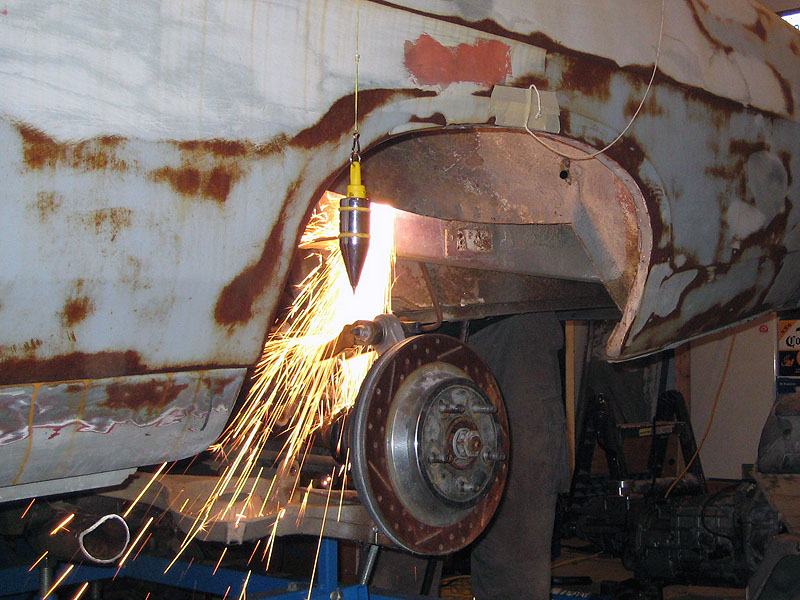
Making Room for the Rear Suspension
Since the 315 or 335 tires will not clear the inner wheel wells, we needed to make some more room. The suspension will also move differently than a solid axle (you get camber change now with the IRS), so that further defines the need to minitub the rear of the car. Since there is no kit available – we need to just cut out an inch of floorpan and add an inch to the inner wheel wells. Finally got to put the plasma cutter to its first test – is worth its weight on gold during this step. It is very easy to cut straight lines this way too.
Had to cut holes in the trunk floor so the upper control arms on the IRS would fit. Also hitting the pinion snubber and will hit the jounce bumper brackets, so those were cut off too. This all needs to be done so the car can have a lower stance and still sit at the correct “design” position as it was designed (and not just at some arbitrary control arm angle).